Guide to ACL Conditions & Cleaning
I have been asked many times and have also seen numerous references online of how to clean ACL bottles. While most of these online articles have been very informative and have had good methods of cleaning, I have yet to a see a single source that was very comprehensive on both the different conditions of a bottle and also the proper way to proceed with cleaning for each. With this being said, I thought I would take my attempt on showing to the best of my knowledge some of the cleaning methods that I use for my bottles. In addition, I have tried to provide a collection of images for each type of the conditions that we commonly see antique bottles in. My goal with this article is to provide the collecting community the knowledge and some guidelines that I have learn so I hope you enjoy this article and find it useful for your bottles.
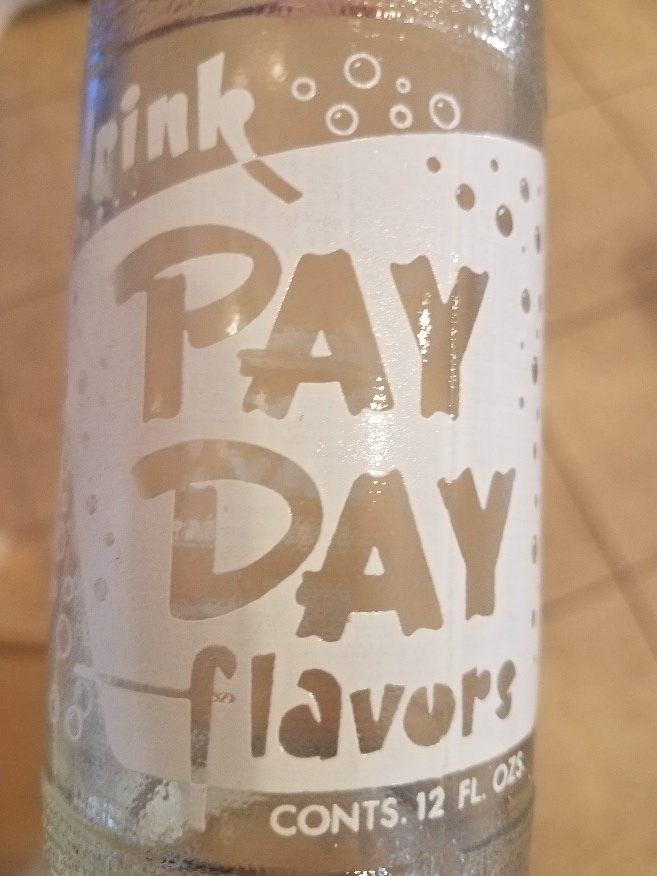
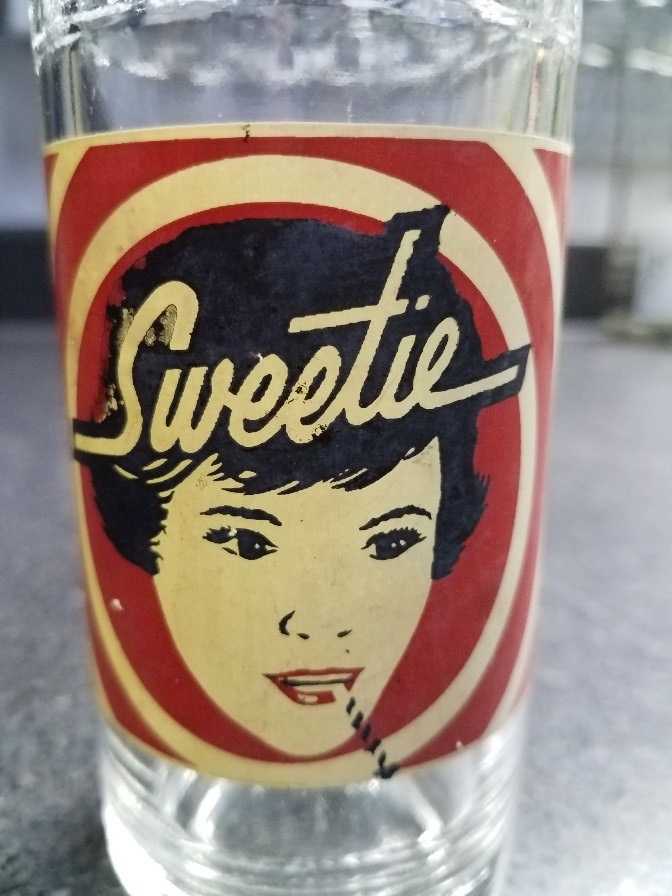
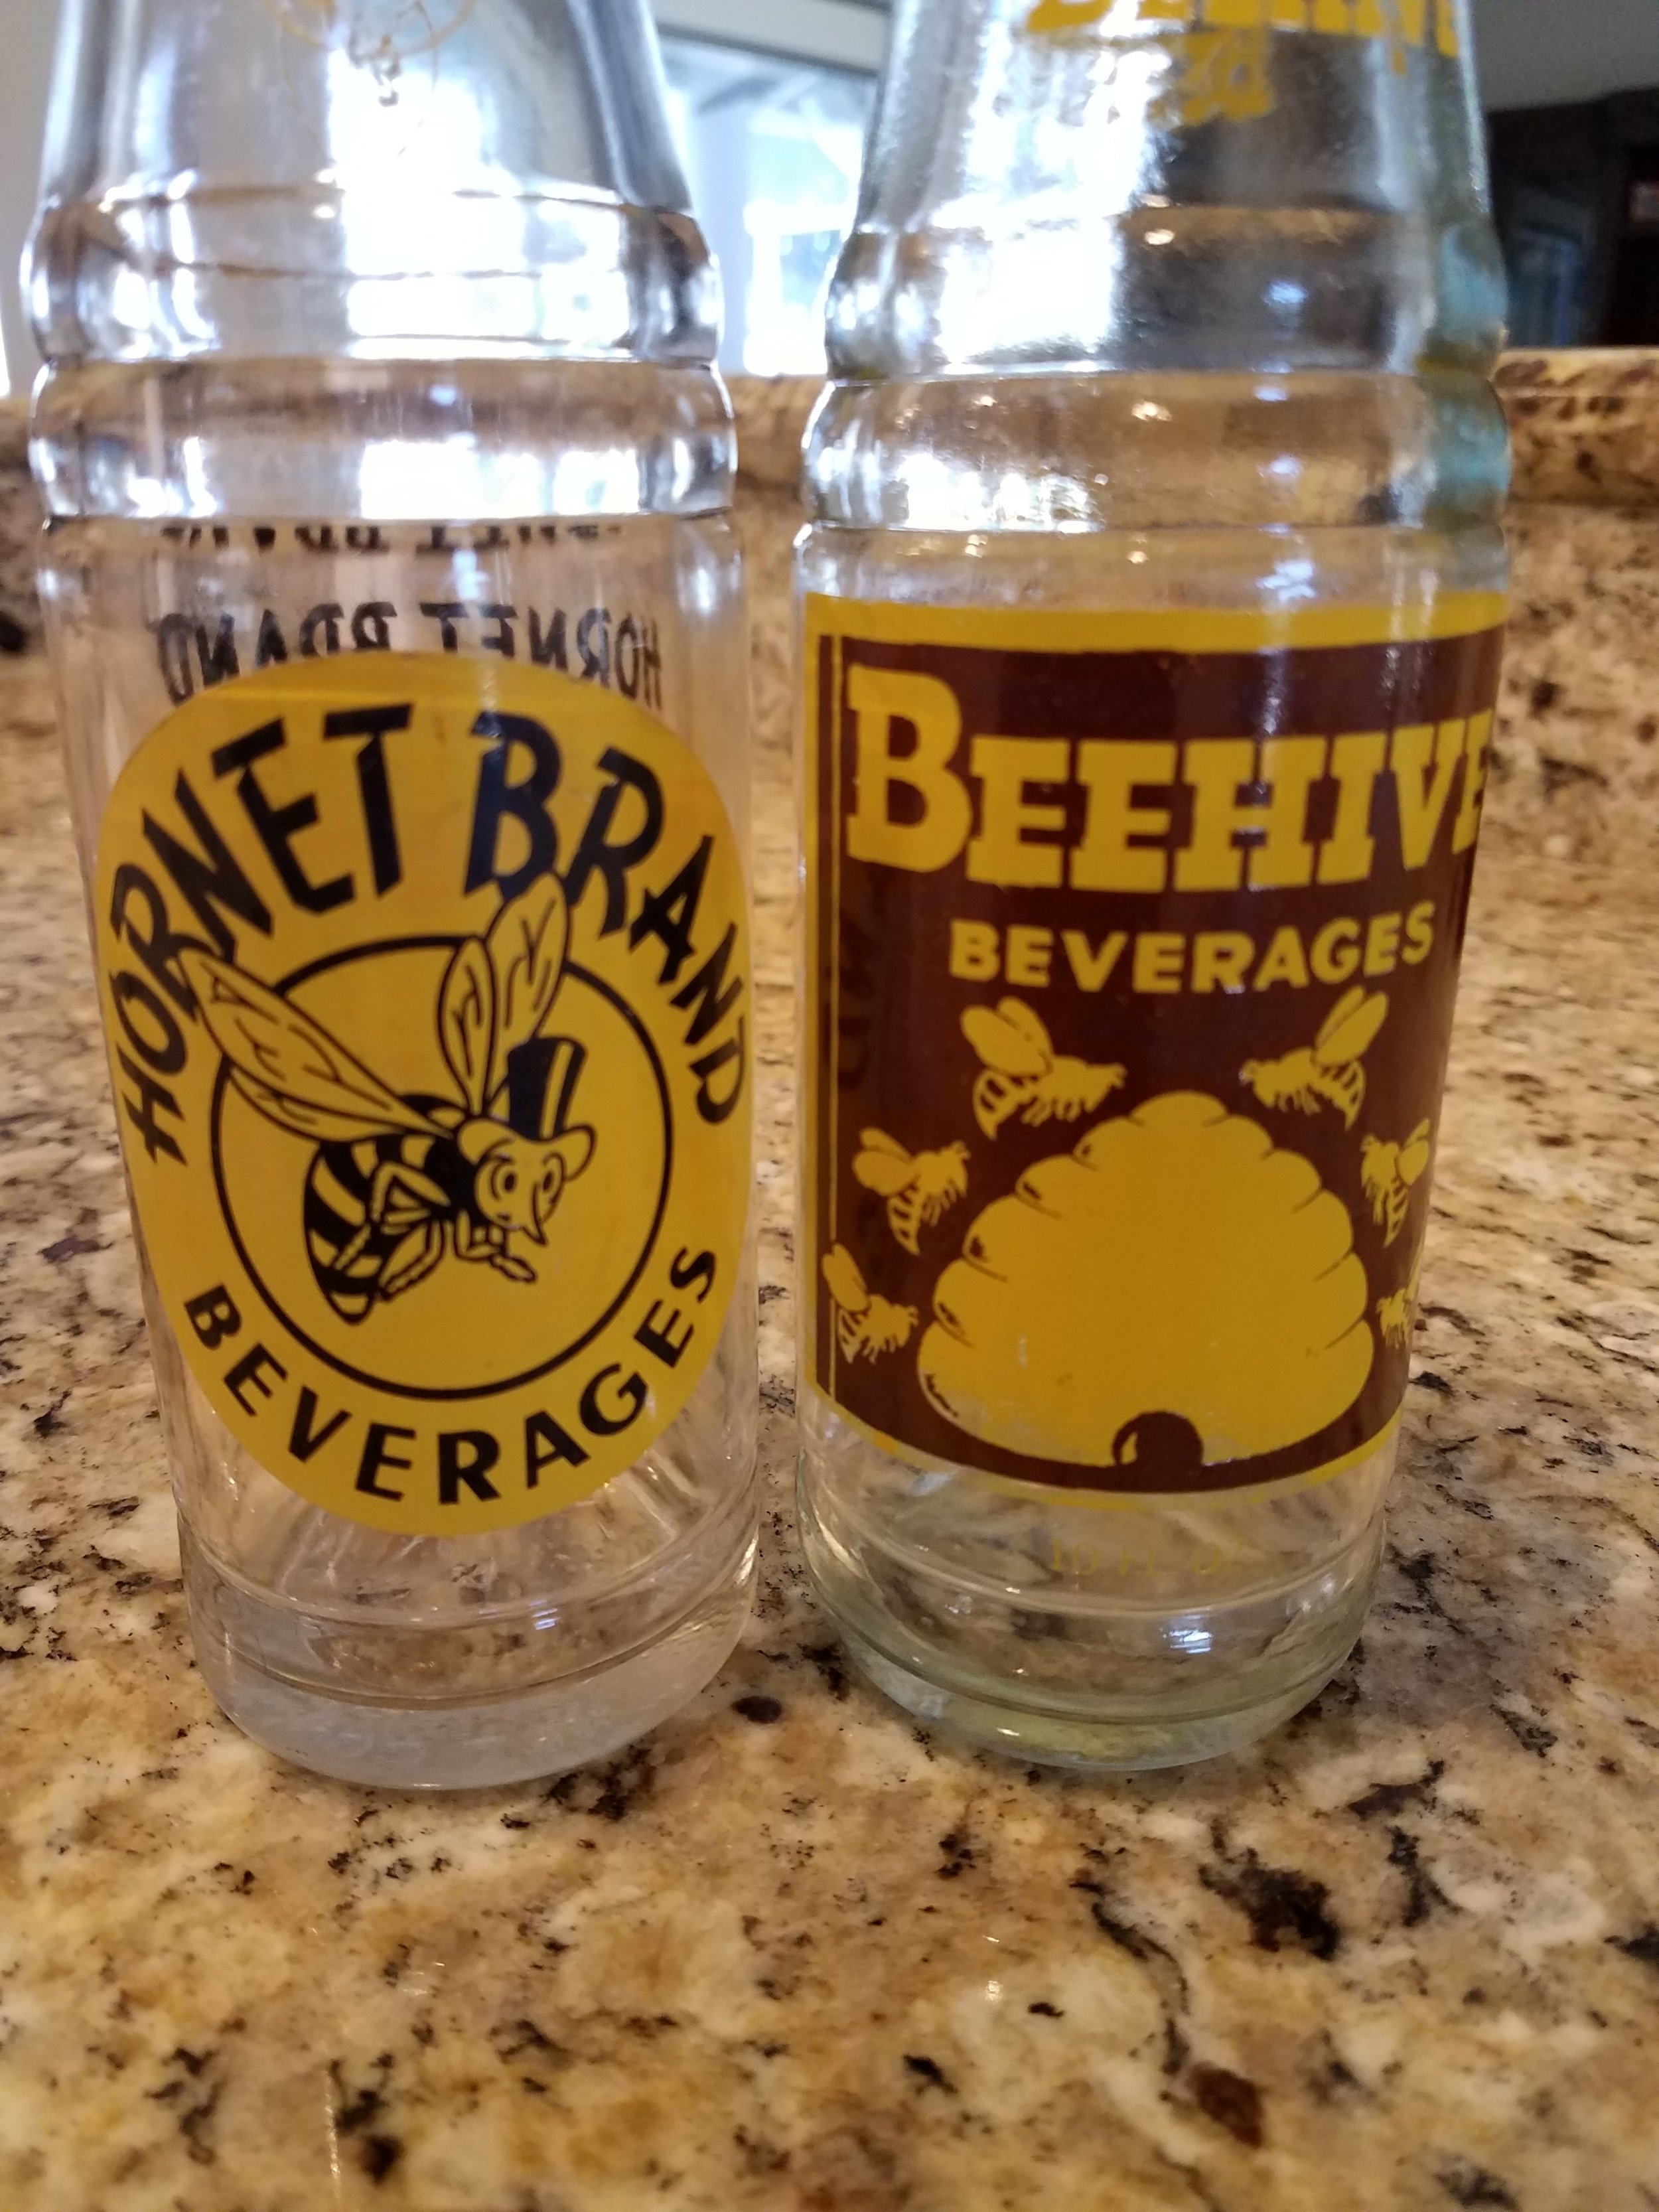
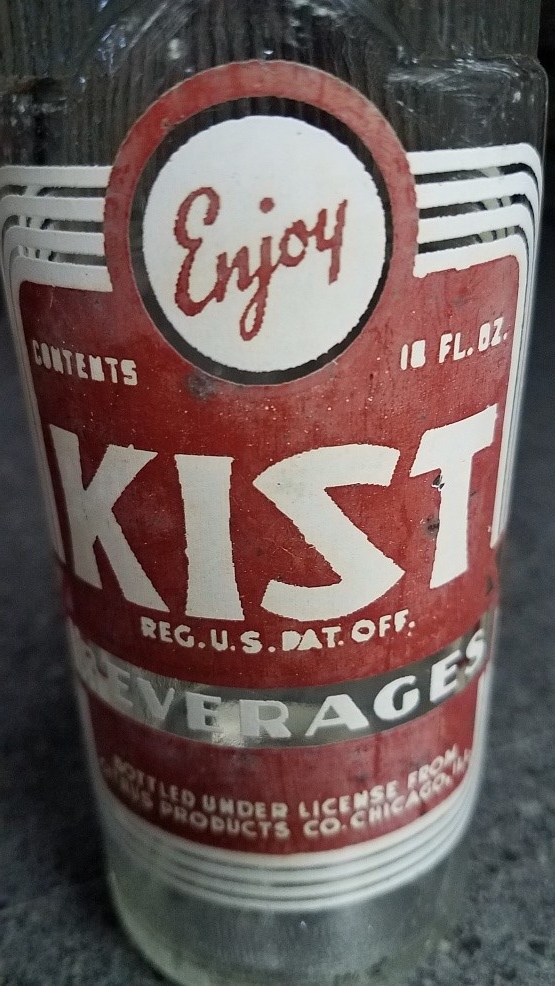
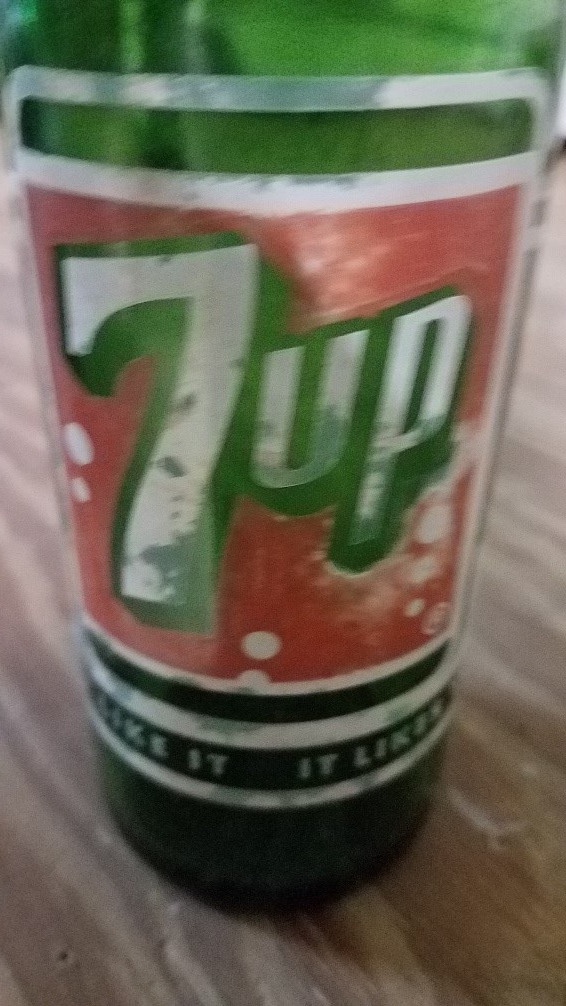
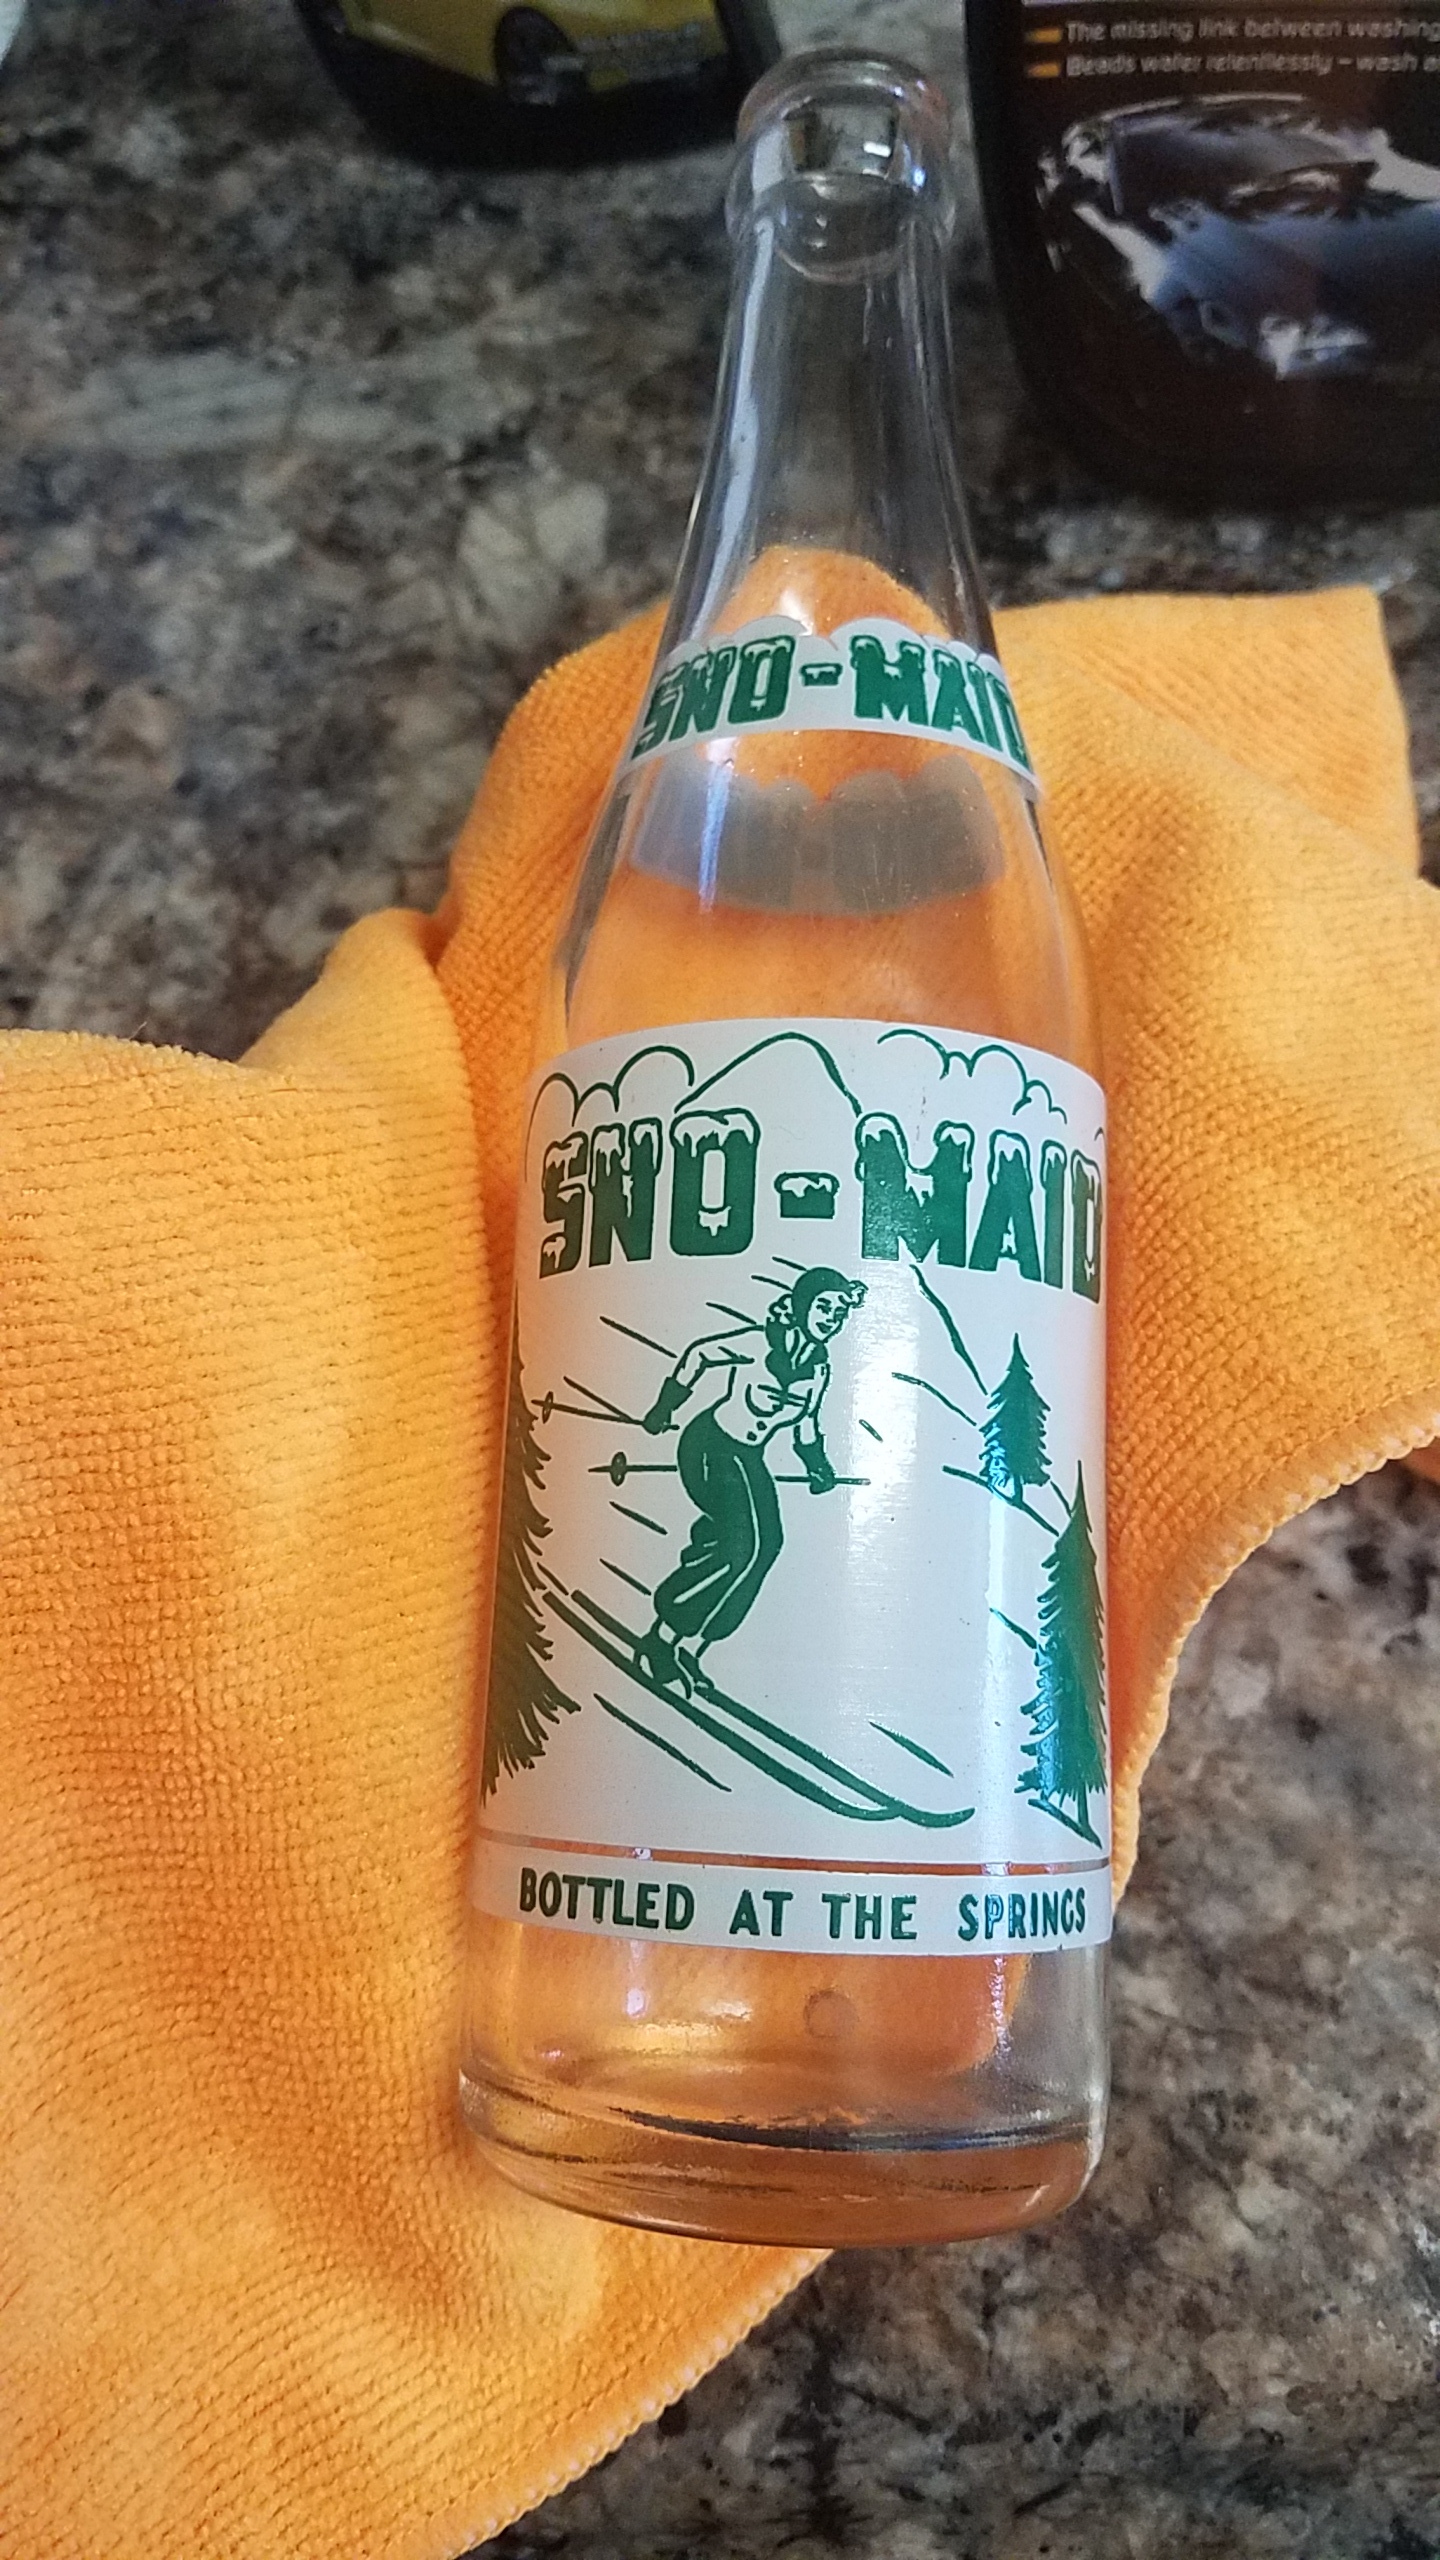
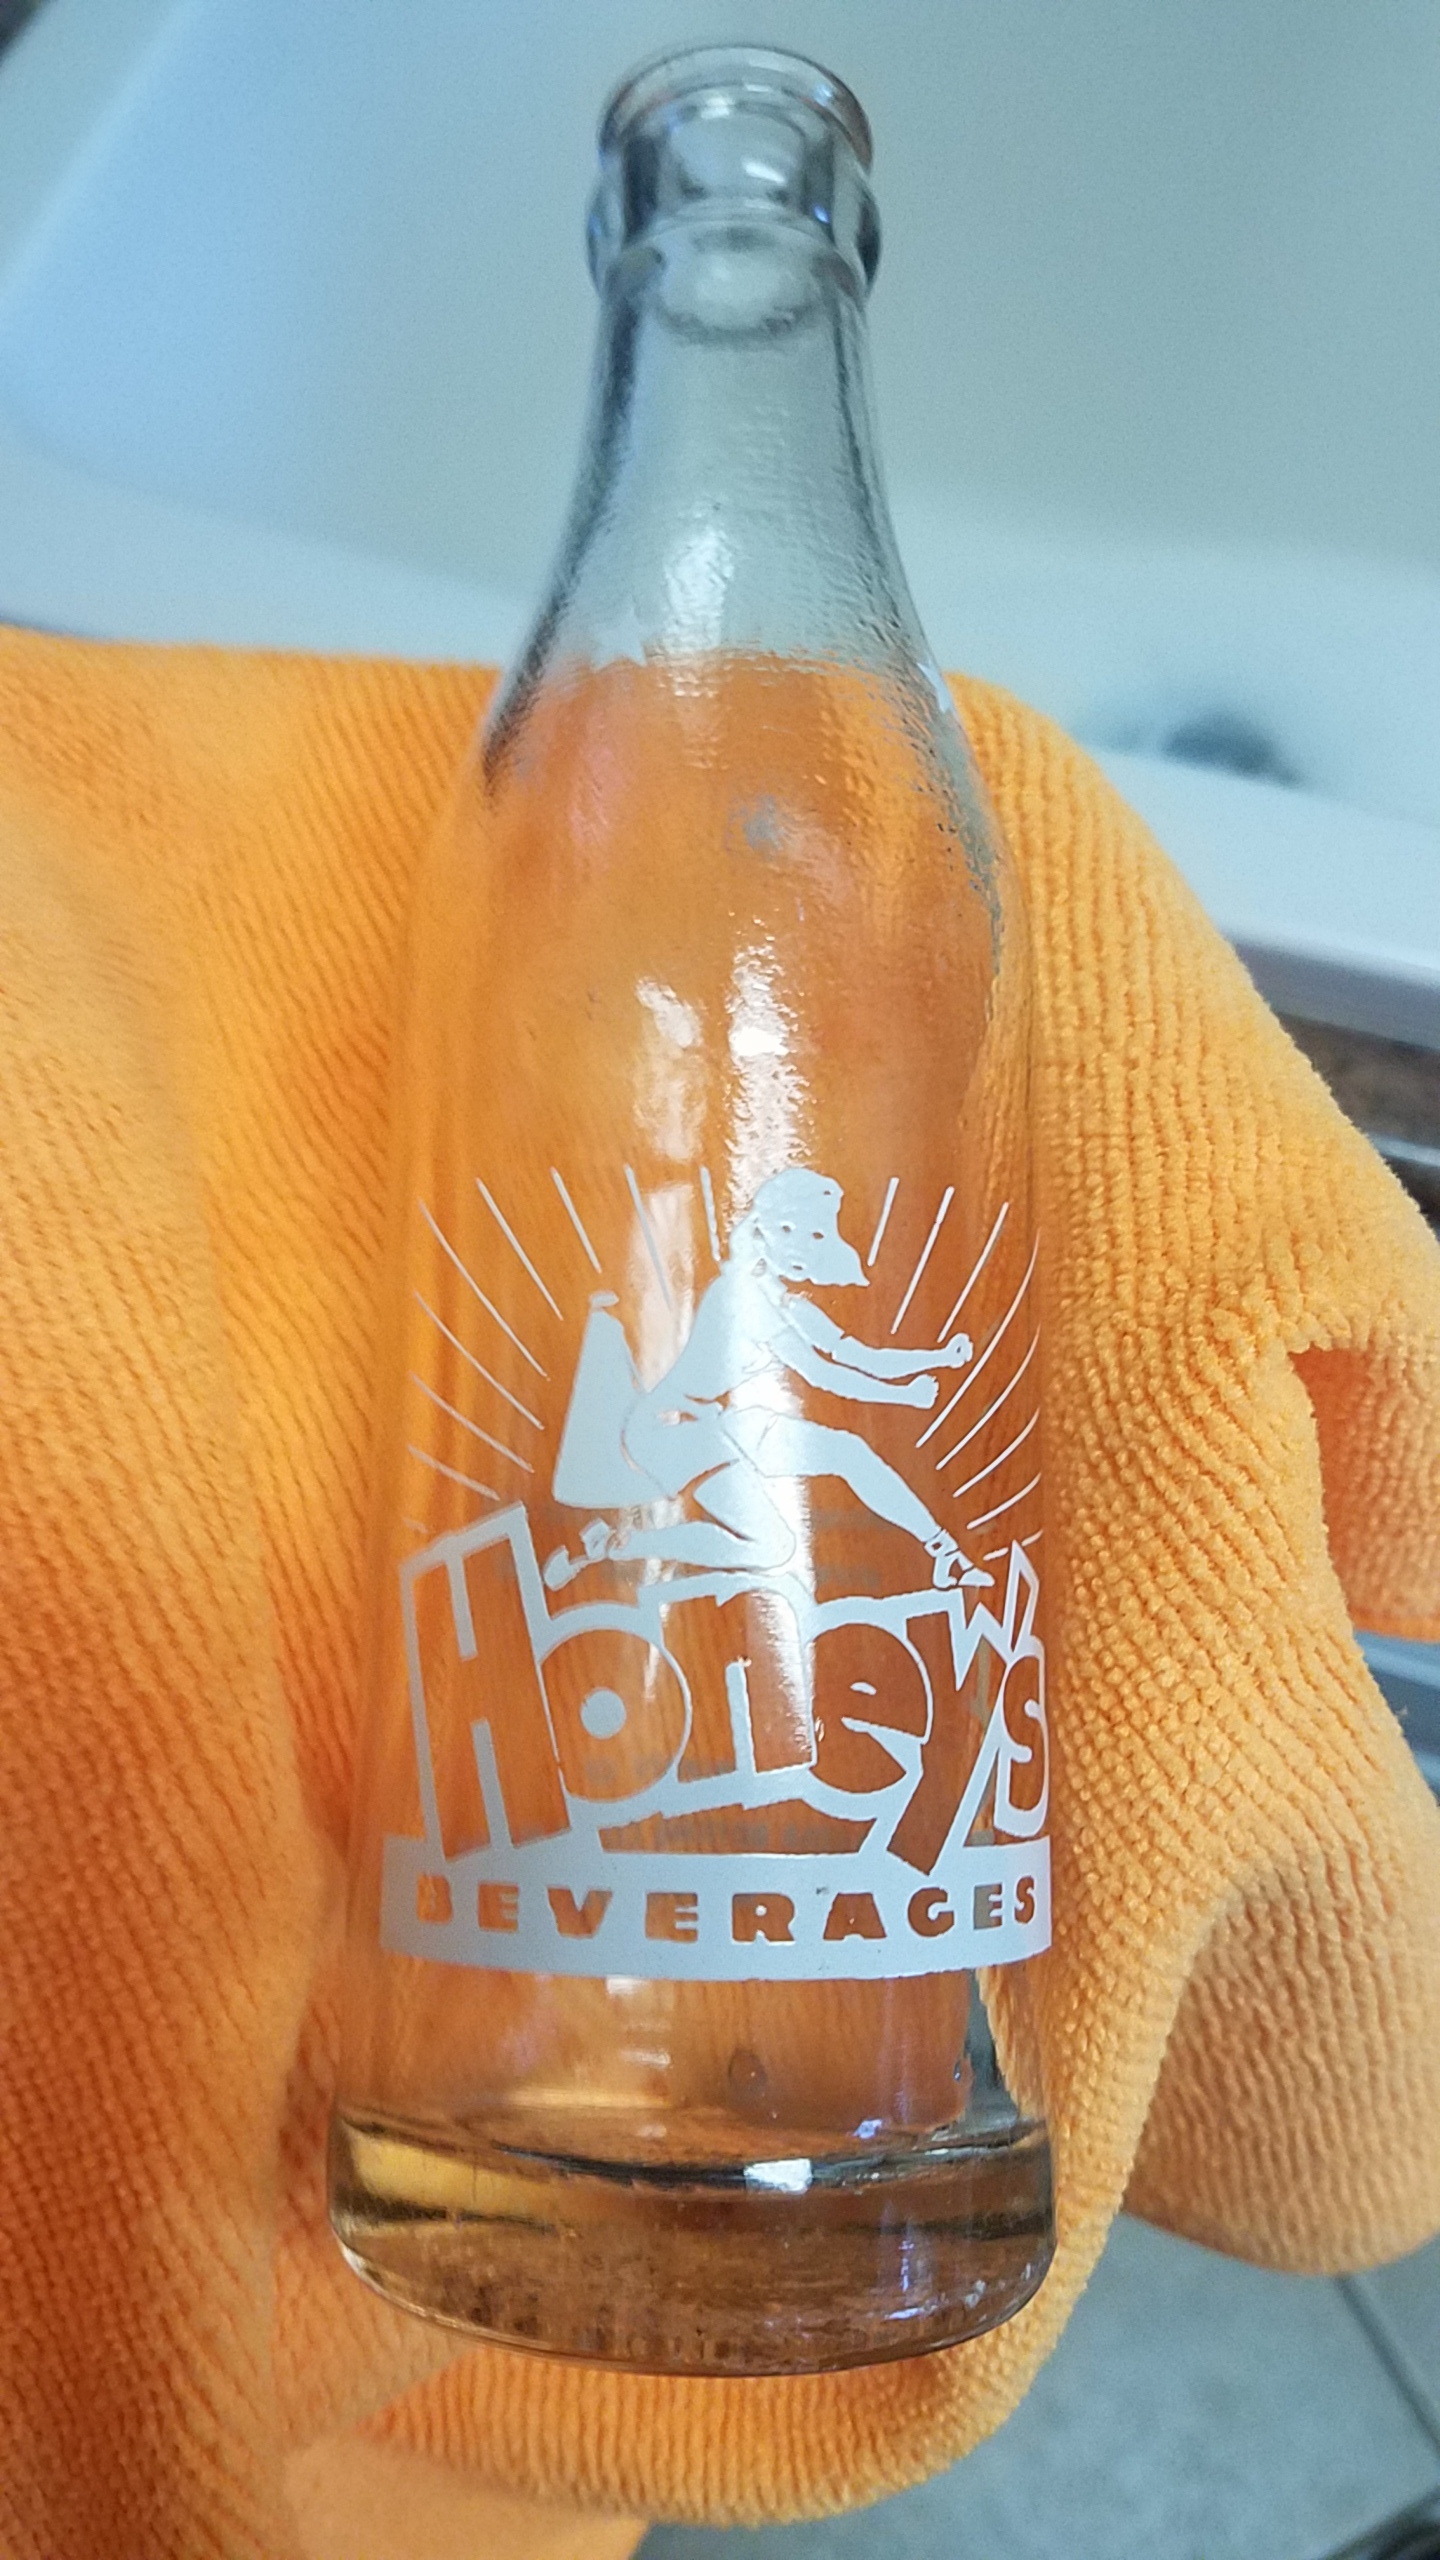
As for most of my bottle collection, this article focuses on the cleaning of Applied Color Label (commonly known as ACL) bottles. The main difference with ACL bottles is of course the applied layer of paint baked into the glass that provides the unique label for each brand. Although very similar, the embossed bottle is scripted/molded into the bottle glass and not a painted label. So the main concern with cleaning ACLs is trying to prevent discolor or removal of the paint label when cleaning (this is the tricky part :).
ACL Coloring
In the ACL manufacturing process, the brand label would be silk-screened onto the bottle using a glass/paint mixture when the bottle is hot. Depending on the color and patterns of the brand, this could be a number of screens and steps taken. Earlier ACLs in the late 1930s started to appear mostly with just one main color, but thru the decades and with human ingenuity the number of colors commonly turned into 2 or 3 on the average bottle. I was not around in those golden years, but always thought it would have been very cool to see/try the bottle printing process hands-on.

Bottle Conditions
Before we get into cleaning, let me first try to breakdown the possible conditions that you might find your ACL bottle in.
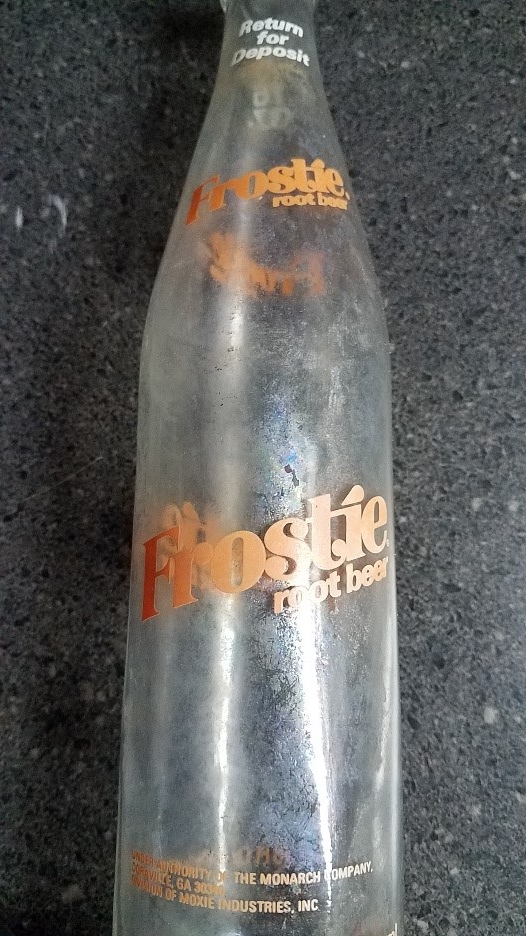
Condition: Mint
Well this one is simple. It will look like it was made yesterday and that you’re the first to drink out of it today. True and bright colors on label, no case wear, chips or scratches on the glass. Basically just a nice soap bath and then skip down to the Polish section.
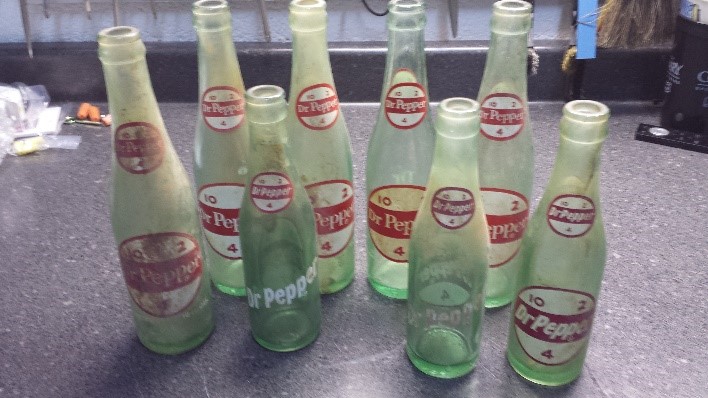
Condition: Good and Dirty
Well, as most of you might have seen, many bottles have long survived in mother Earth. Sometimes this a good thing as this is mostly just a good cleaning to remove. But sometimes, nature’s elements have completely worn the bottle to no return. We will get more into the cleaning section on this.
Condition: Color Fade/Sun exposure
If the ACL has had great exposure to the sun during its lifespan, you will start to see a fading of the true color for this condition. Normally the vibrate colors such as red, yellow and orange are the first to go out. Although there is not a true fix to this condition, a good polish after cleaning can give the colors a little new life to them.
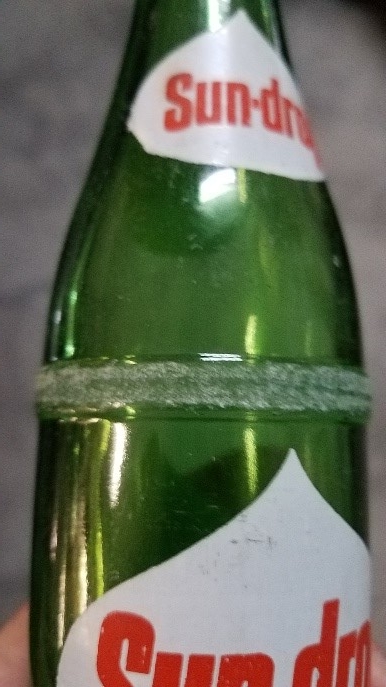
Condition: Recycle Wear
This condition is also known as mid-ring wear and is caused from the rollers in the bottling plants. The more the bottle was reused, the worst this condition can get. These start out as slight pattern scratches/scuffs at certain level on the bottle. Result of the rollers rubbing against the bottle in the same area. Some cases these can be cleanup up, but in most it is difficult.
Condition: Scratches and/or Chips
Well, these are usually the first to be noted in a bottles condition. As like the color fade, there is little to no work around on this condition for ACLs. So in most cases not much you can do here. For embossed, there is process called tumbling that I will mention later that can help to polish out the small scratches, but let’s stick with ACLs.
Condition: Rust and Fluid Stains
Well, this condition is my favorite. As most folks stay away from bottles with rust and stains, I have always been up to the challenge in cleaning these. These can be either on the outside or inside of the bottle and can take some elbow grease to clean. I will explain more on cleaning Rust stains.

Cleaning Materials
First, let me describe the items I use for cleaning my bottles. Please see list below:
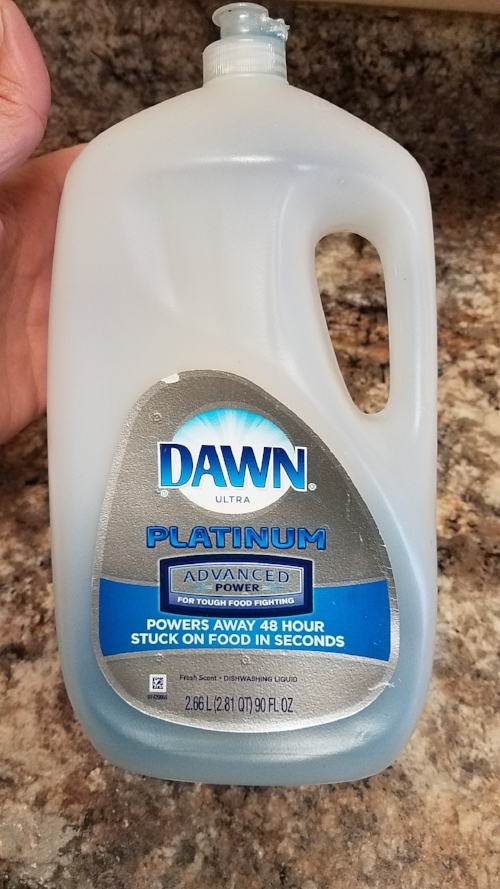
- Dishwashing Soap, usually either Dawn or Joy will work.
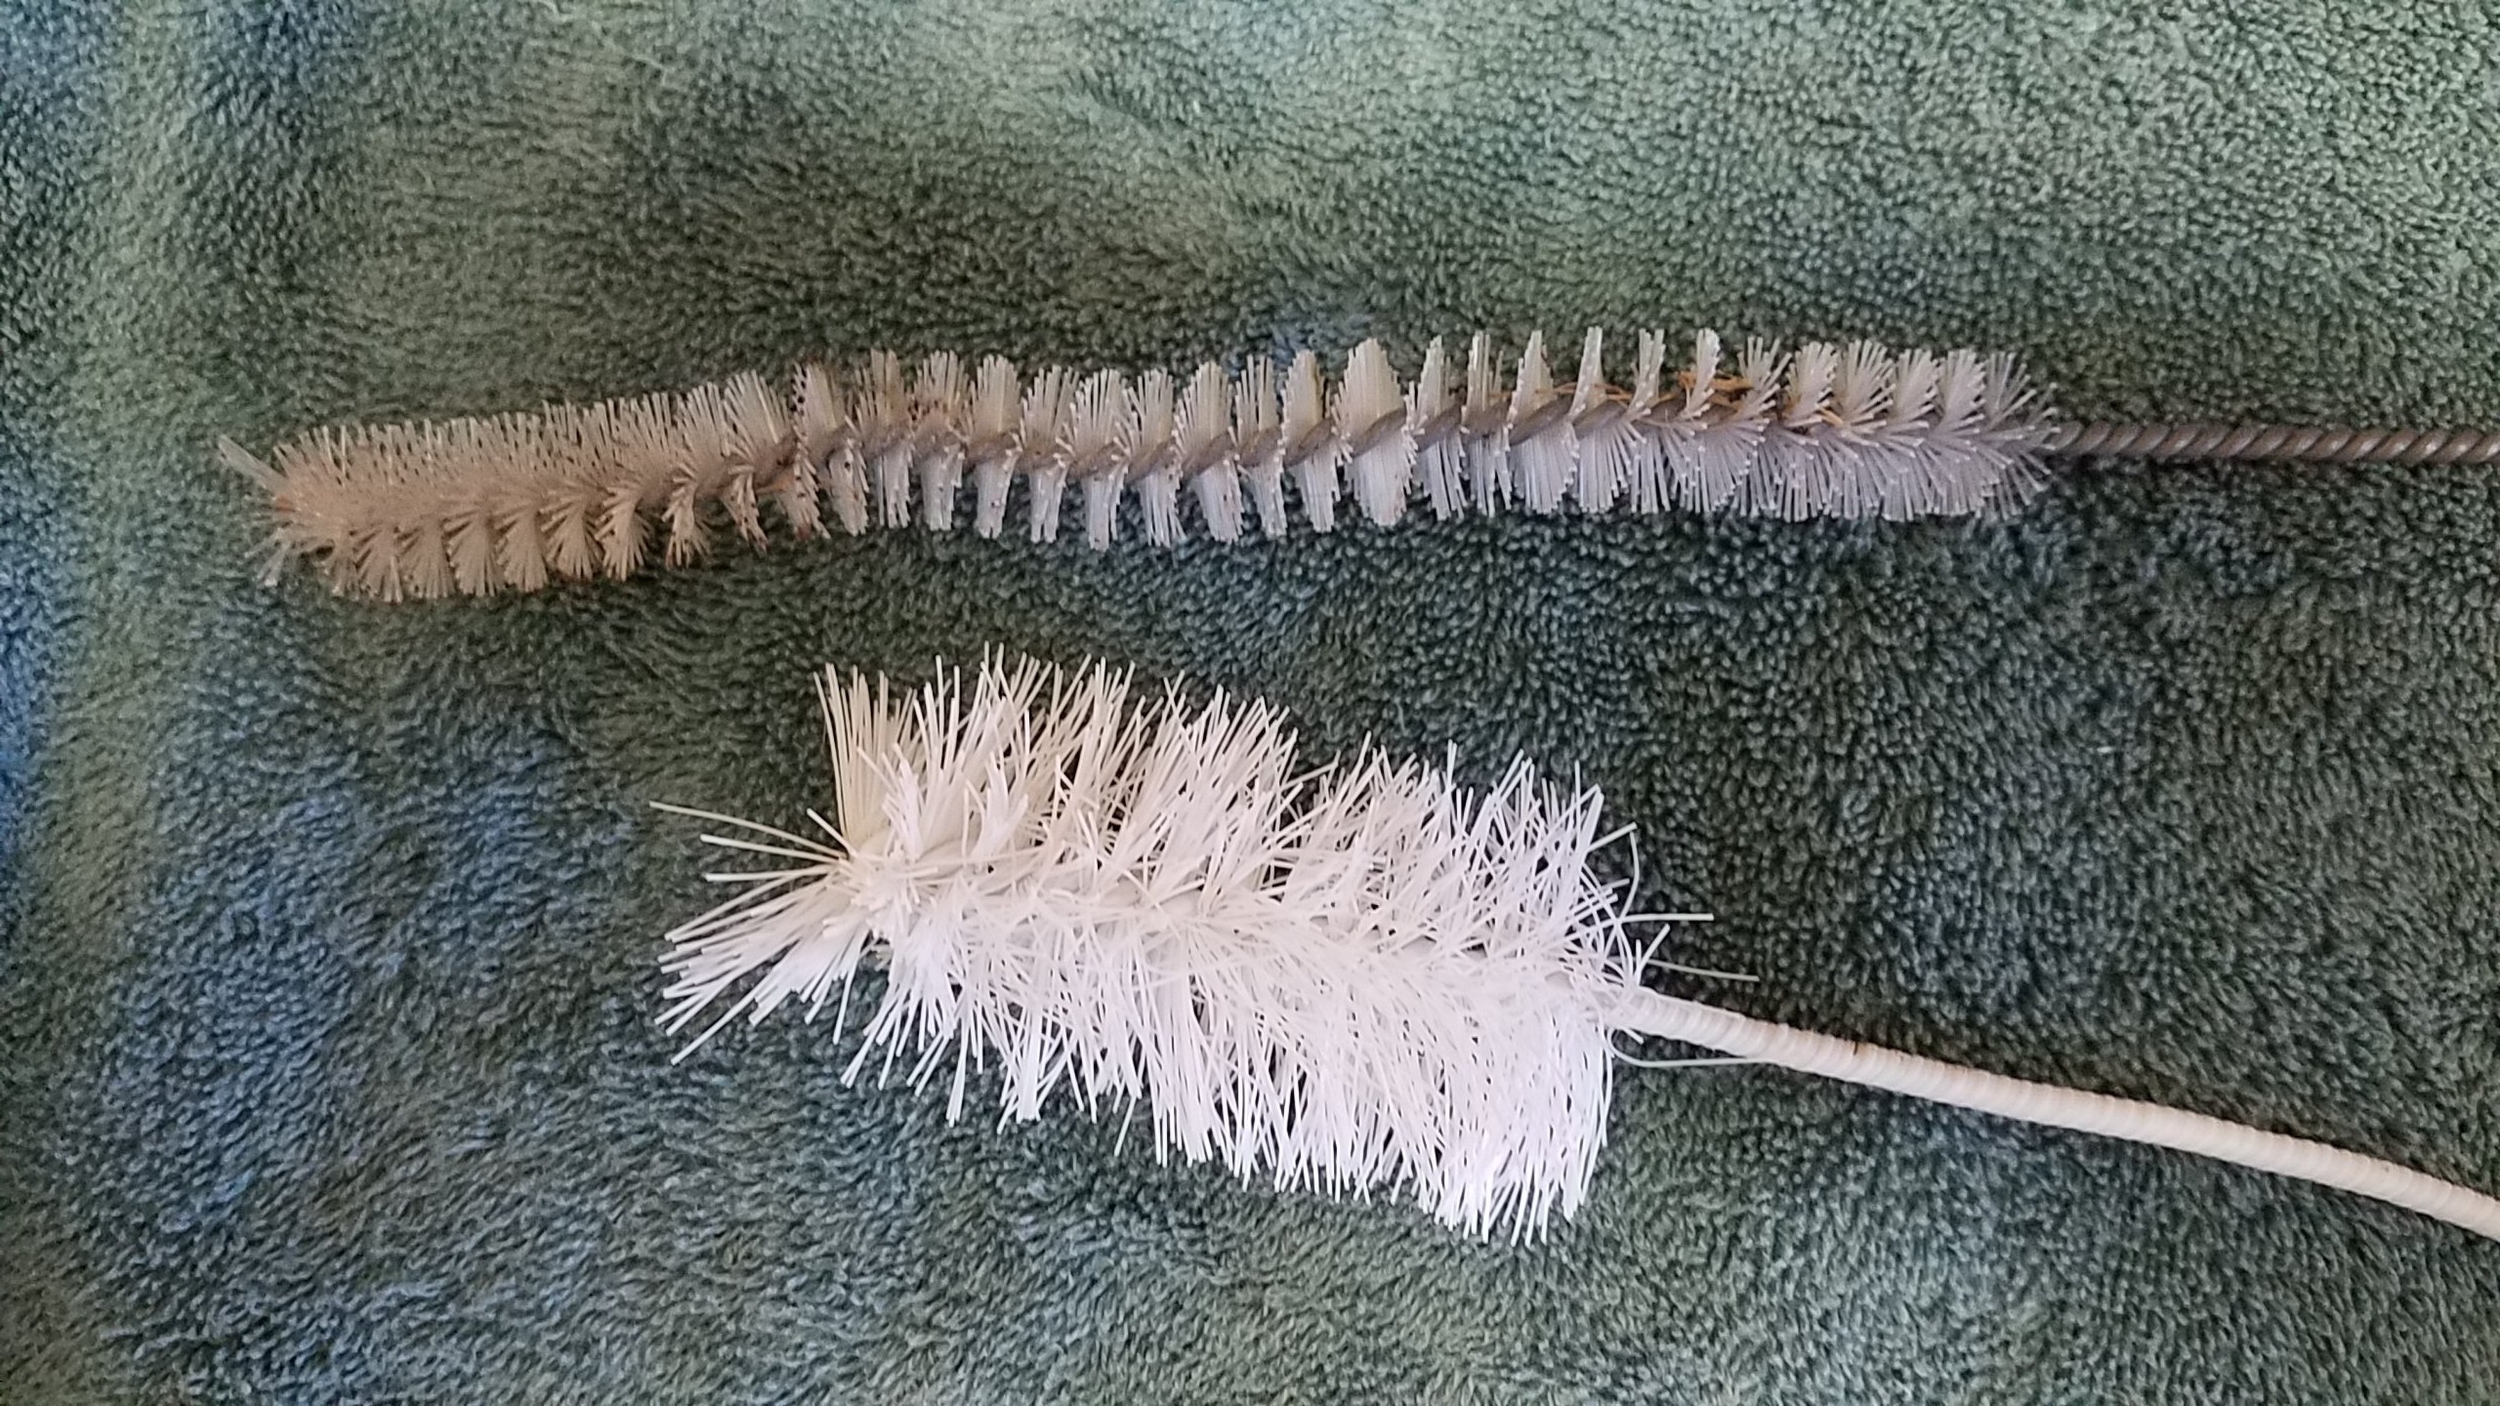
- Bottle Brushes. I normally stick to just two types.
- Standard dishwashing soft bristle bottle brush, Most cases about 2” in diameter. You can find these at your local grocery store.
- Hard bristle flexible cleaning brush with long handle. Normally about a 1” in diameter. I have found these at the local flea market or at hardware stores. Best part about this brush is it can be bent to fit the contour of the bottle for better cleaning. This brush is more abrasive so take note not to overdo it or scratch the bottle from the metal insert.
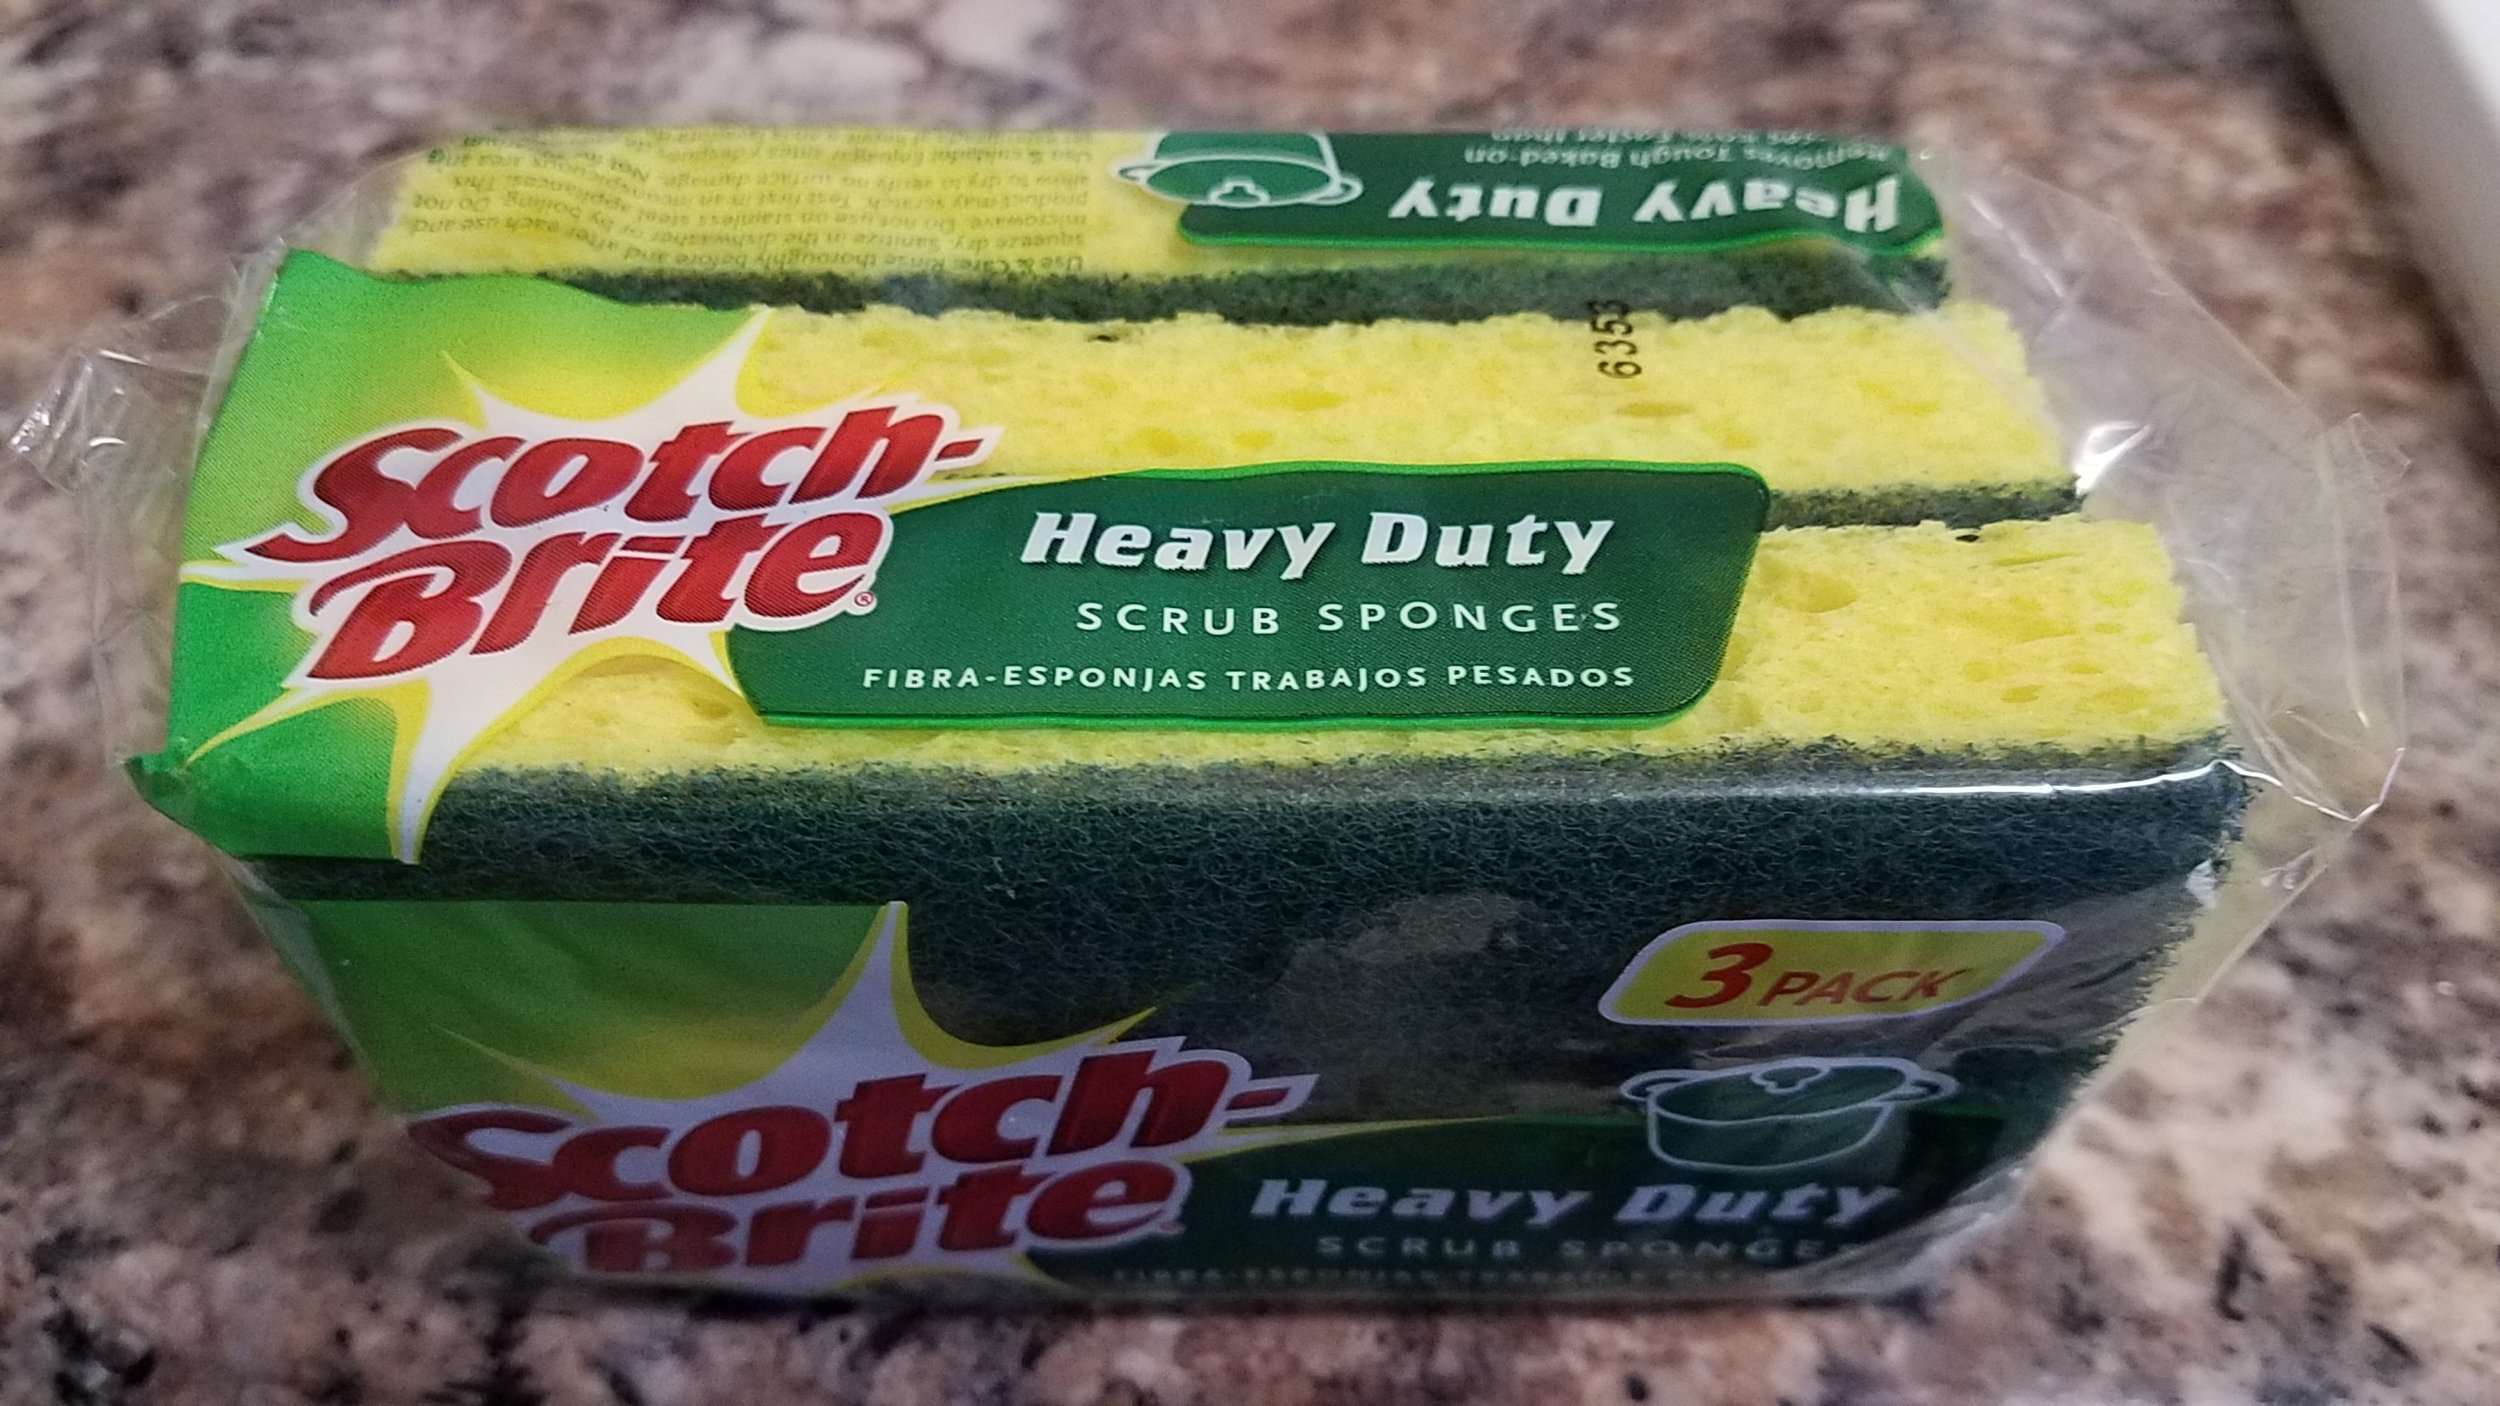
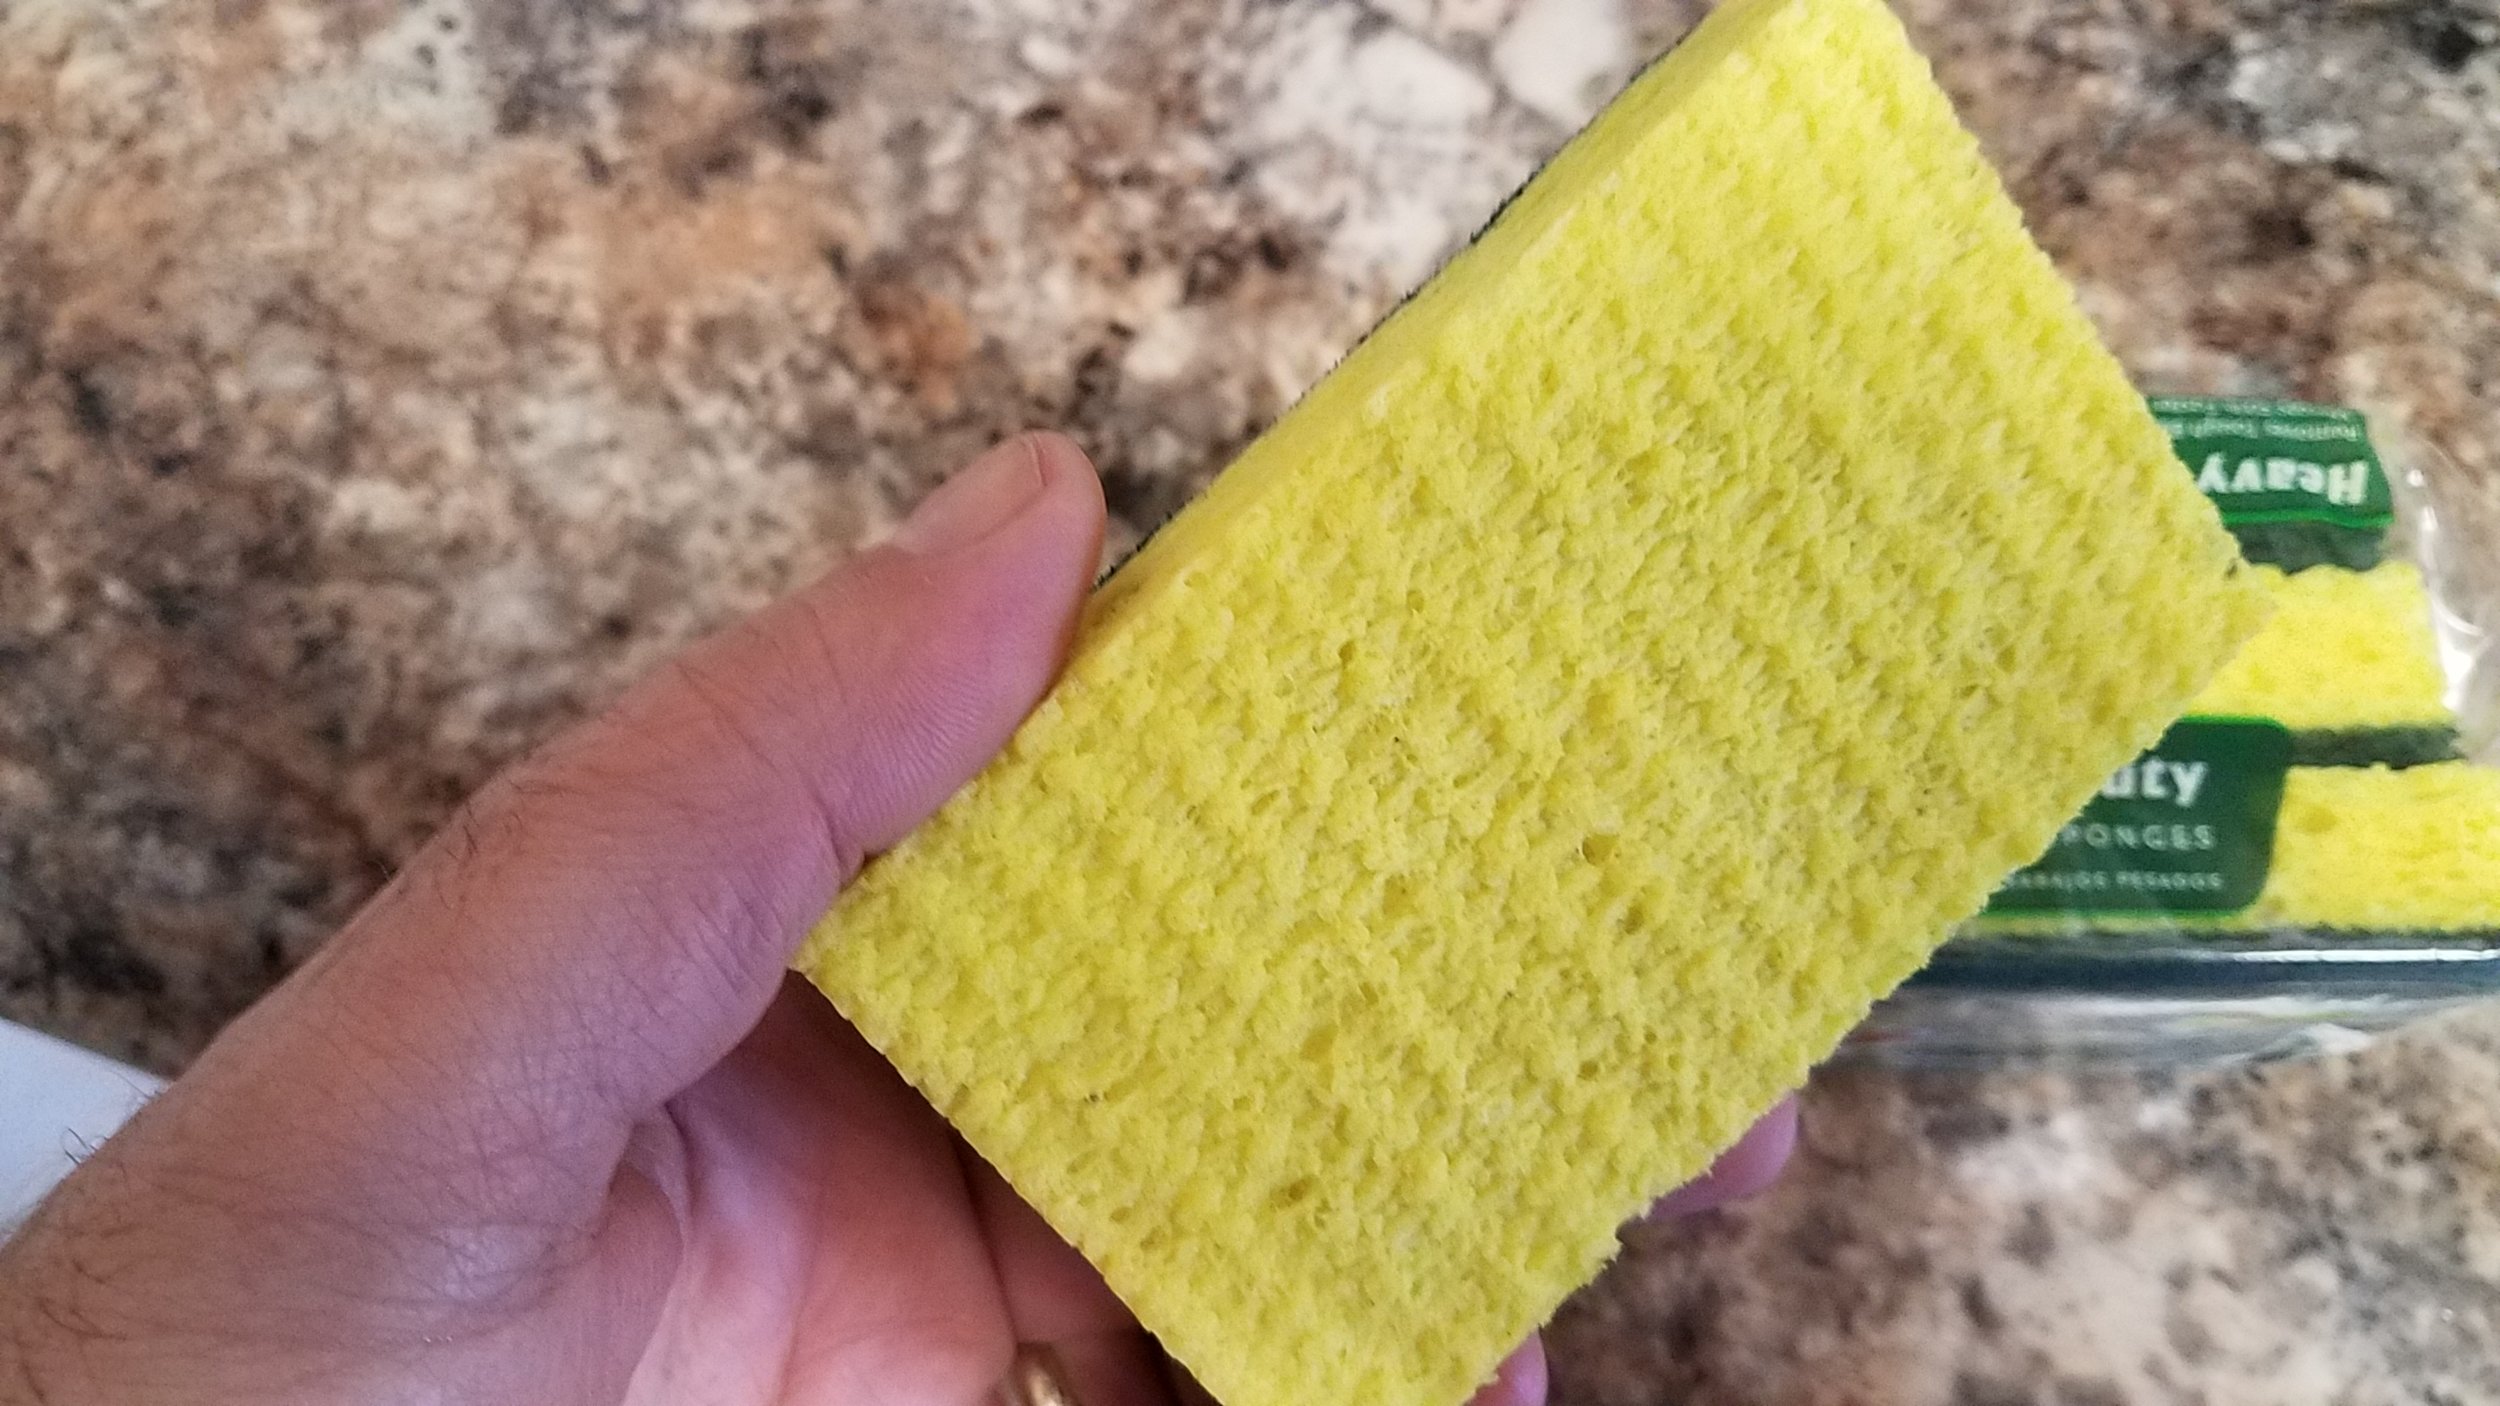
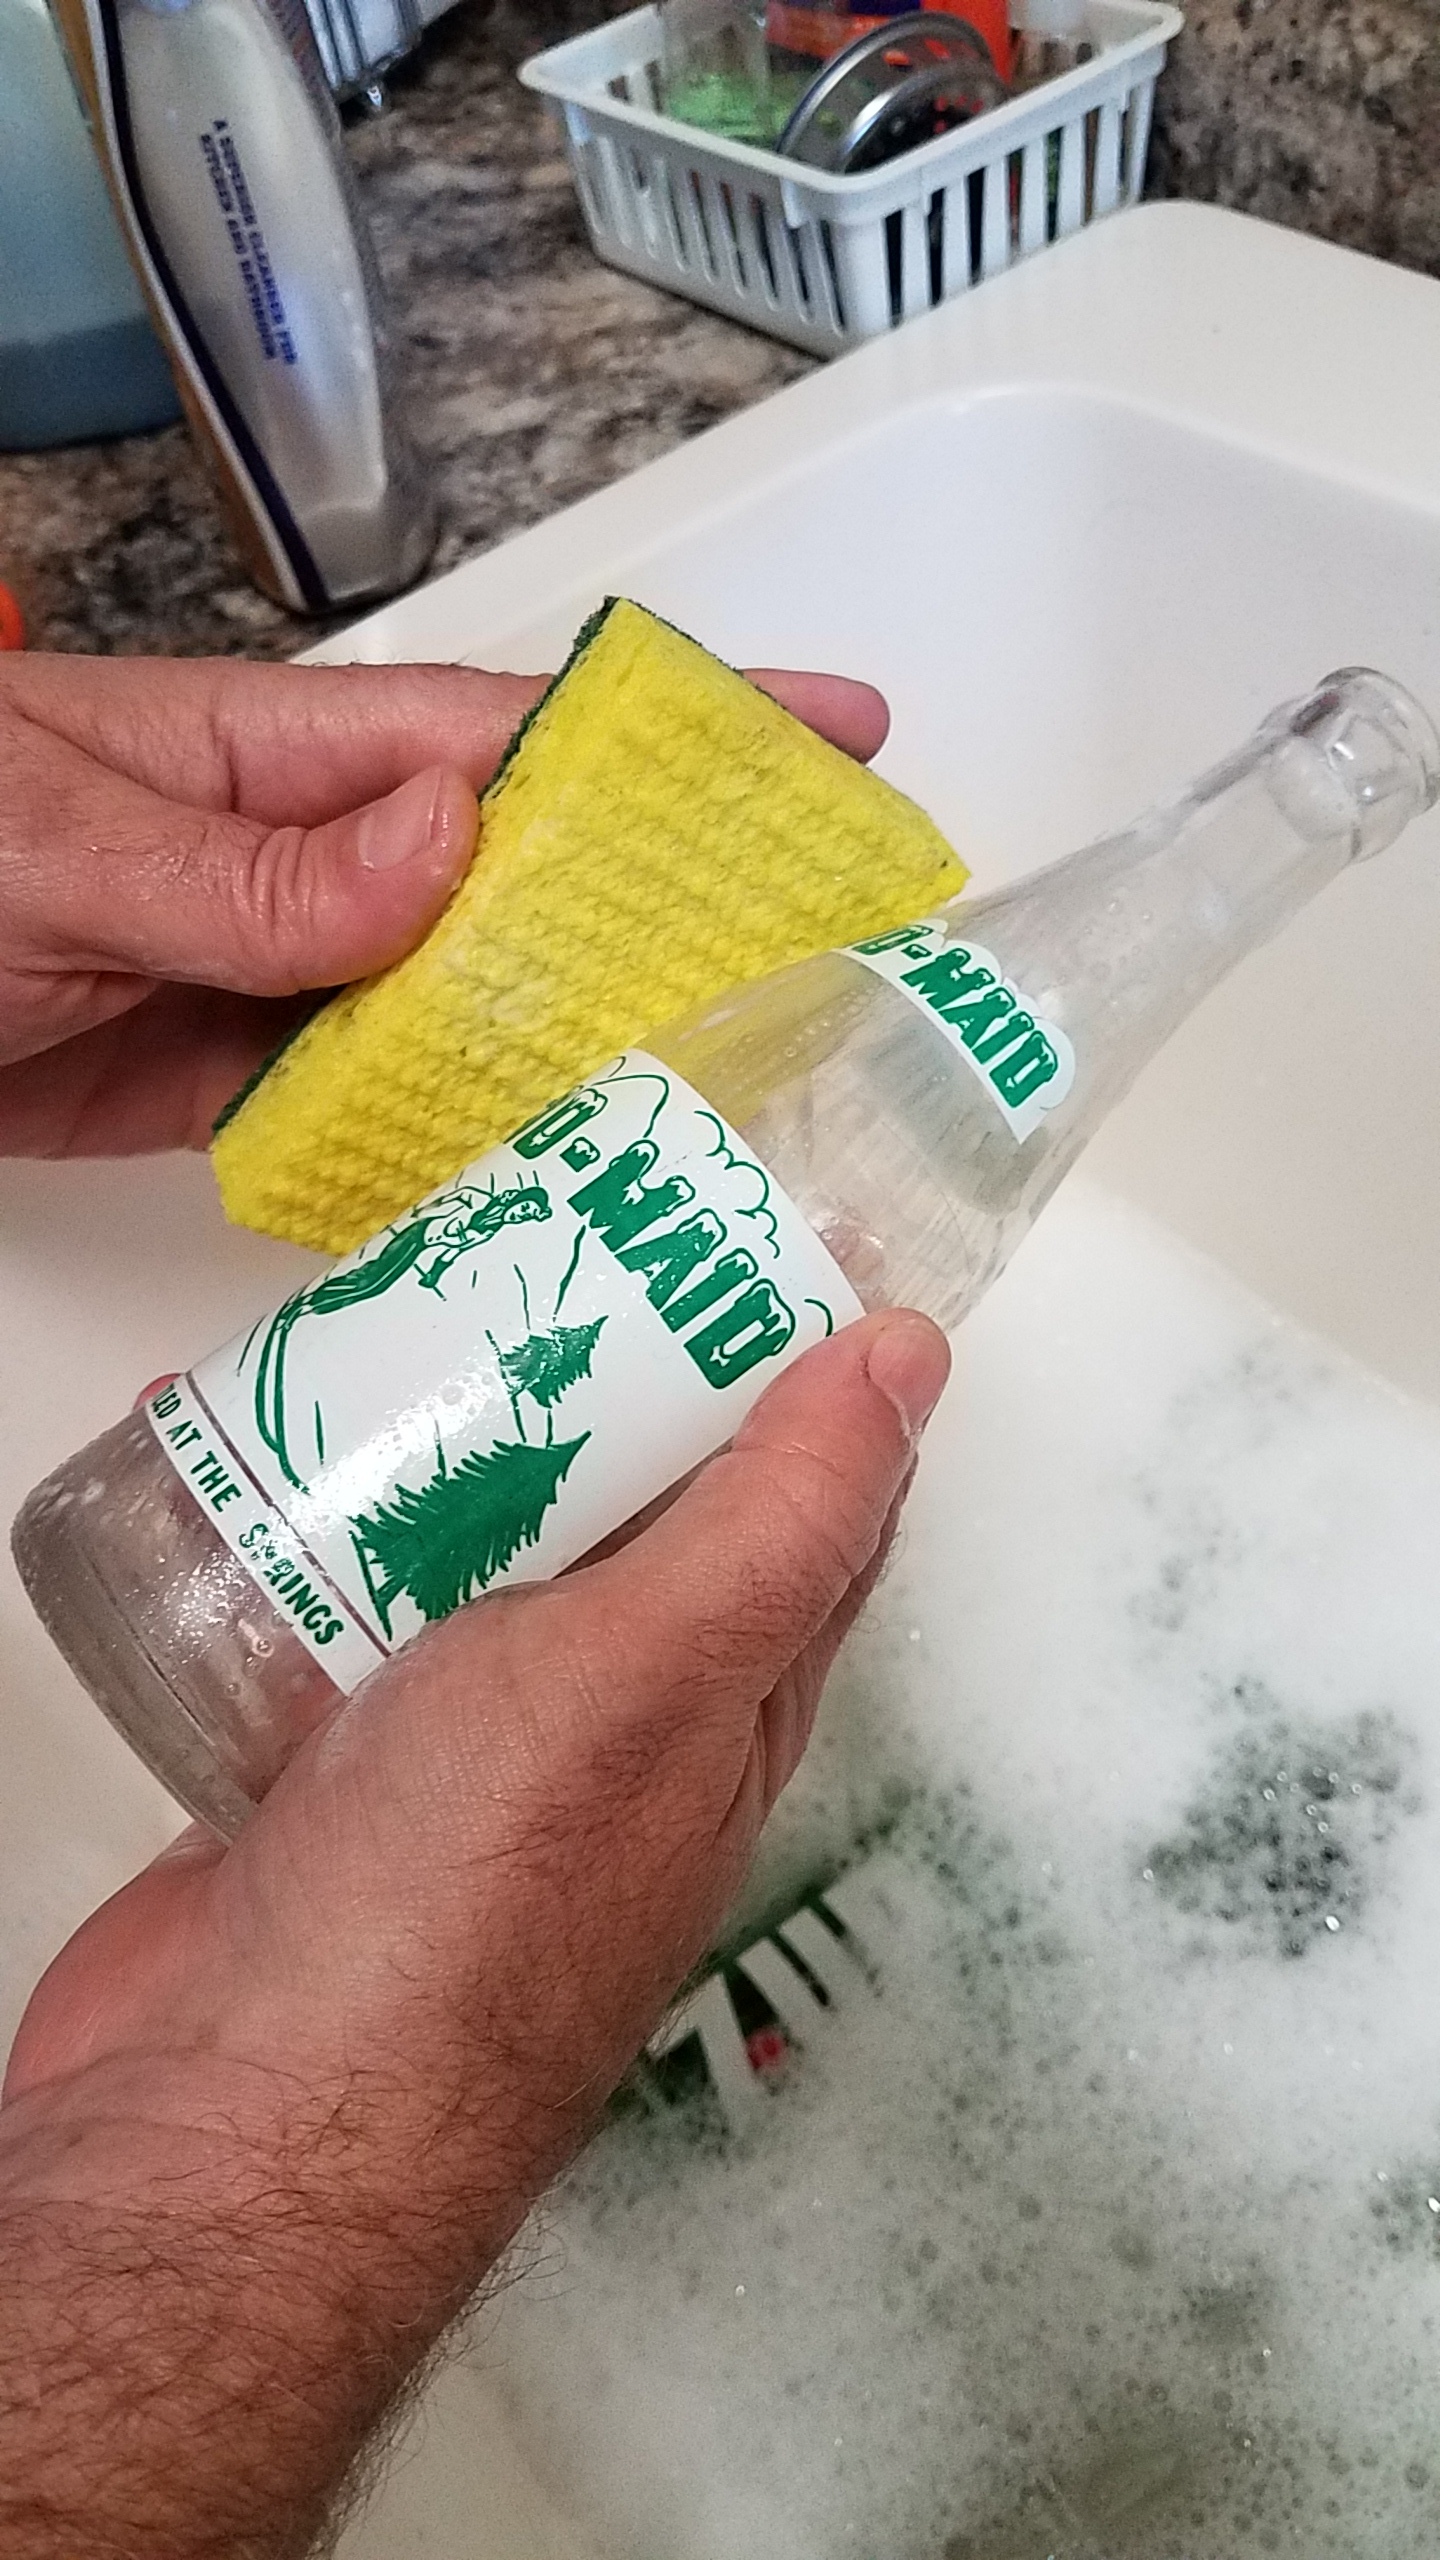
- Scrub Pads. I have found the double sided (green/yellow Scotch Brite pads the best) these are what I call the "best of both worlds". Yellow side is soft and great for cleaning near mint bottles, where the green side has just enough abrasive for those extra dirty bottles and rust stains. You can get these in a 3 pack for just a few dollars.
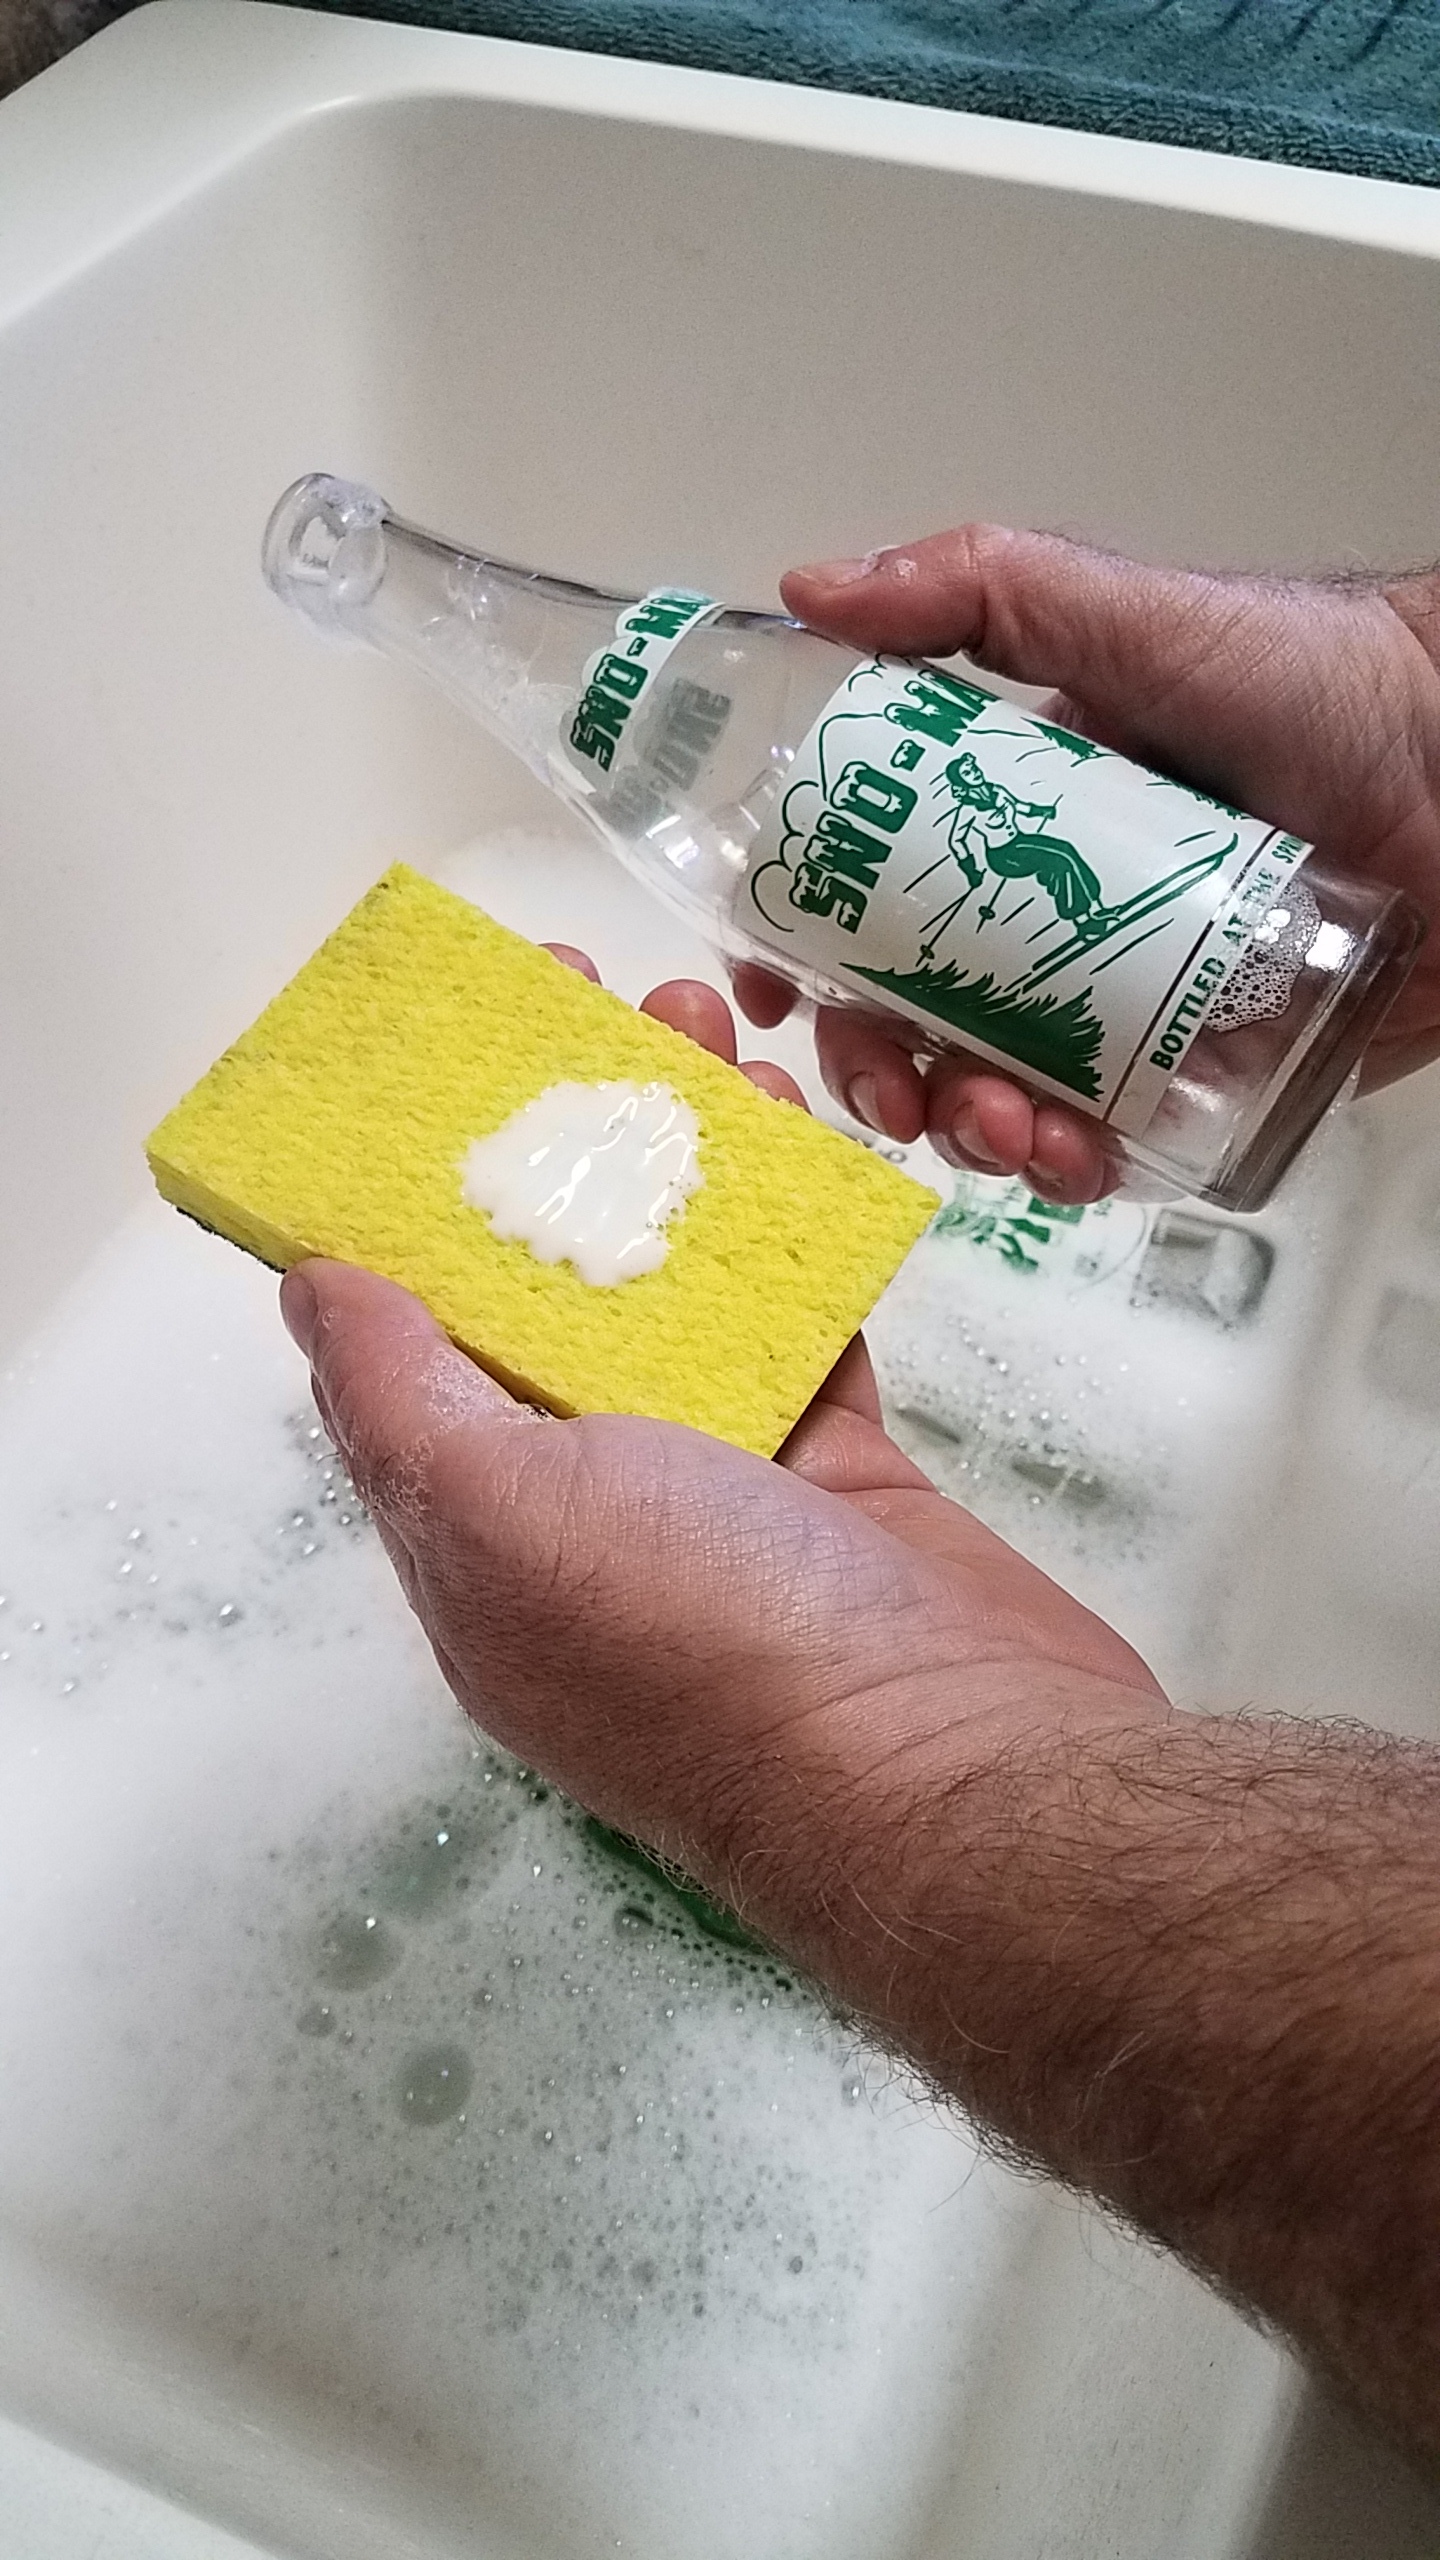
- Bar Keepers Friend. As I have seen on many other online references, I too prefer Bar Keepers Friend liquid for cleaning my bottles. A bottle will last you for a while, just be sure to shake it up good prior to using. You can find this also at your local hardware store. In addition, I have heard from other collectors that a good toothpaste also works great for cleaning.
- Drying rack or stand to let your bottles drain and dry after cleaning. Also can just roll up a towel to create a holder for the bottle to angle down.


Cleaning Process
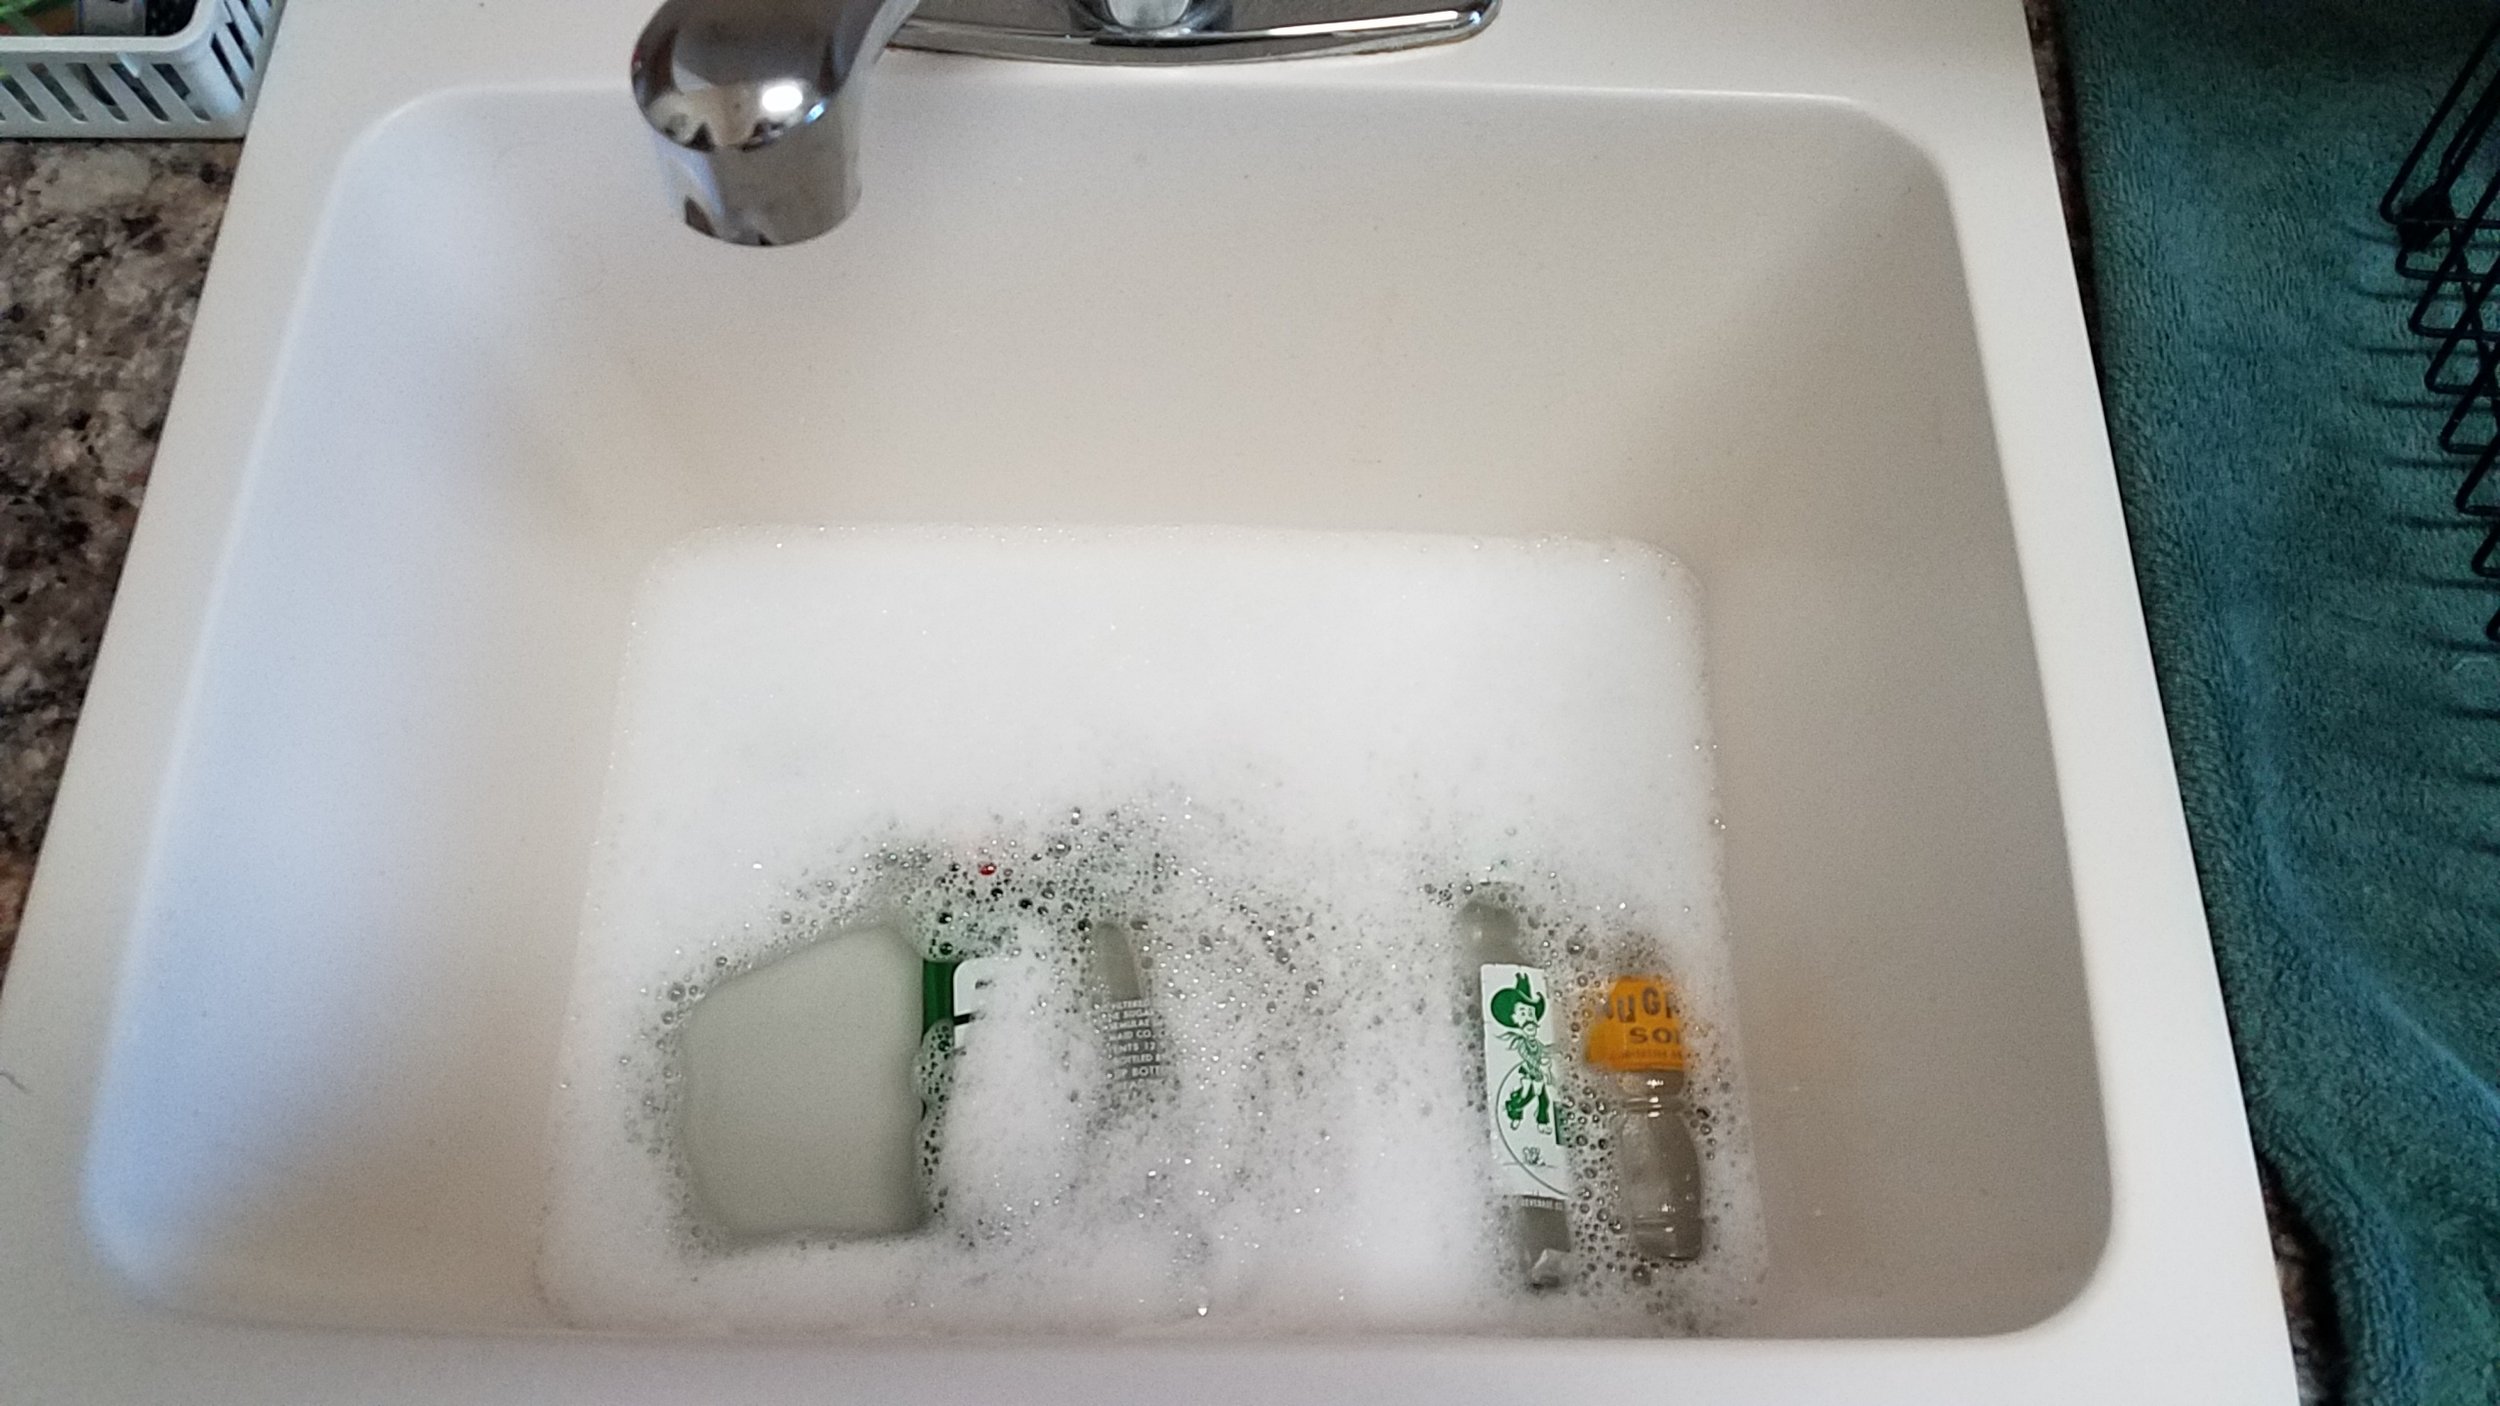
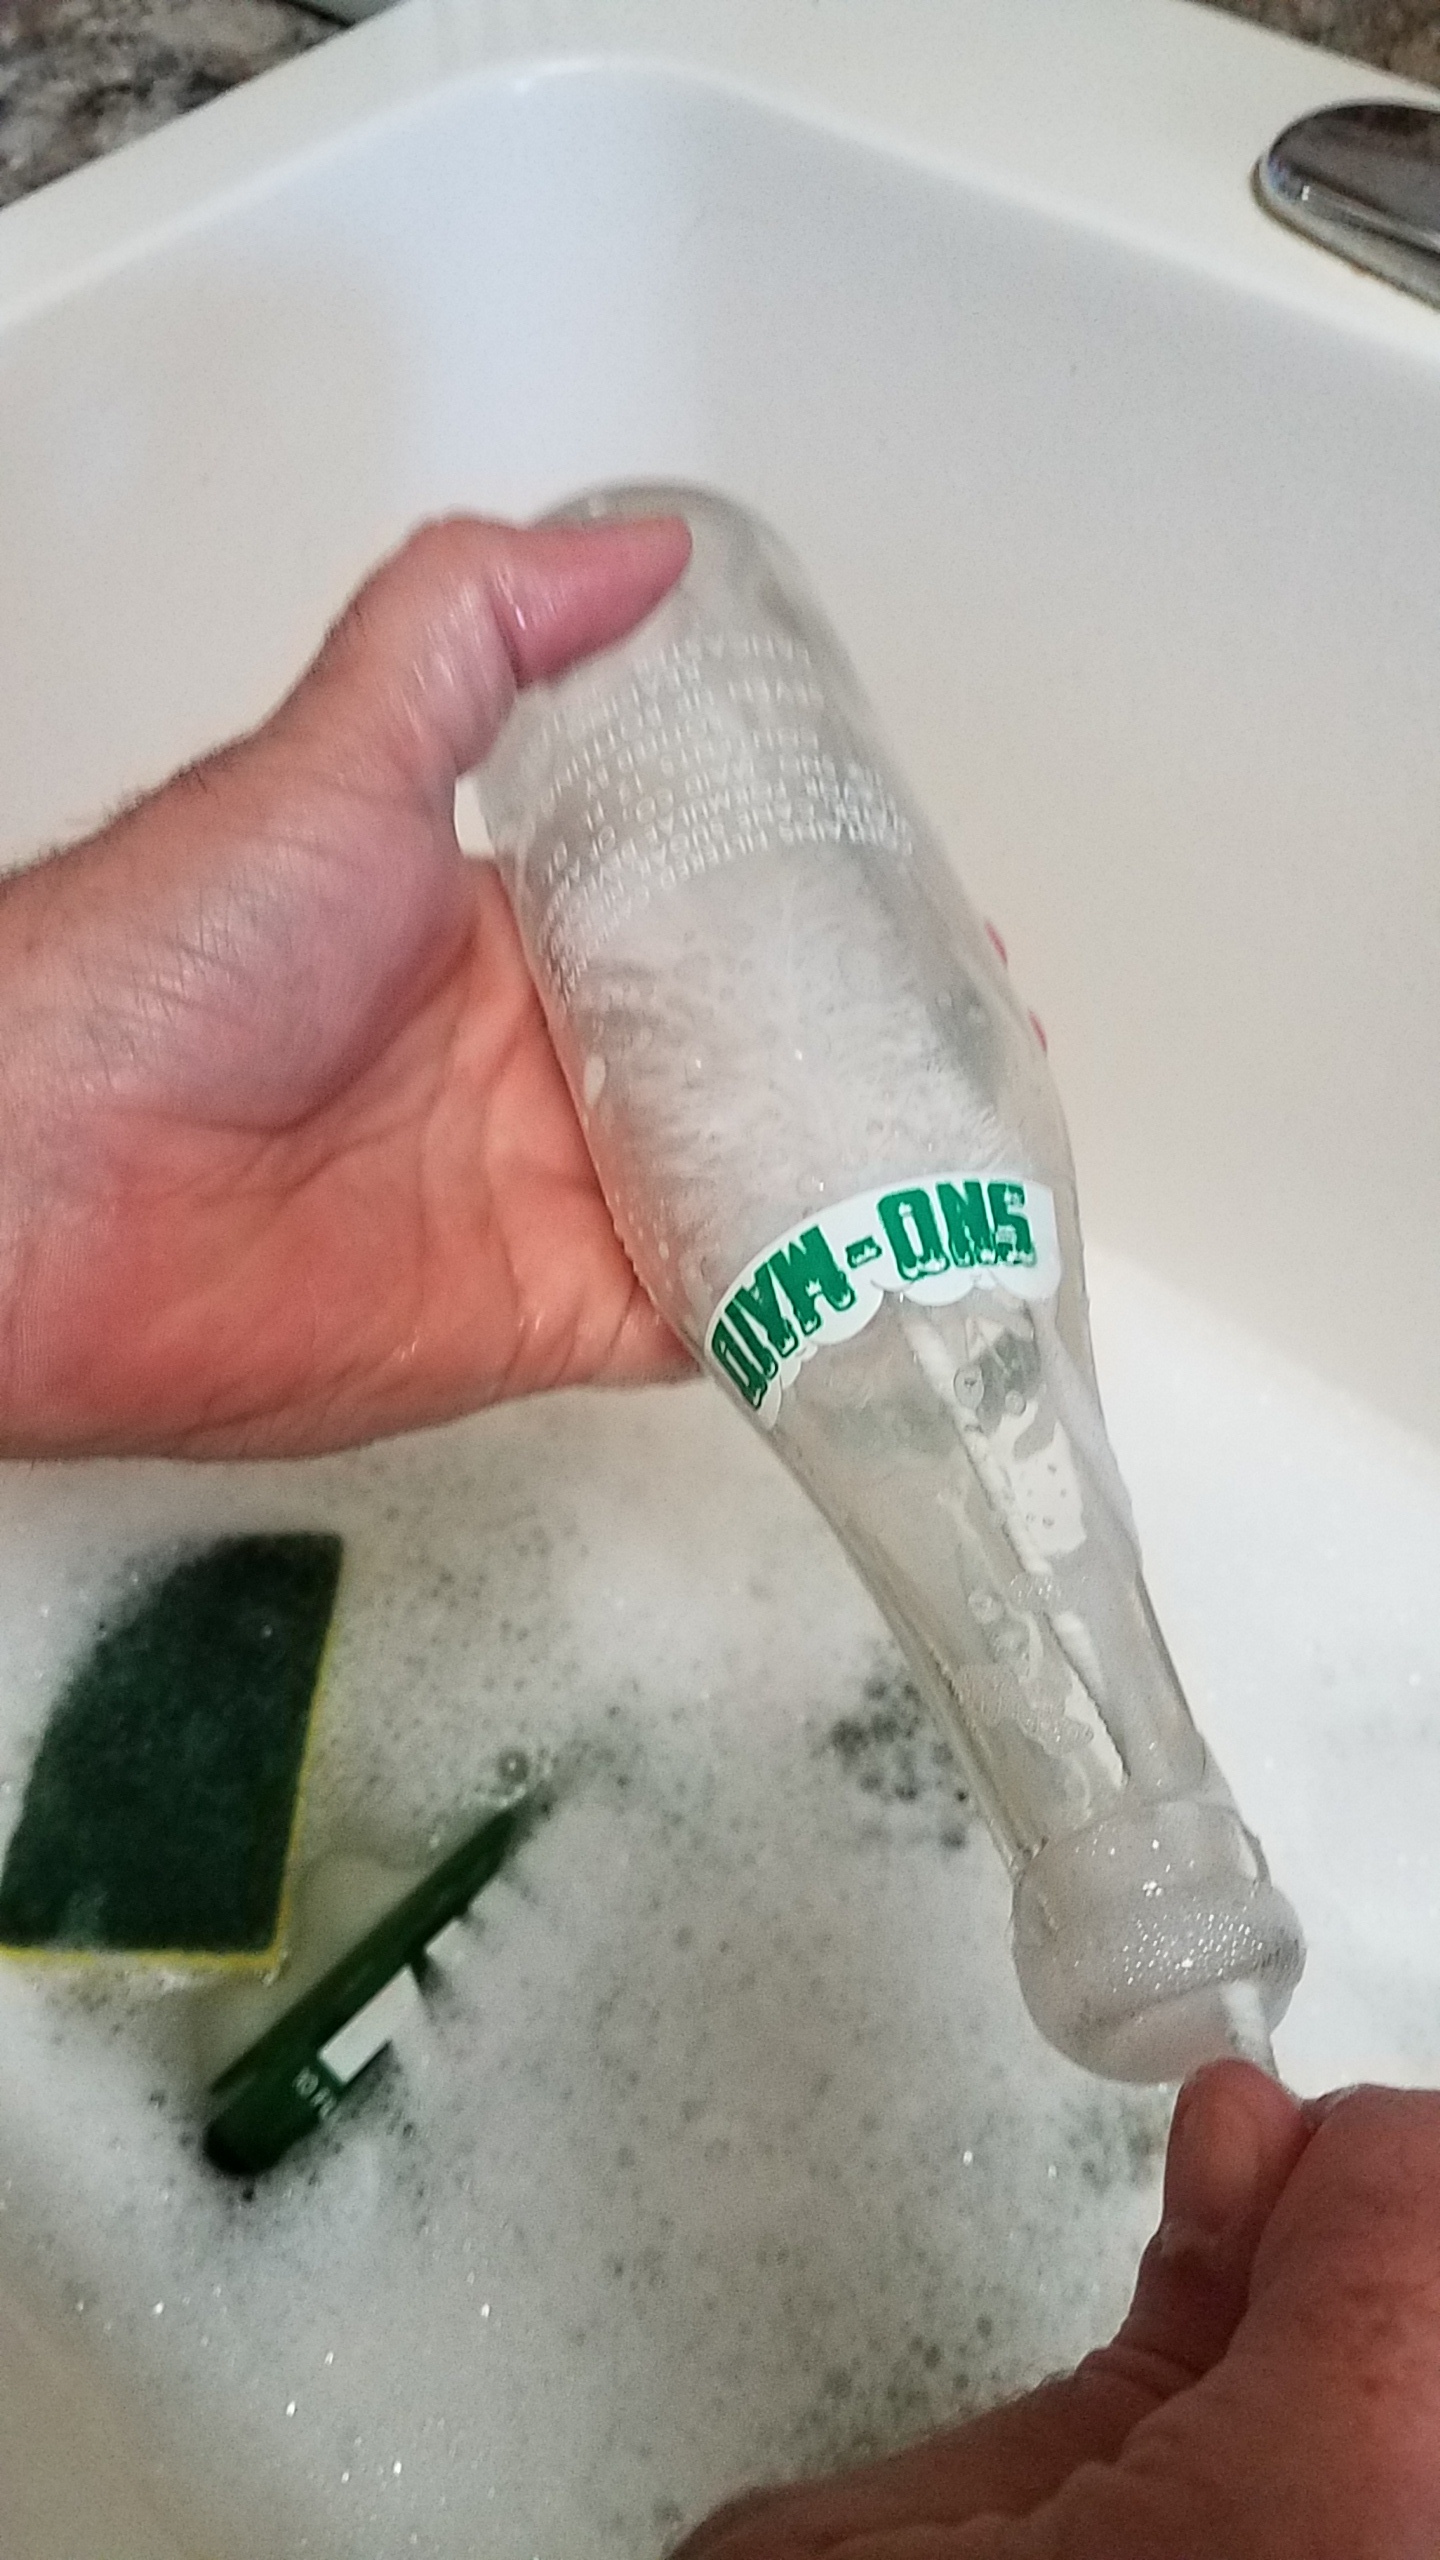
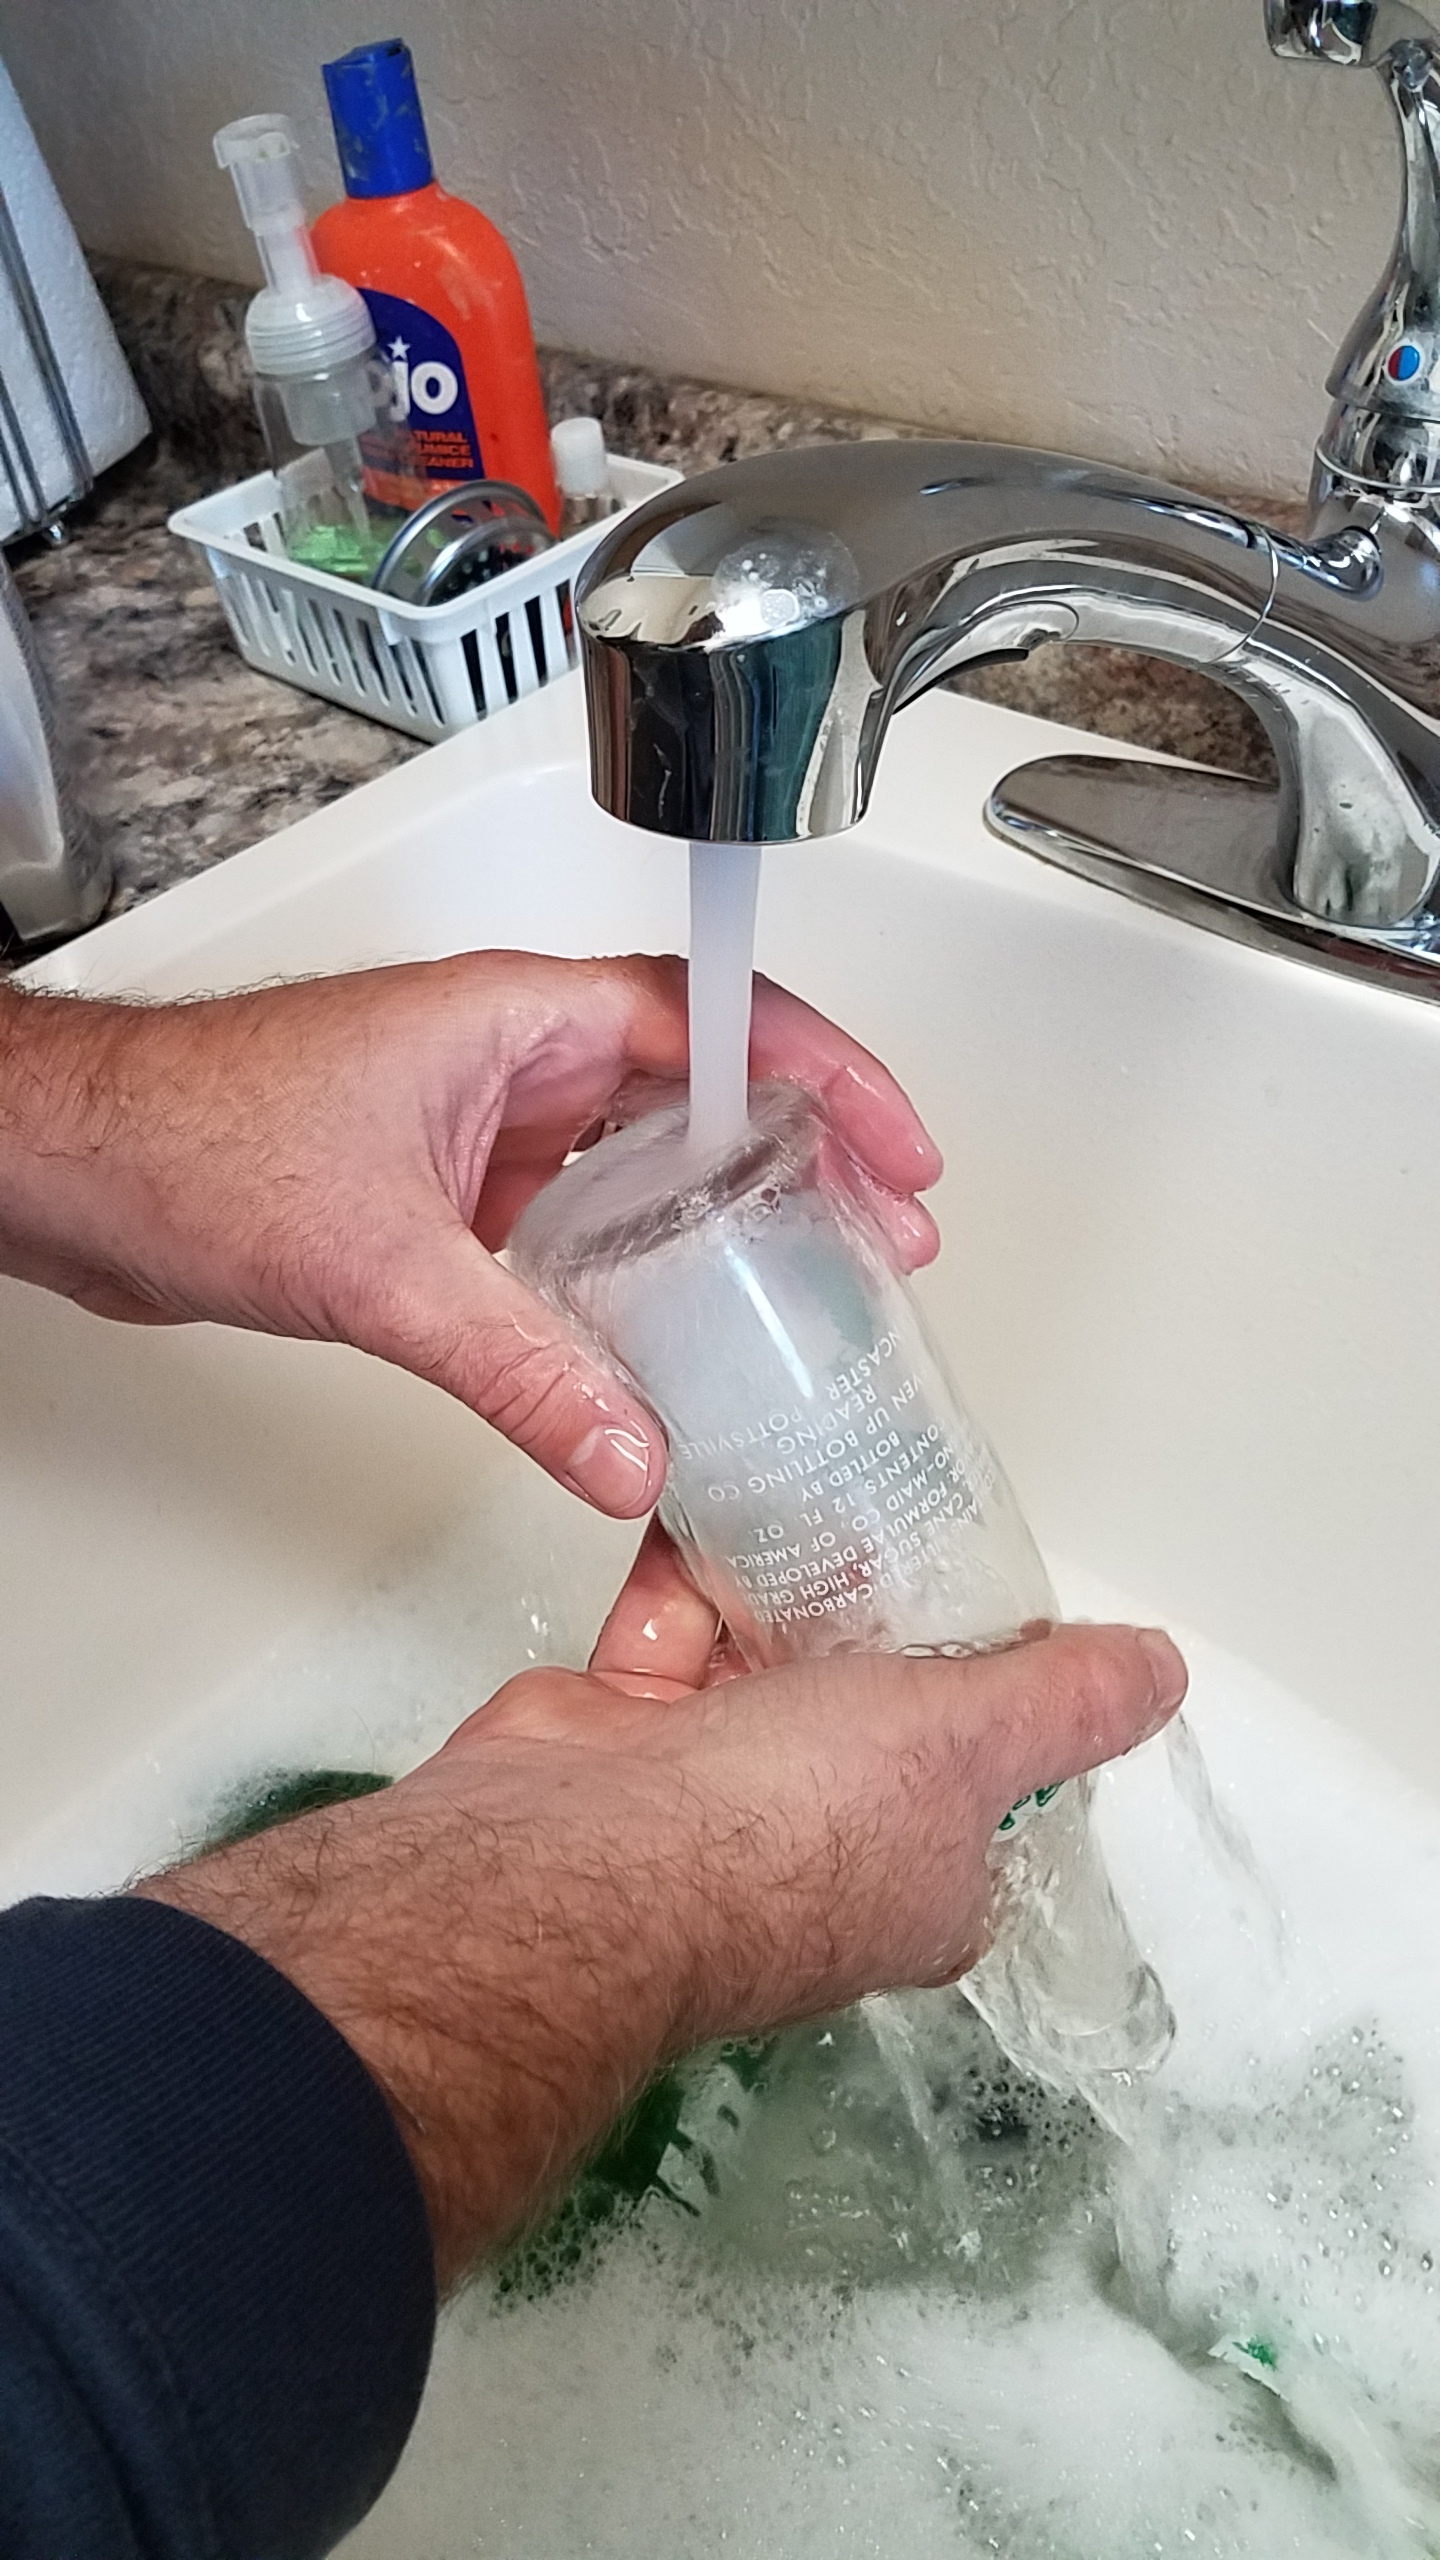
- First thing, for the bottles that are really nasty or just dug up, I will give them a good soaking in soapy water outside and a good spray down with the garden hose. This will keep mother-nature (dirt) outside where it belongs. Again, this is just for those super dirty bottles.
- Next step and for all bottles, I will fill up my utility sink of the hottest water coming out of the faucet and soap. I usually try to let these fully soak for a while. A few hours if I’m not in a big hurry.
- After soaking, I will use the Scotch Brite pads, cleaning brushes and Bar Keepers friend as needed. Please see notes below as per condition of the bottle;
- Mint Bottles – Just use yellow pad, and soft brush to give a good wash down with very light scrubbing. Rinse and dry.
- Dirty, Rust Stained Bottles- Yellow and or green side pad, with some Bar Keepers Friend. Also spray inside bottle and use brushes as needed to clean. The long handle brush can be bent to fit the contour and scrub better. Light cleaning on the painted label to clean up and bring out the color. For the rust stains, might need use the more abrasive (green side of the pad).
- Color Fade and missing Paint- Don’t over scrub on these thinking you will bring the paint color back, most cases you will make it worst. Again, it is what it is. Just a decent scrub and rinse.
· After you think you have the bottle looking its best, a good final wash and then let sit upright and let air dry. On to polishing!


Polishing:
In reference to online mentions, I have heard several different methods and chemicals folks are using to get their bottles looking their best after cleaning. Mentions of household and furniture cleaners, waxes, shoe polishes, Windex….. and the list go on and on. For sure I’m not cancelling these claims and they might work great, but I will show you the method that I have stood by for years.
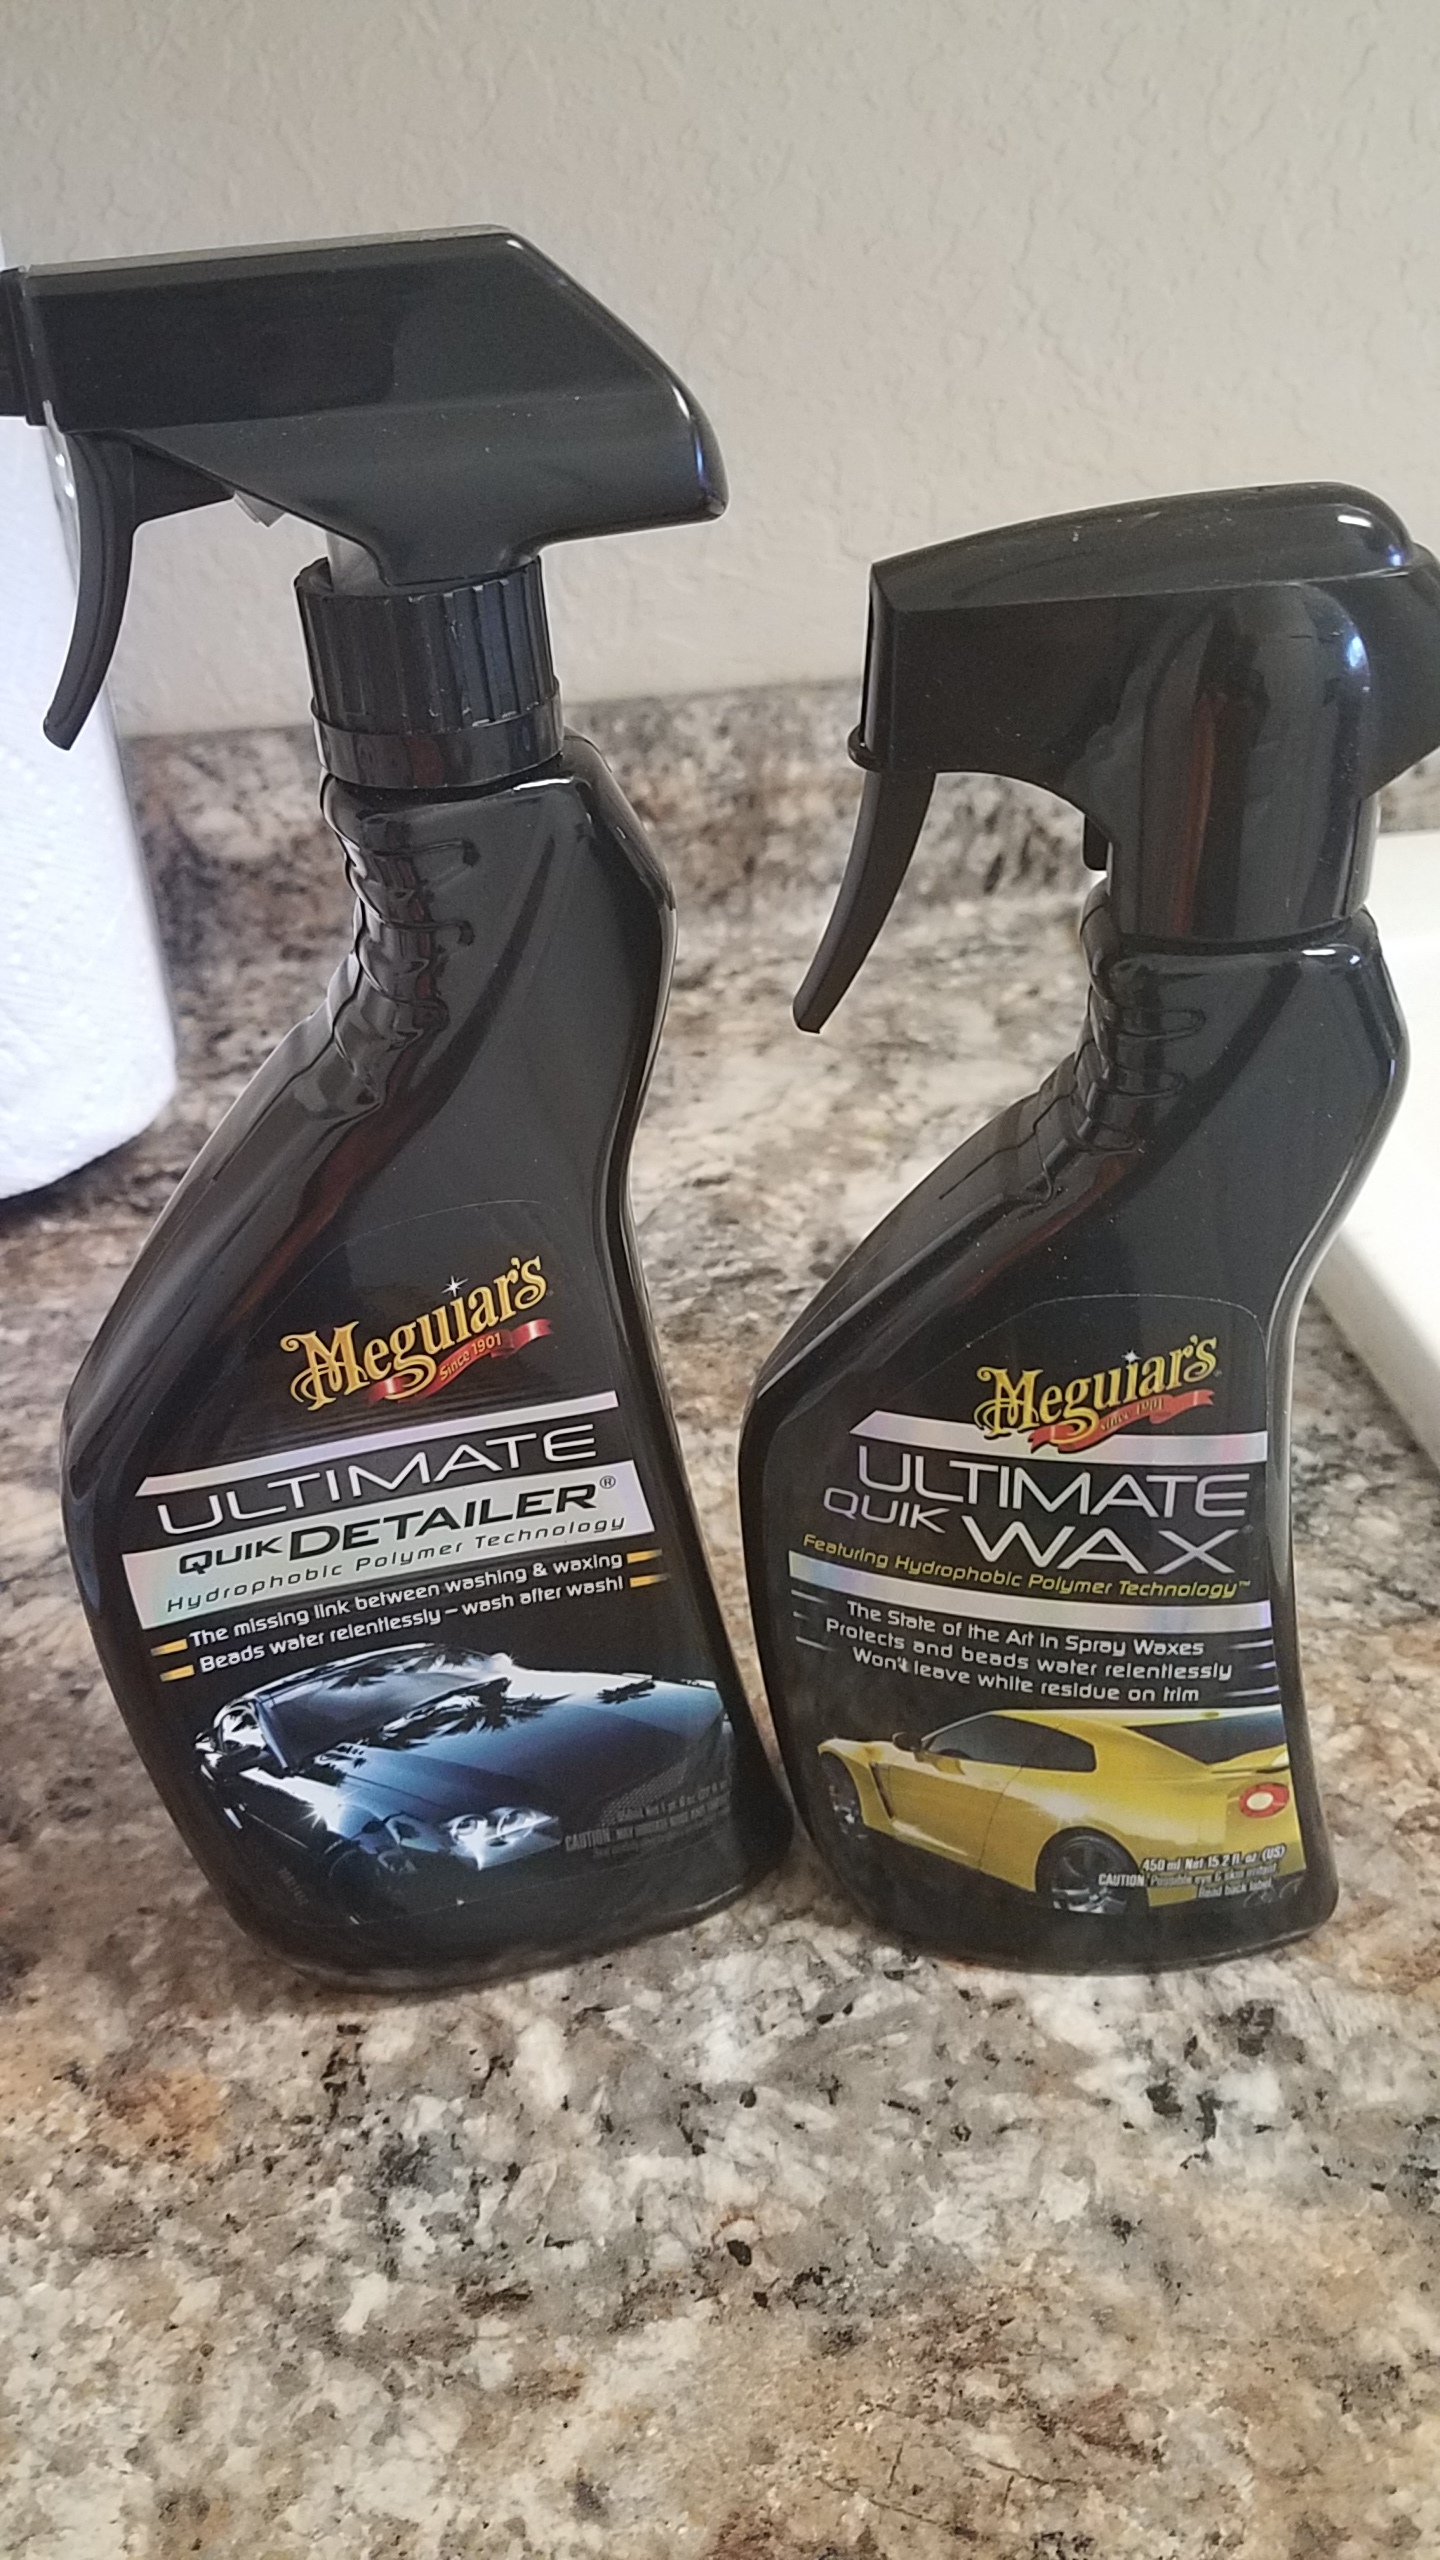
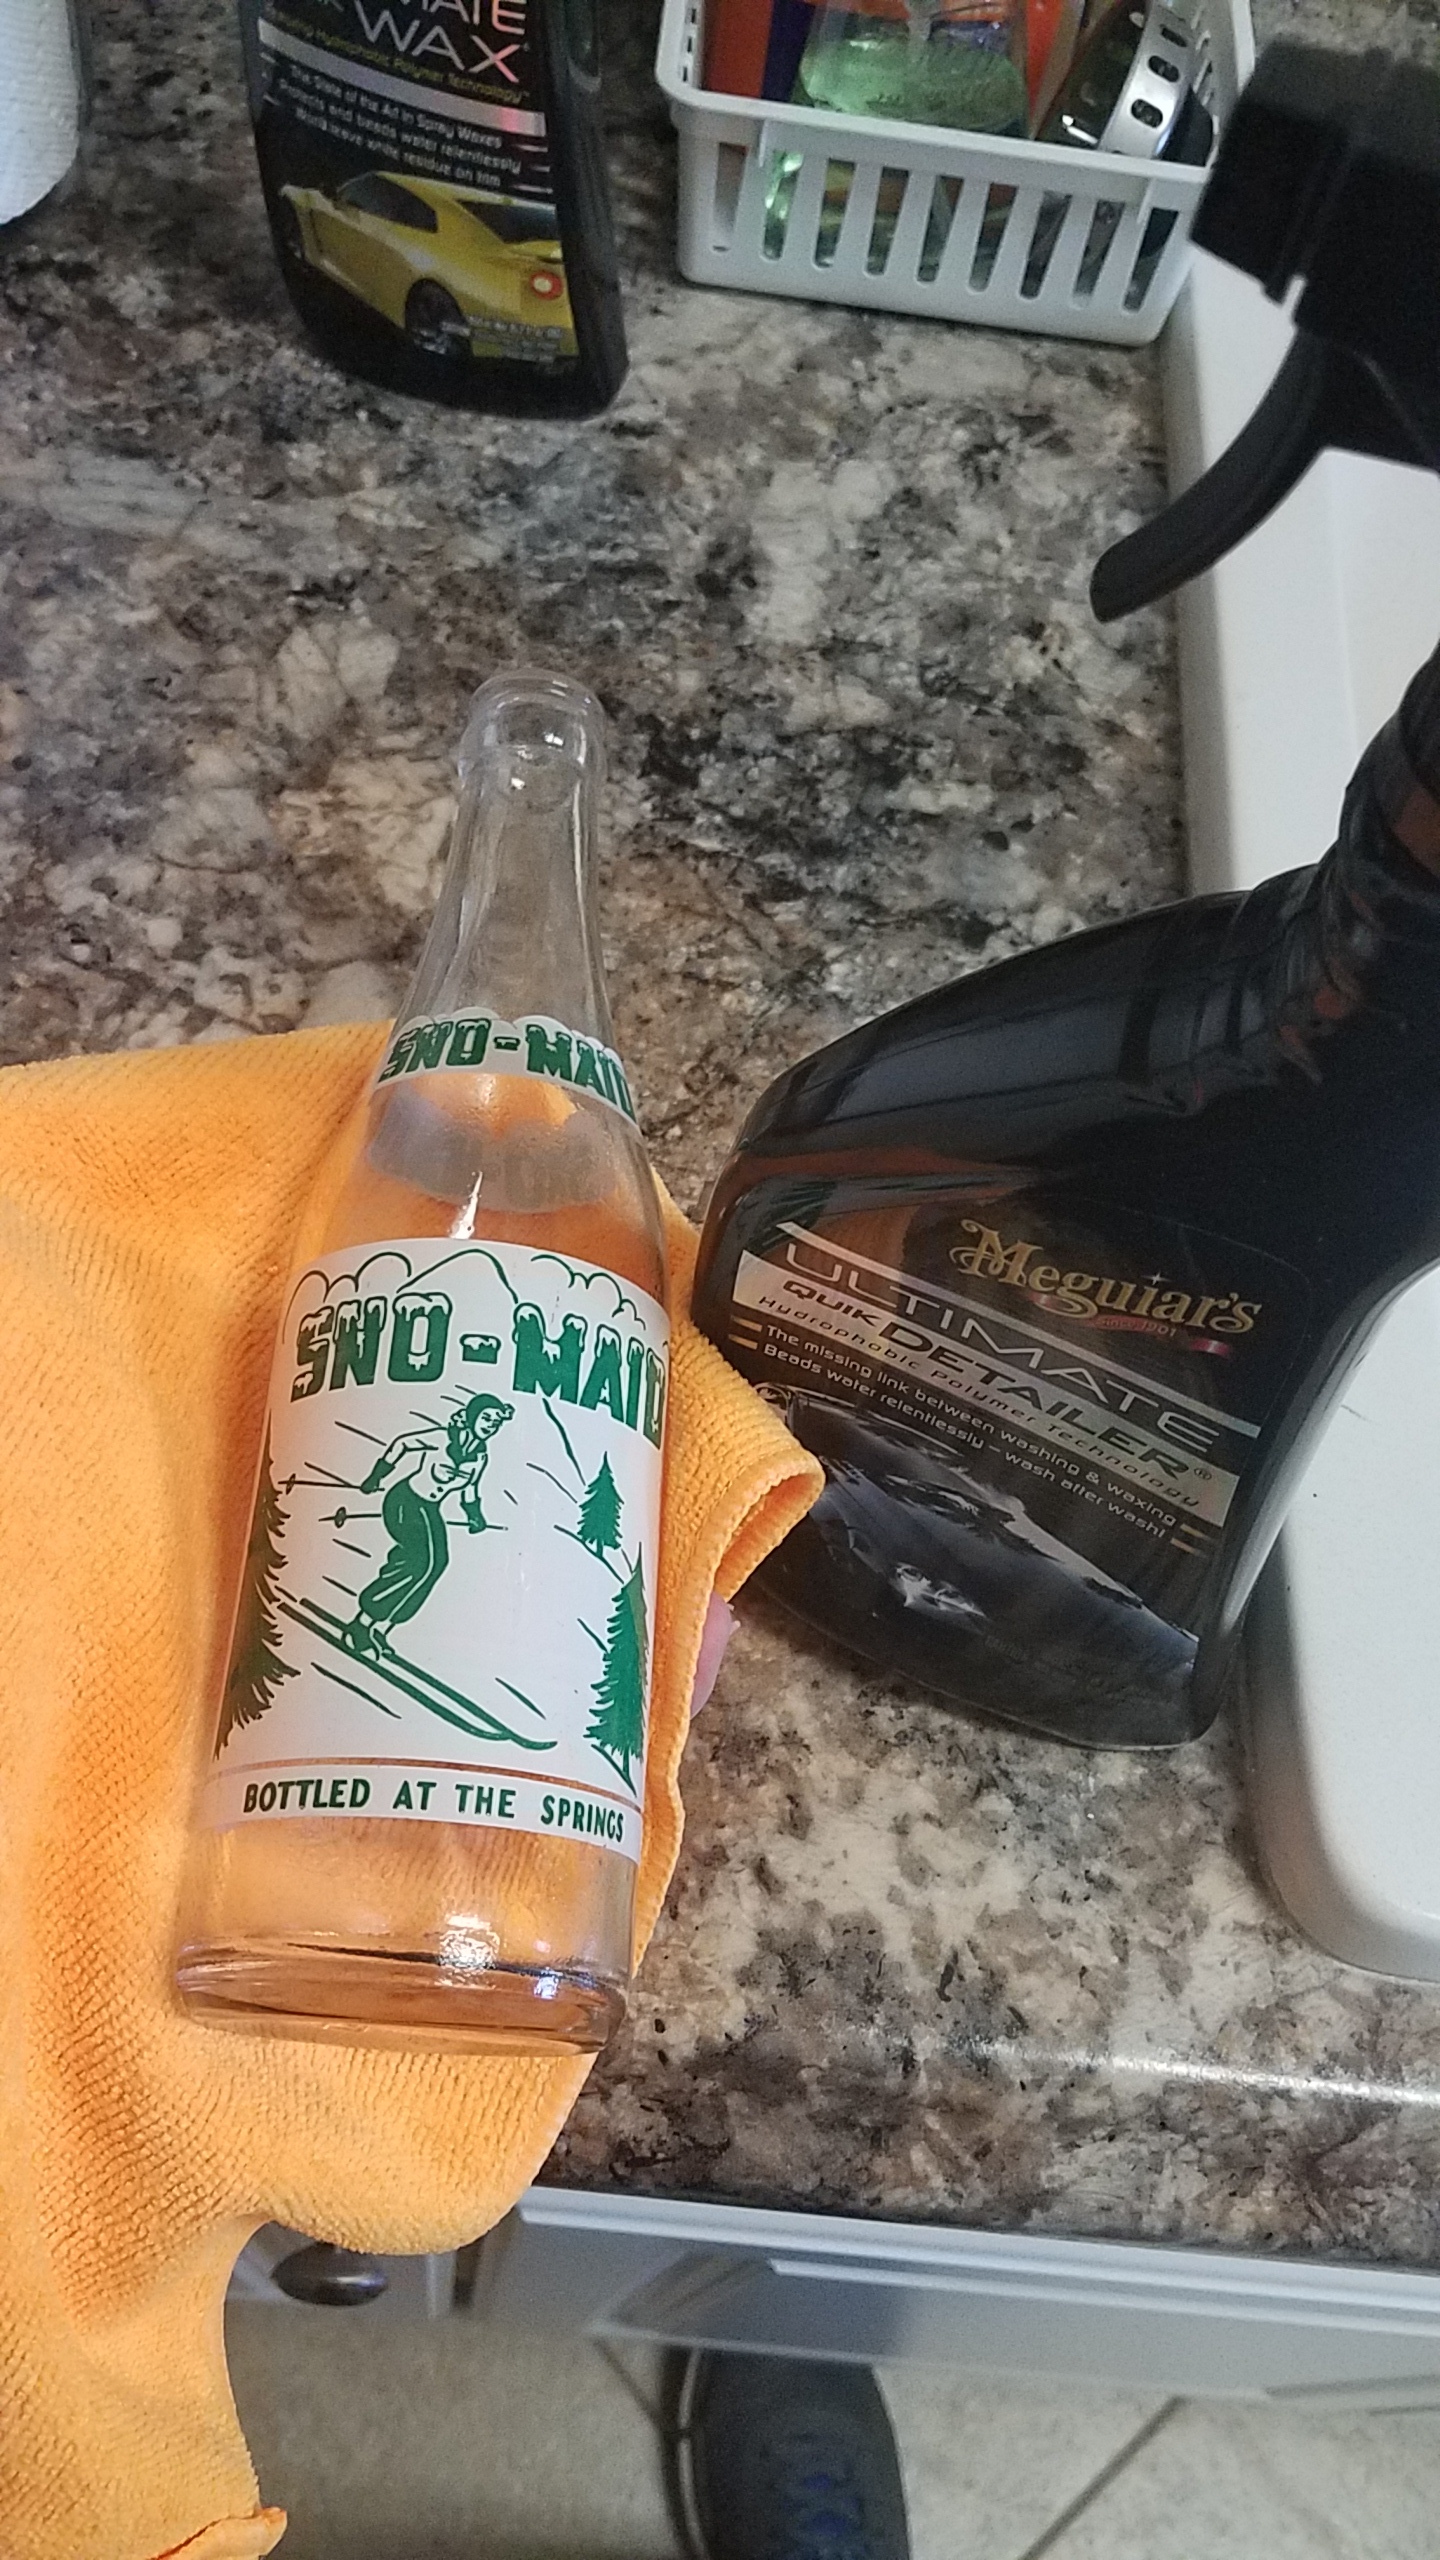
My preference is the use of car polish and my favorite is the Meguiars Ultimate Detailer car polish. Oh, and yes I do use this on my cars too :) Normally I just give the bottle a good spray of the Ultimate Detailer on the label and wipe entire bottle with a soft polishing towel. This polish is great at bringing out the colors and also gives a nice shine to the bottle. In addition, I have brought this polish to shows in order to make my bottles look the best and also share with fellow collectors.
Waxing and Tumbling
Well, we are towards the end and I have two more items to explain. Many people also like the use of a wax on that top shelf ACL they have in their collection. For wax, I also recommend the Meguiars Ultimate Wax in liquid. A wax will provide a layer of protection after the polish. Application of the spray wax is the same as the polish.
As I mentioned earlier, you cannot tumble (well you can) ACLs as this would totally remove the painted label and ruin the value of your bottle. Tumbling is more common for embossed bottles that either have numerous scratches or haziness in the glass. In many cases, you can notice a earlier bottle that has been tumbled as it looks brand new. I have not ventured into tumbling yet, but looking to learn in the next coming years. The Jar Doctor seems to be one of the leaders/mentors on tumbling so I would look him up at www.jardoctor.com
Well, that is if for now. Hope you enjoyed this article and feel free to share your input/suggestions either via email or on the Facebook group "Vintage Soda Collector" Both links are at the bottom of this page. Happy Cleaning, Tom

Revision: Jan2018: Correction for recycle wear in the conditions section. Credit: Dennis Dempsey, Jeff Oster and Rusty Tromblunkin. Addition of toothpaste to cleaning materials. Credit: SodaPopBottles.com and Steve Farr
Keeping Inventory
Currently working on my next article on keeping inventory of that growing collection. Stay tuned!


Happy 2024 to everyone and hope all is well. Finally was able to make some updates to both the Library and Links section of my site. Check them out for some great ACL knowledge!