
It took a few years, but I finally purchased a bottle tumbler and have started my tumbling 101 experience. Well actually to be correct, the tumbler was a Christmas gift from my significant other this past year so she deserves the credit there. After pondering around a long time on building my own tumbler, it just did not add up to the packages you can get from the leader in this field. Yes, my tumbler and accessories are from the famous Wayne also known as the Jar Doctor.
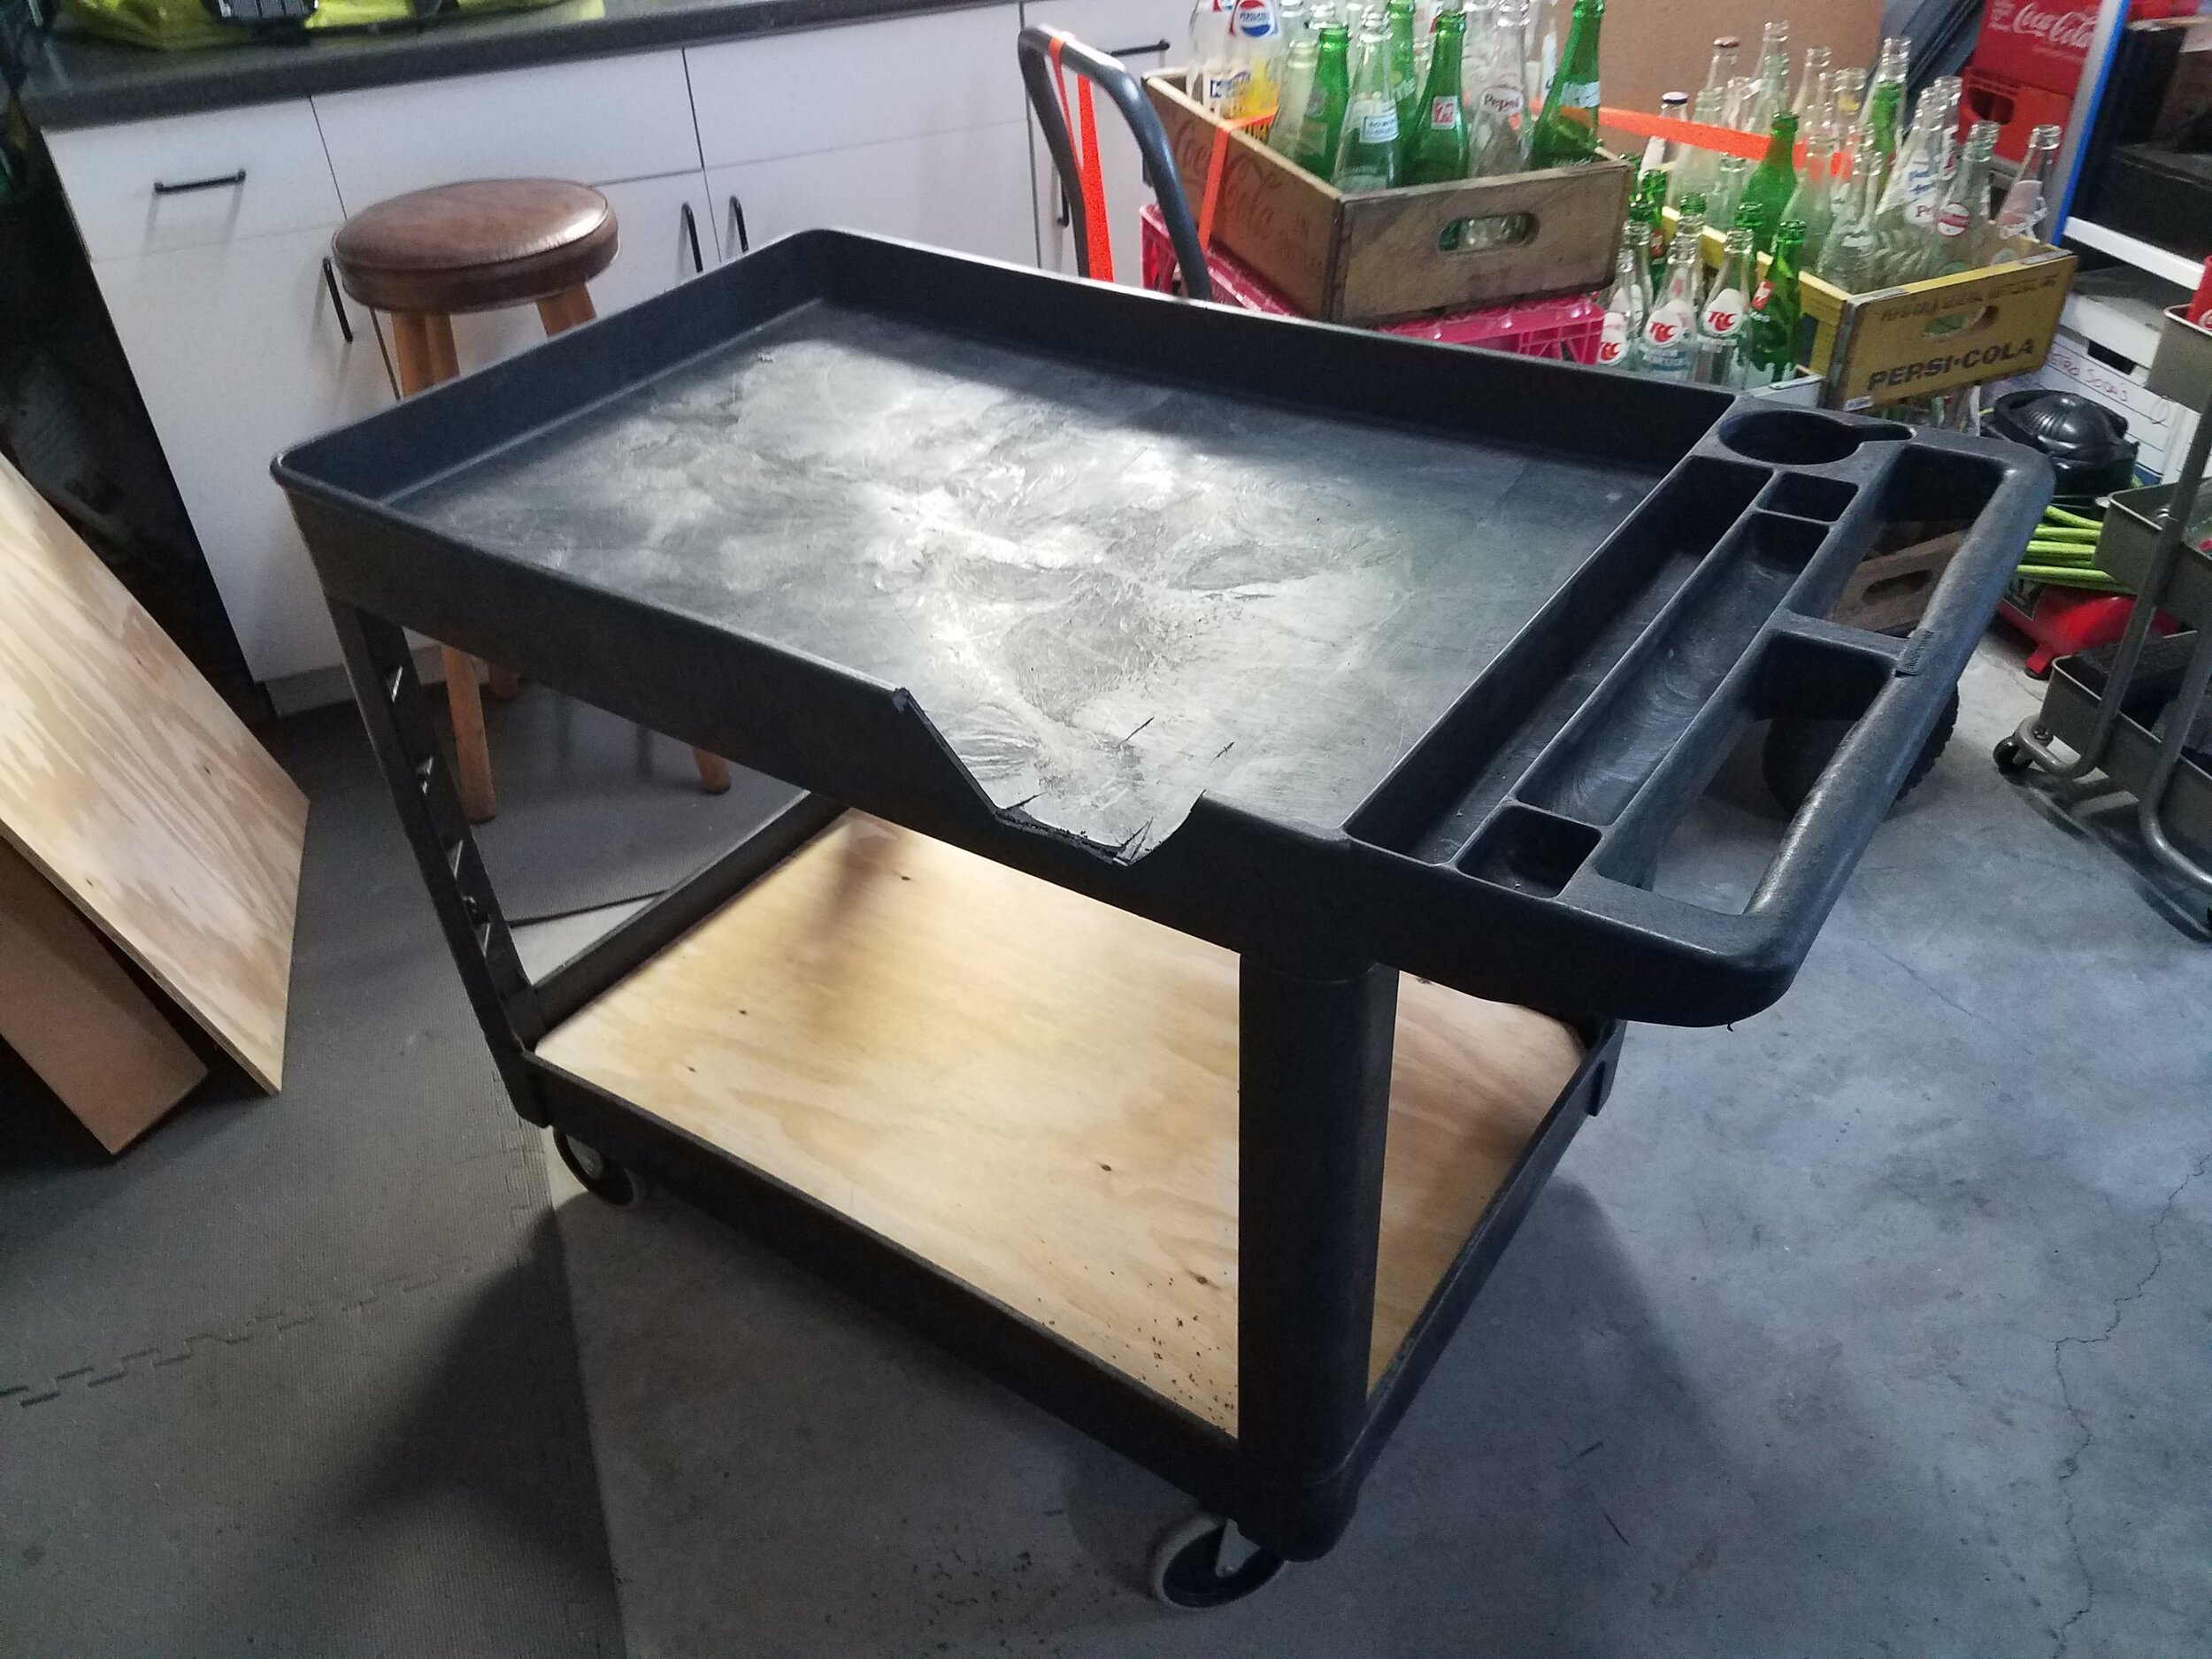
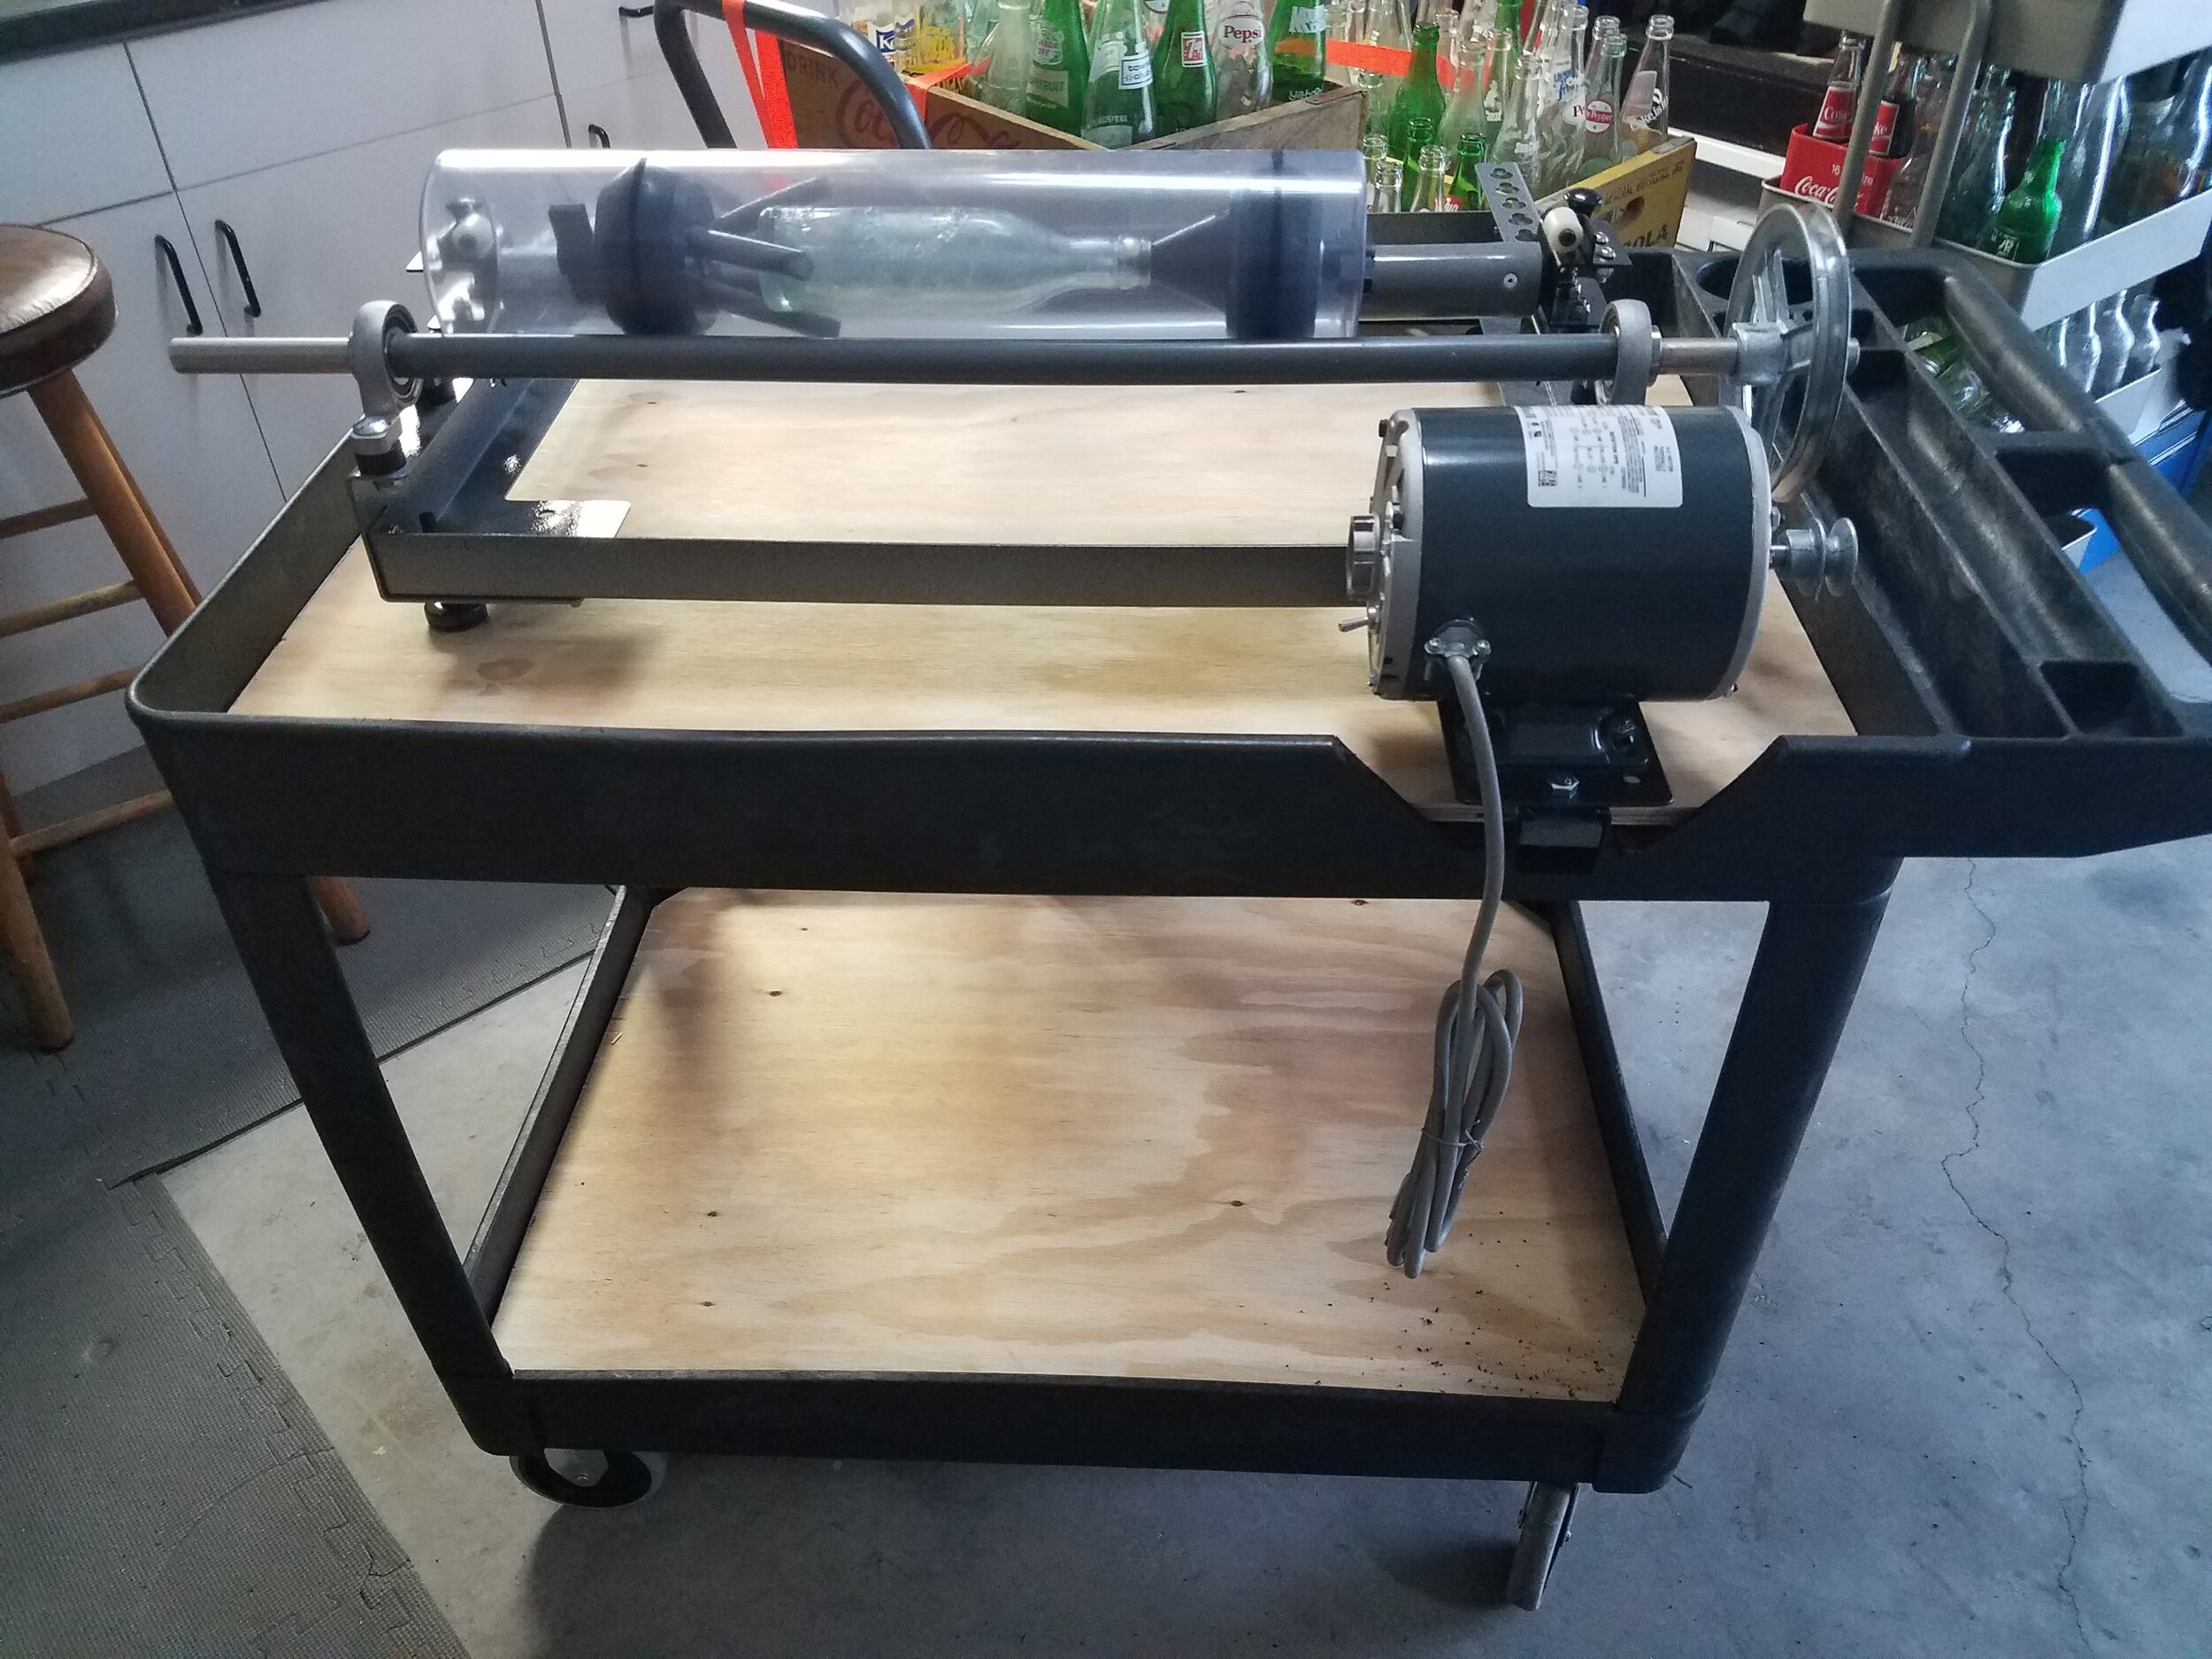
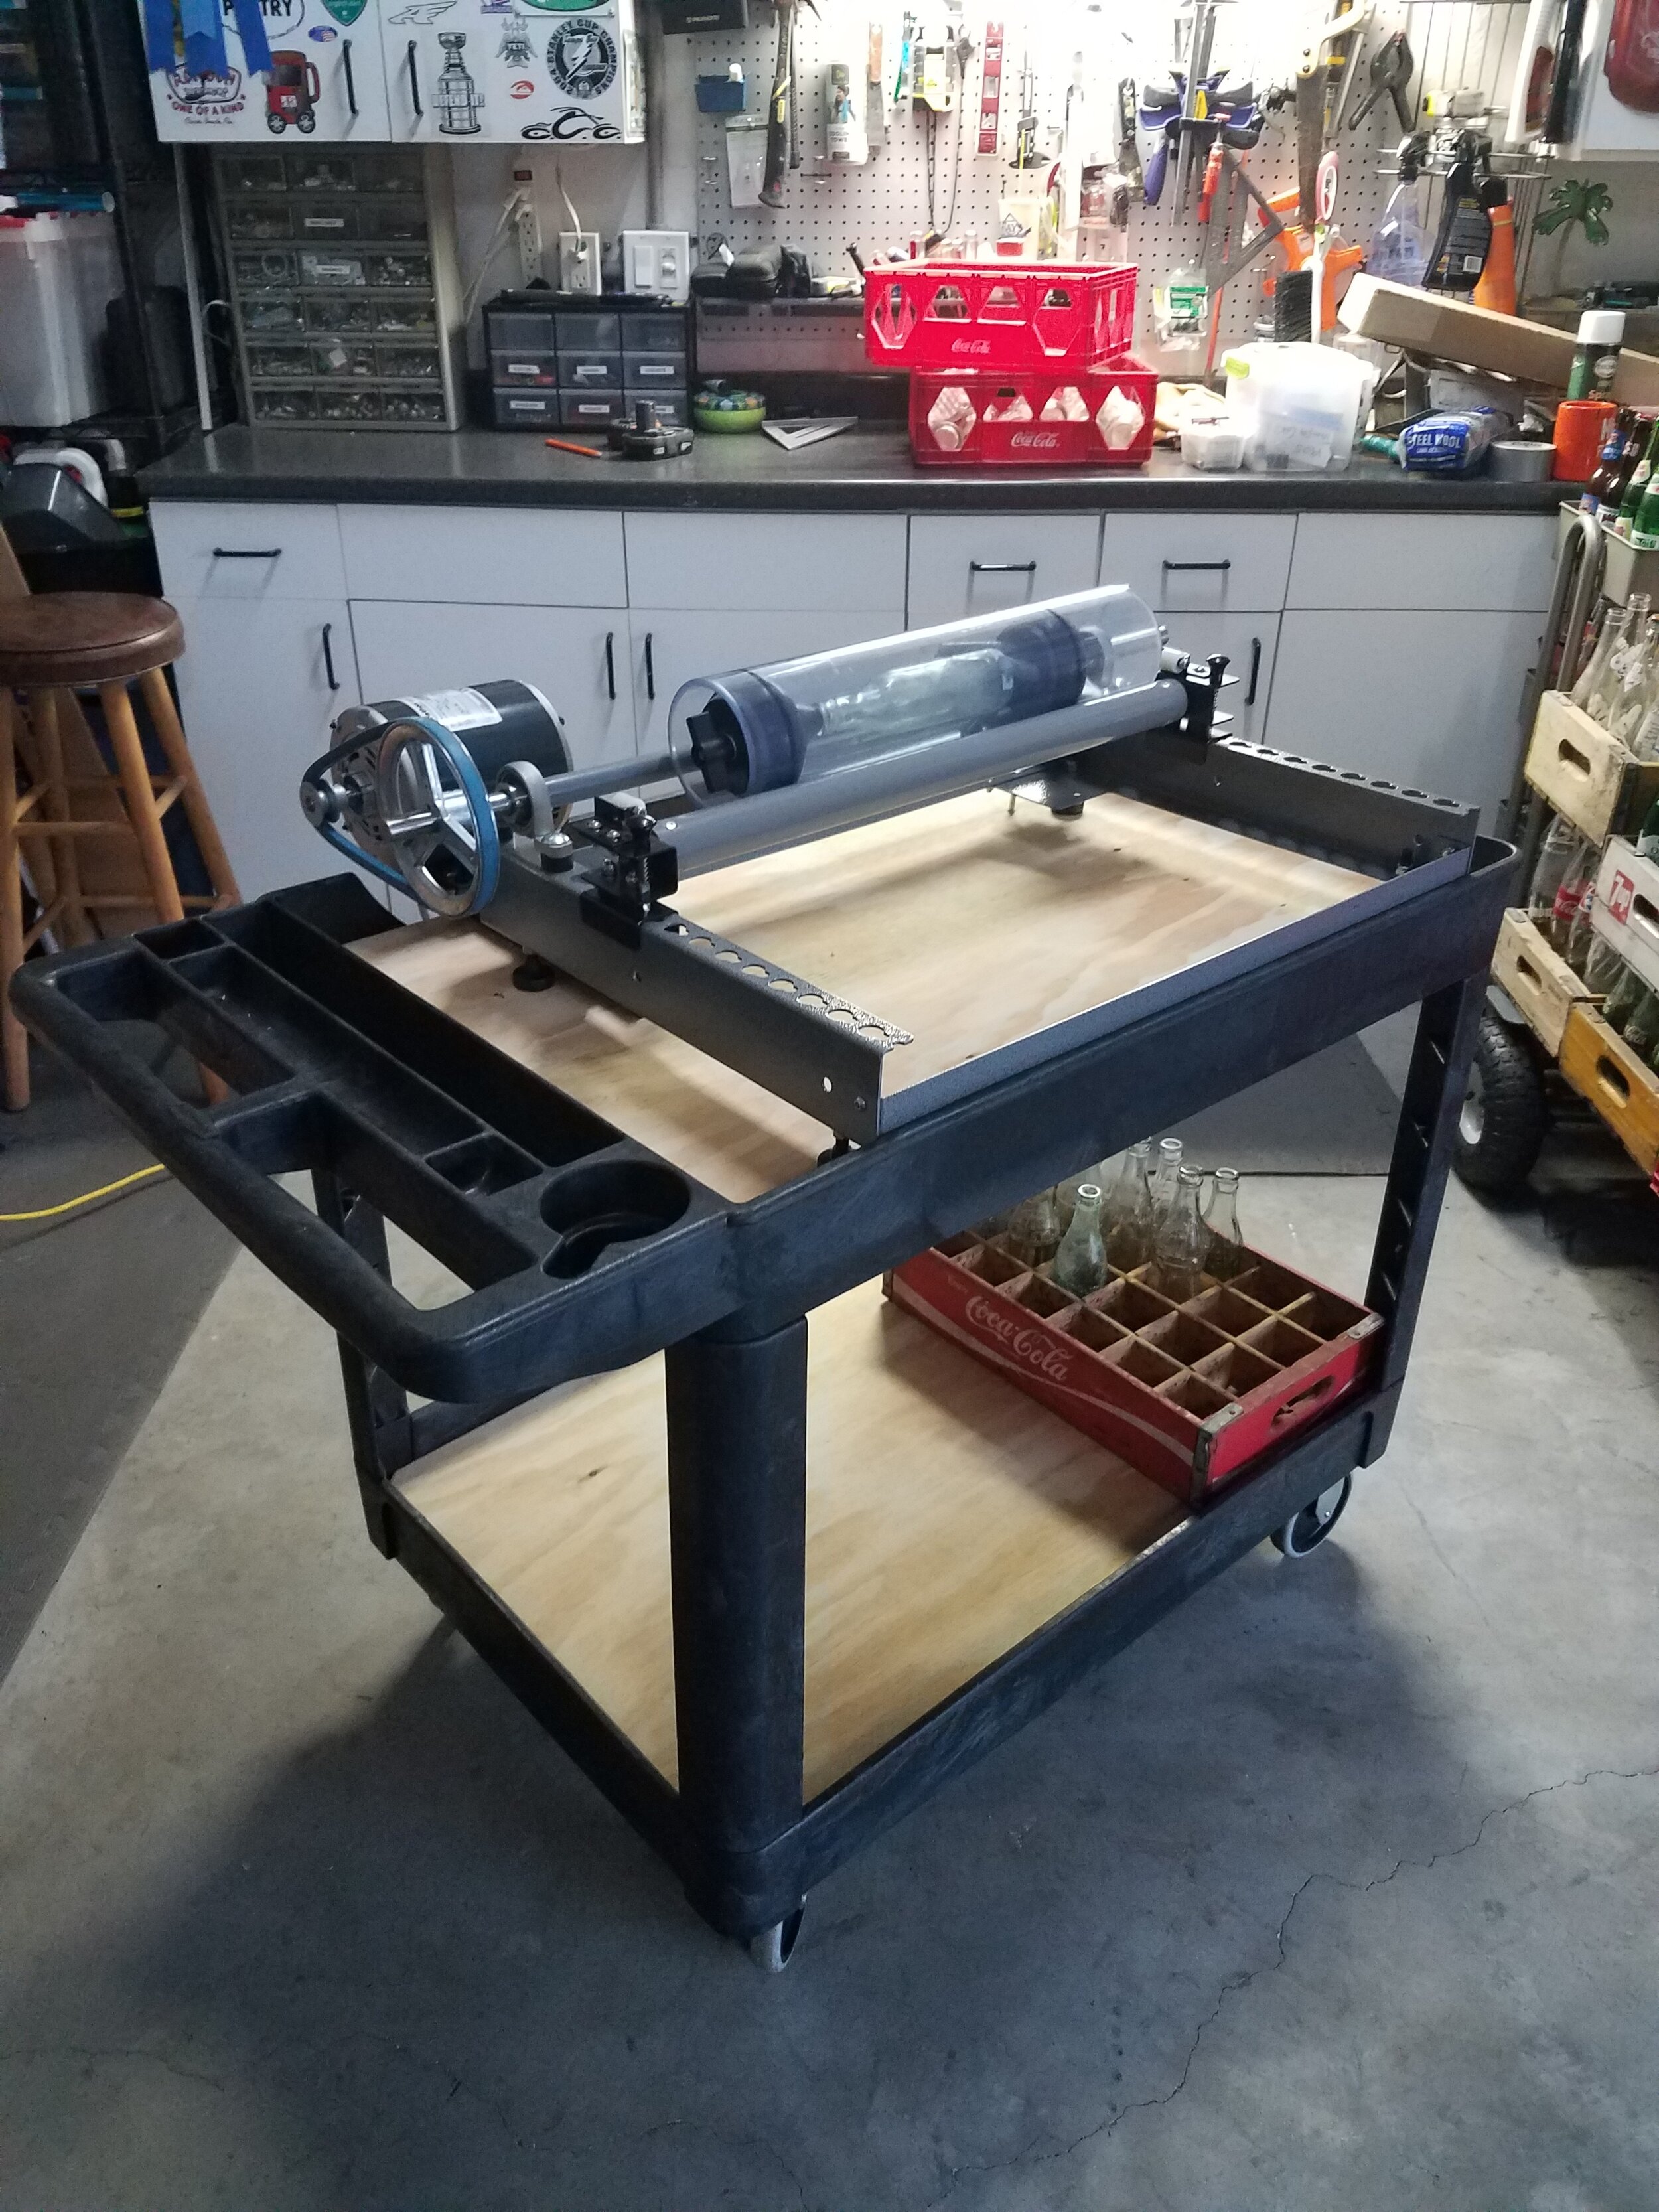
During the set up of my tumbler, I quickly realized that I did not want it laying on the floor nor would it fit on my workbenches, so the thought of putting it on a cart came to mind. In addition, this would make it easy to move it around my cluttered garage. After browsing through many sale ads, I found the perfect solution of a commercial Rubbermaid cart. please see below pictures of how I mounted the tumbler to the cart.
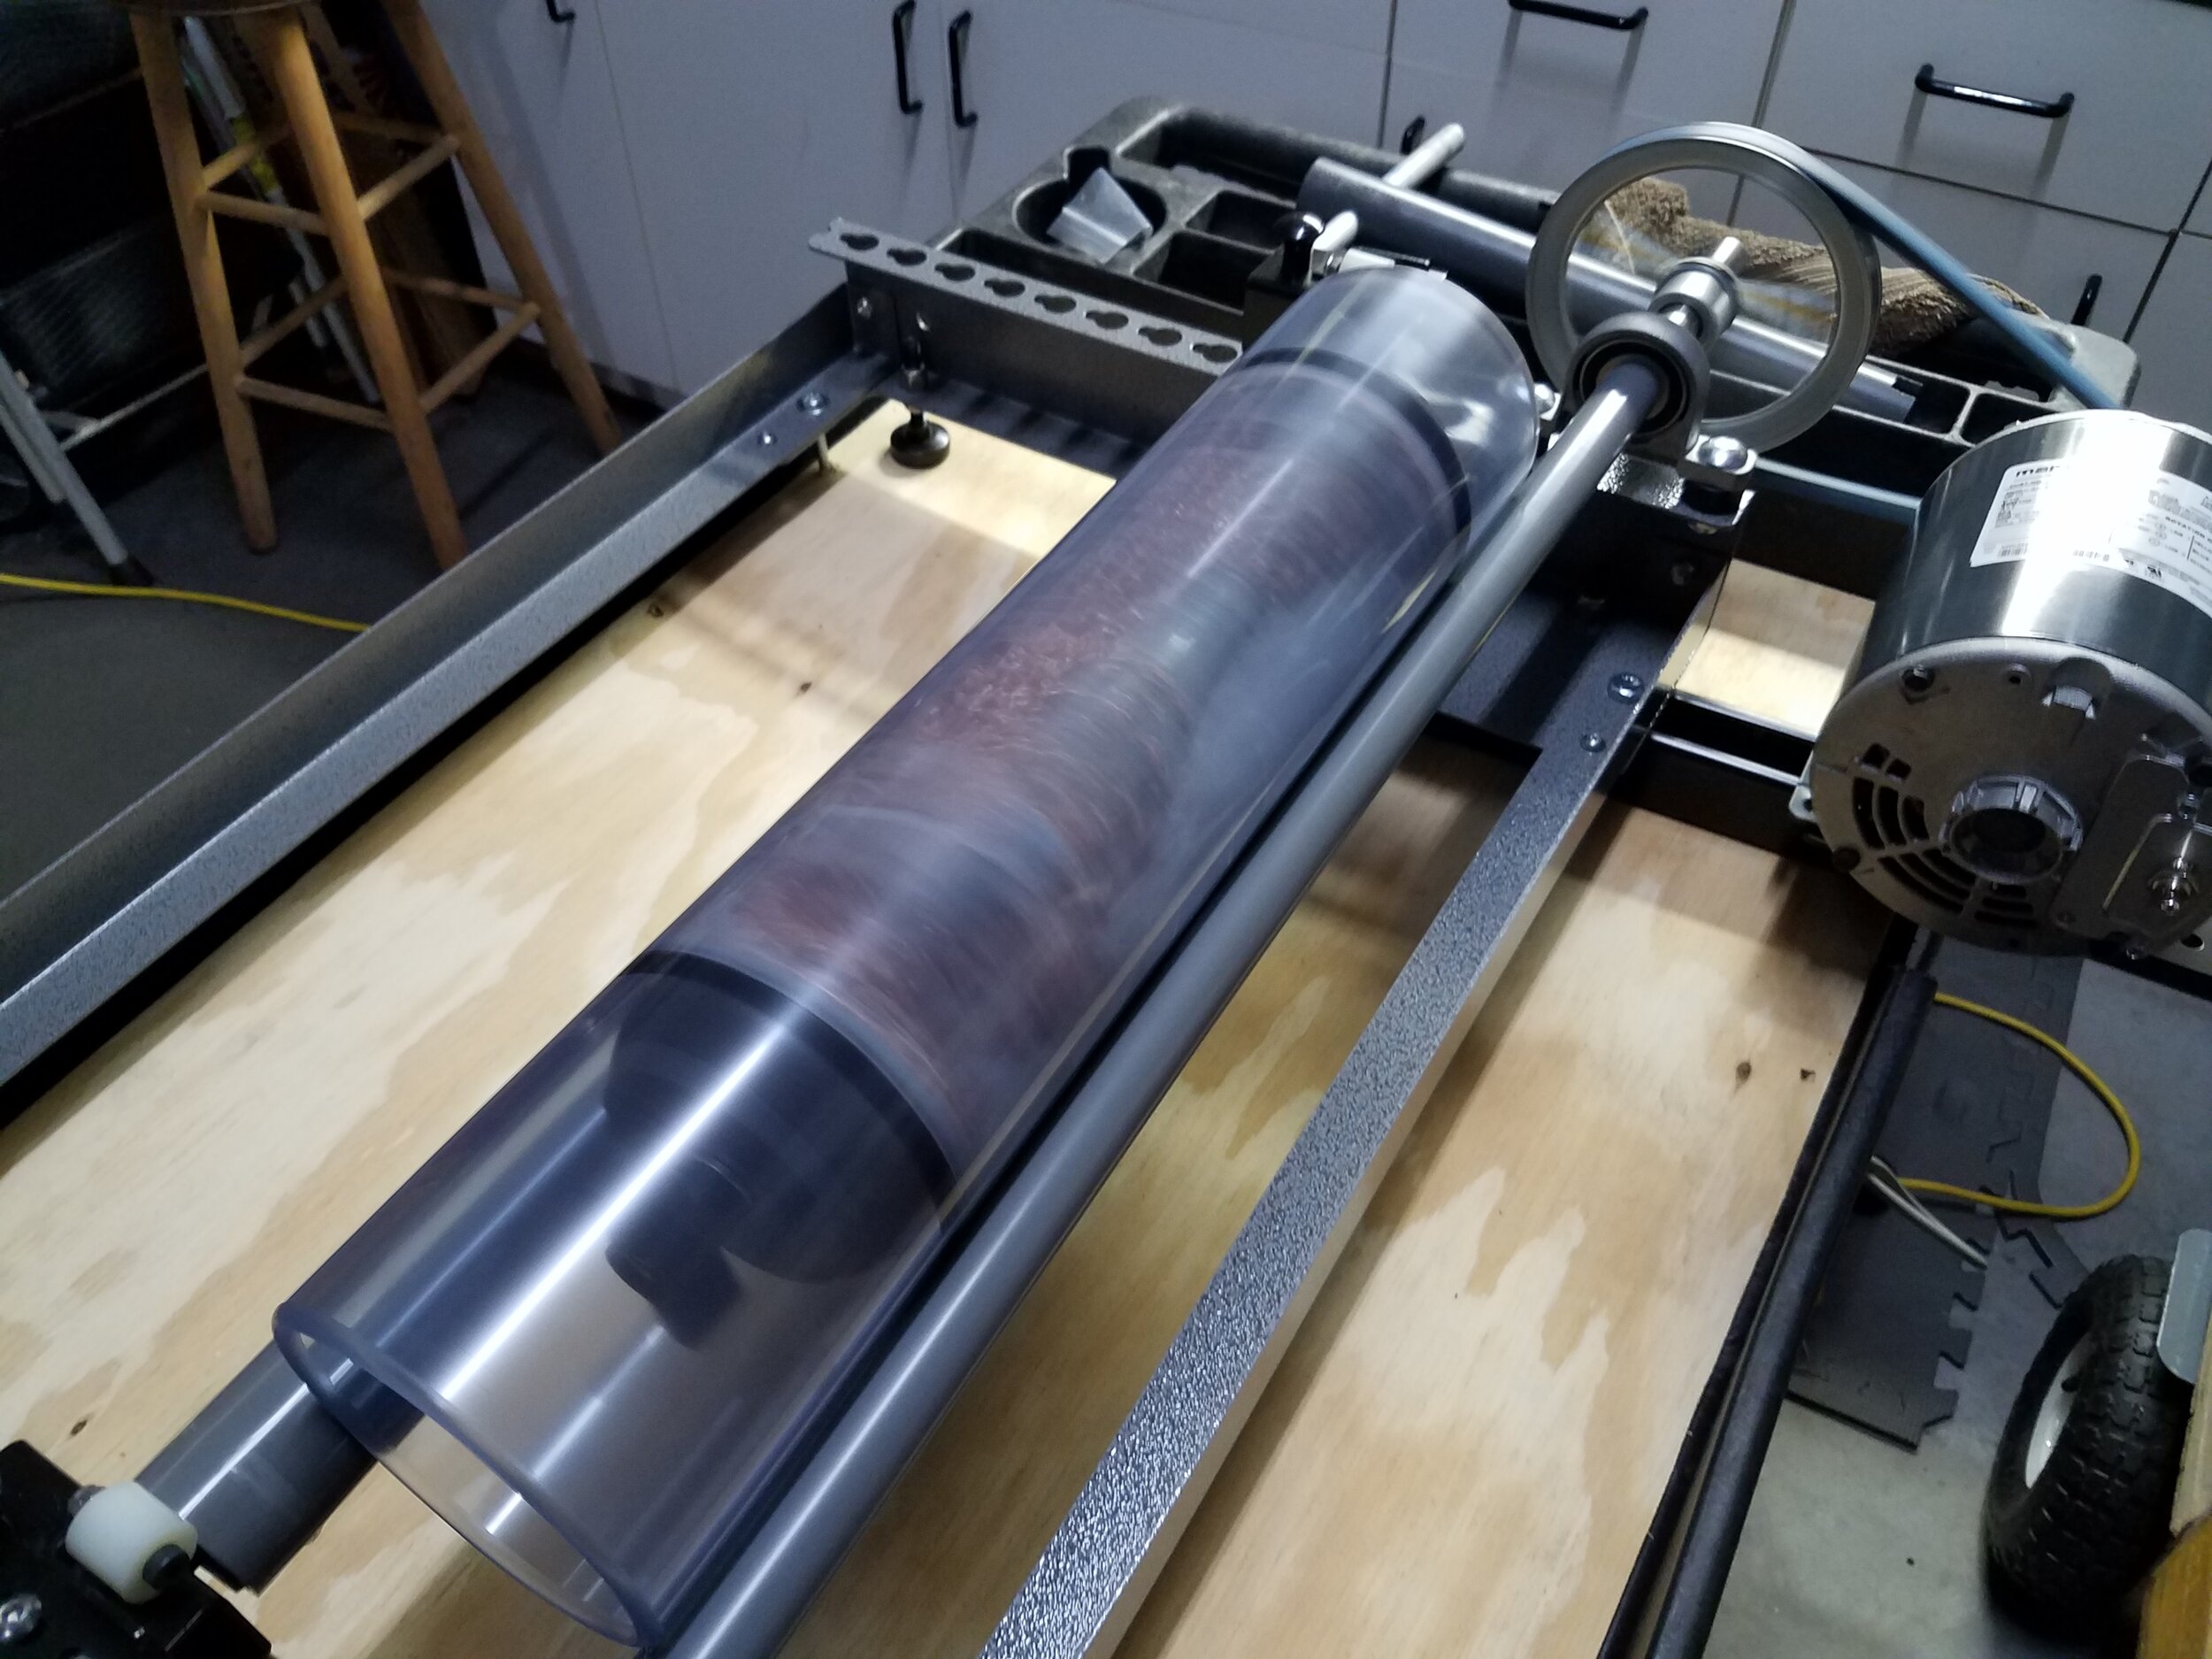
Tumbling away!

My Clean up Process (Some tips I discovered)
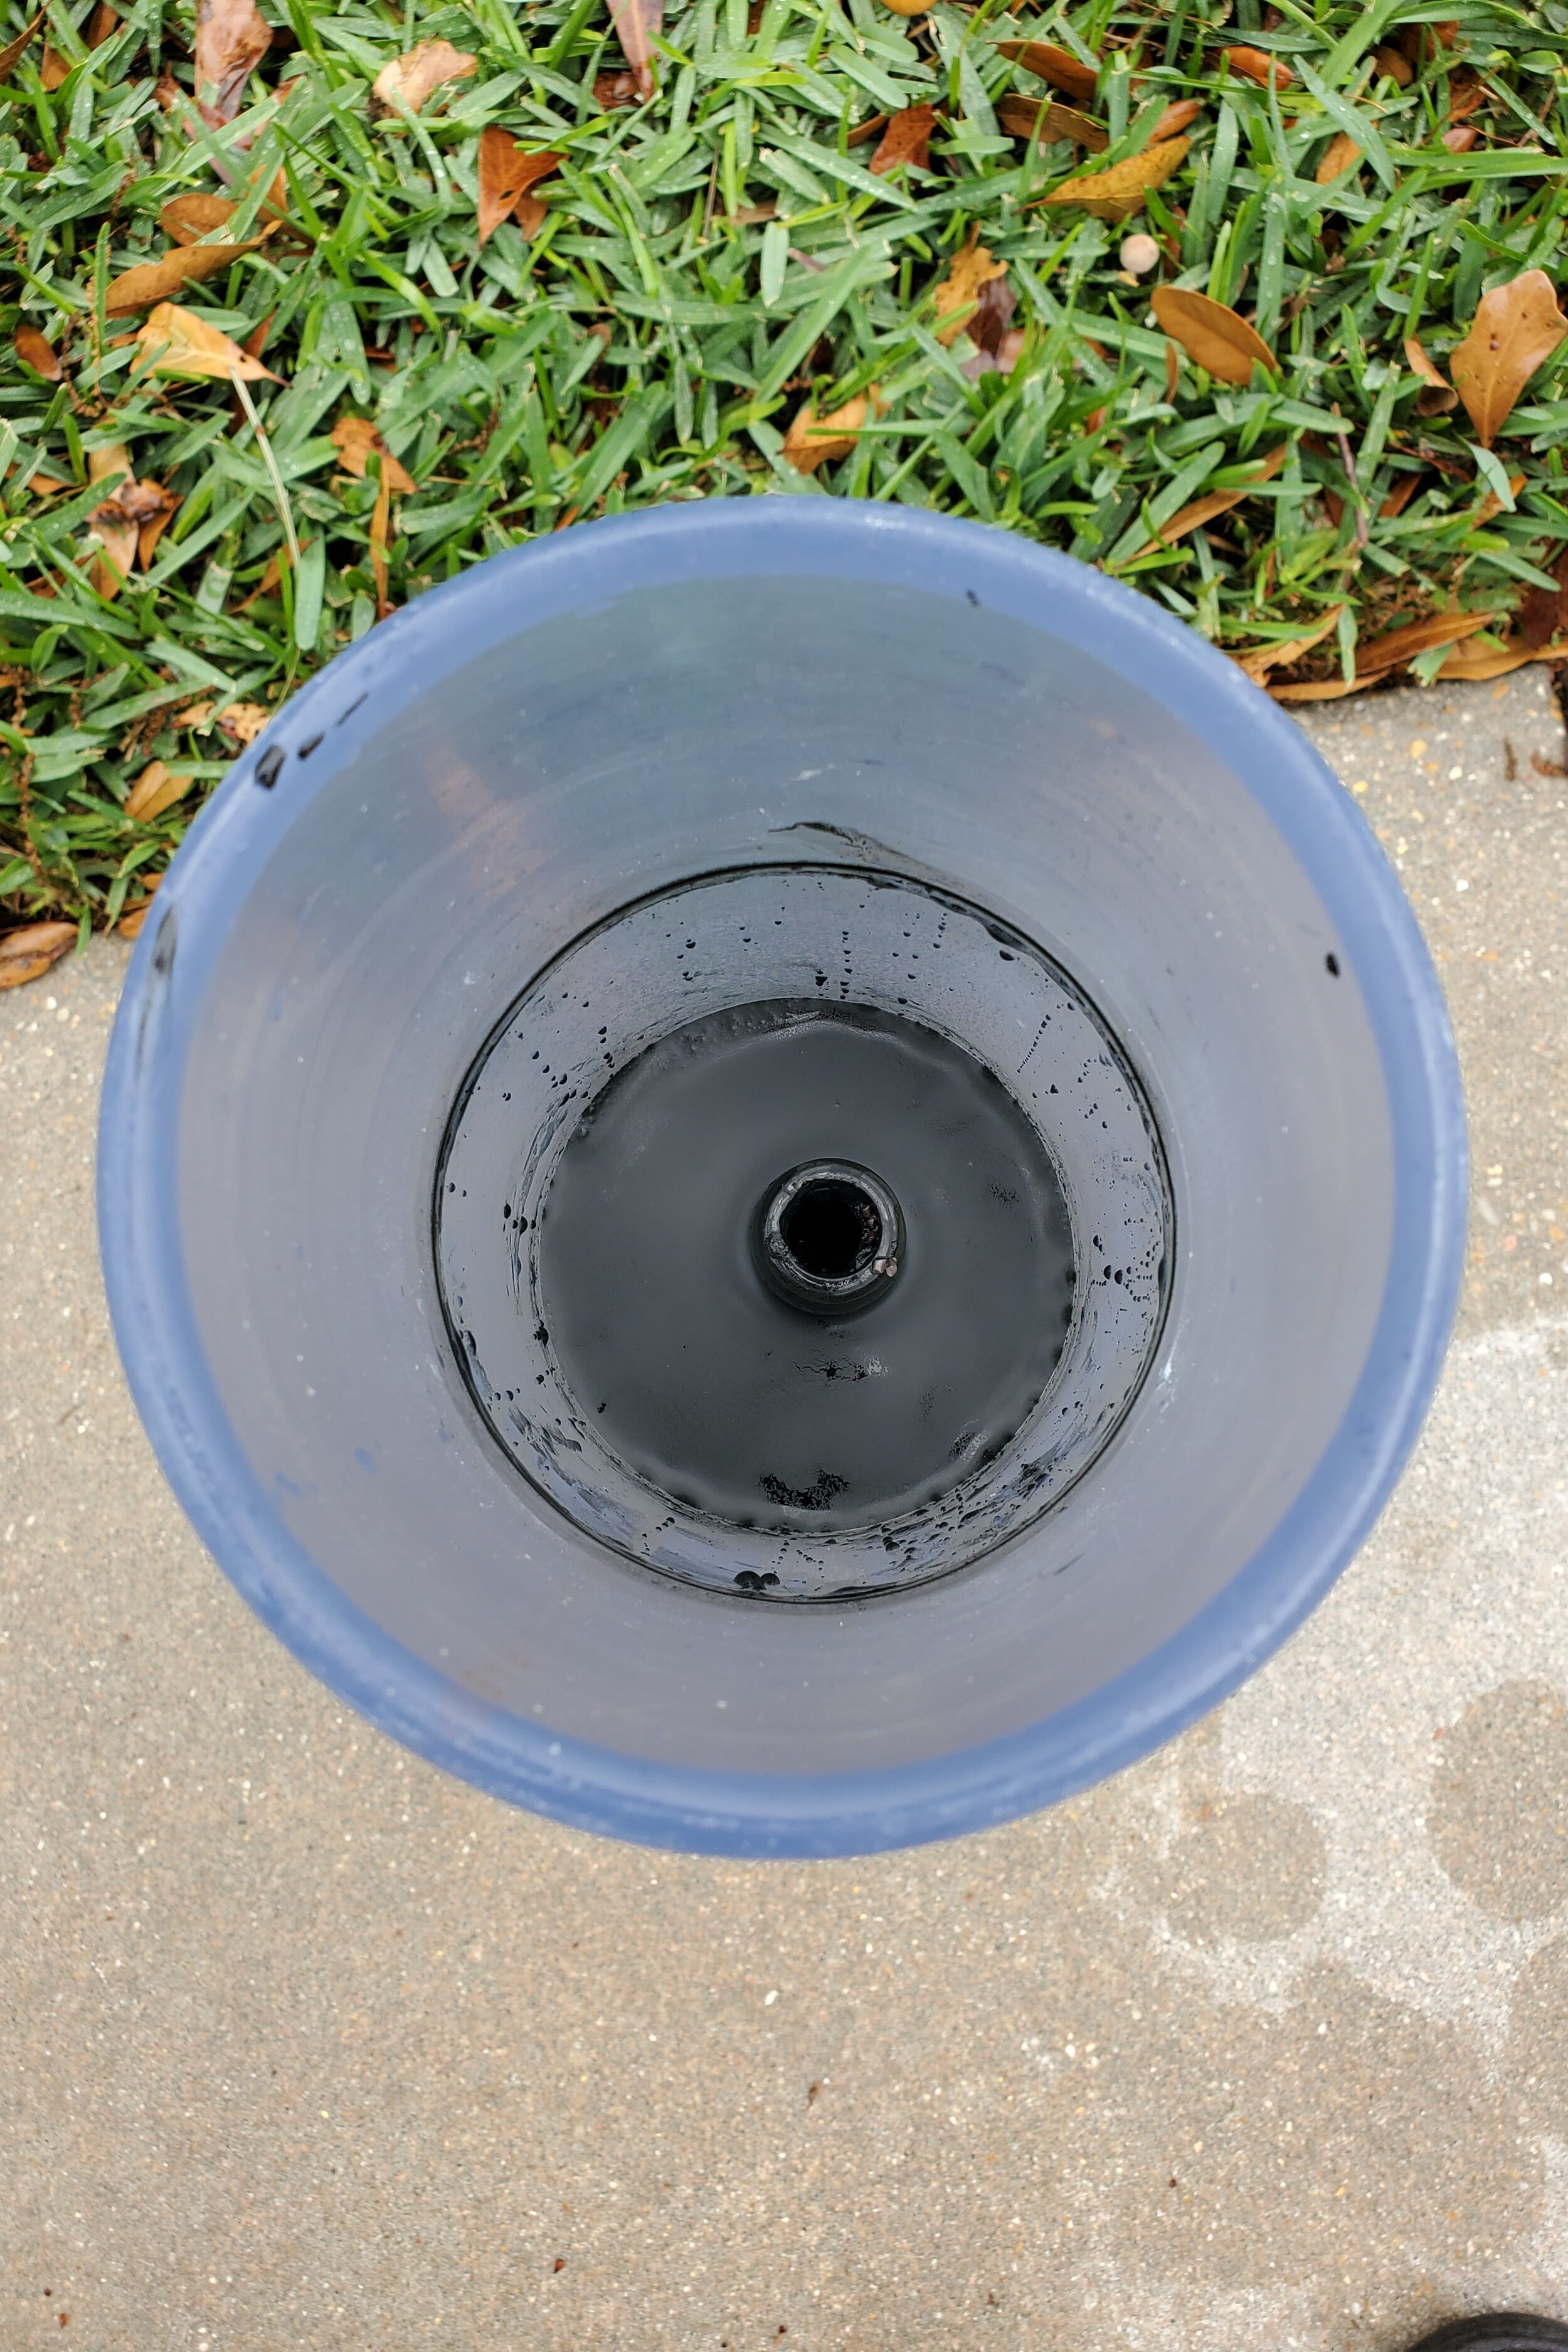
There are many videos out there on the different processes that folks do for cleanup, but thought I would share what works for me and that I have learned in a short time. First, I found it best to do the first cleanout of the tube outside in a bucket. Here I open up both ends, remove bottle and rinse with the hose all copper into a bucket. Next, I spray off the stopples and tube. I use a strainer to filter out the copper in the bucket.
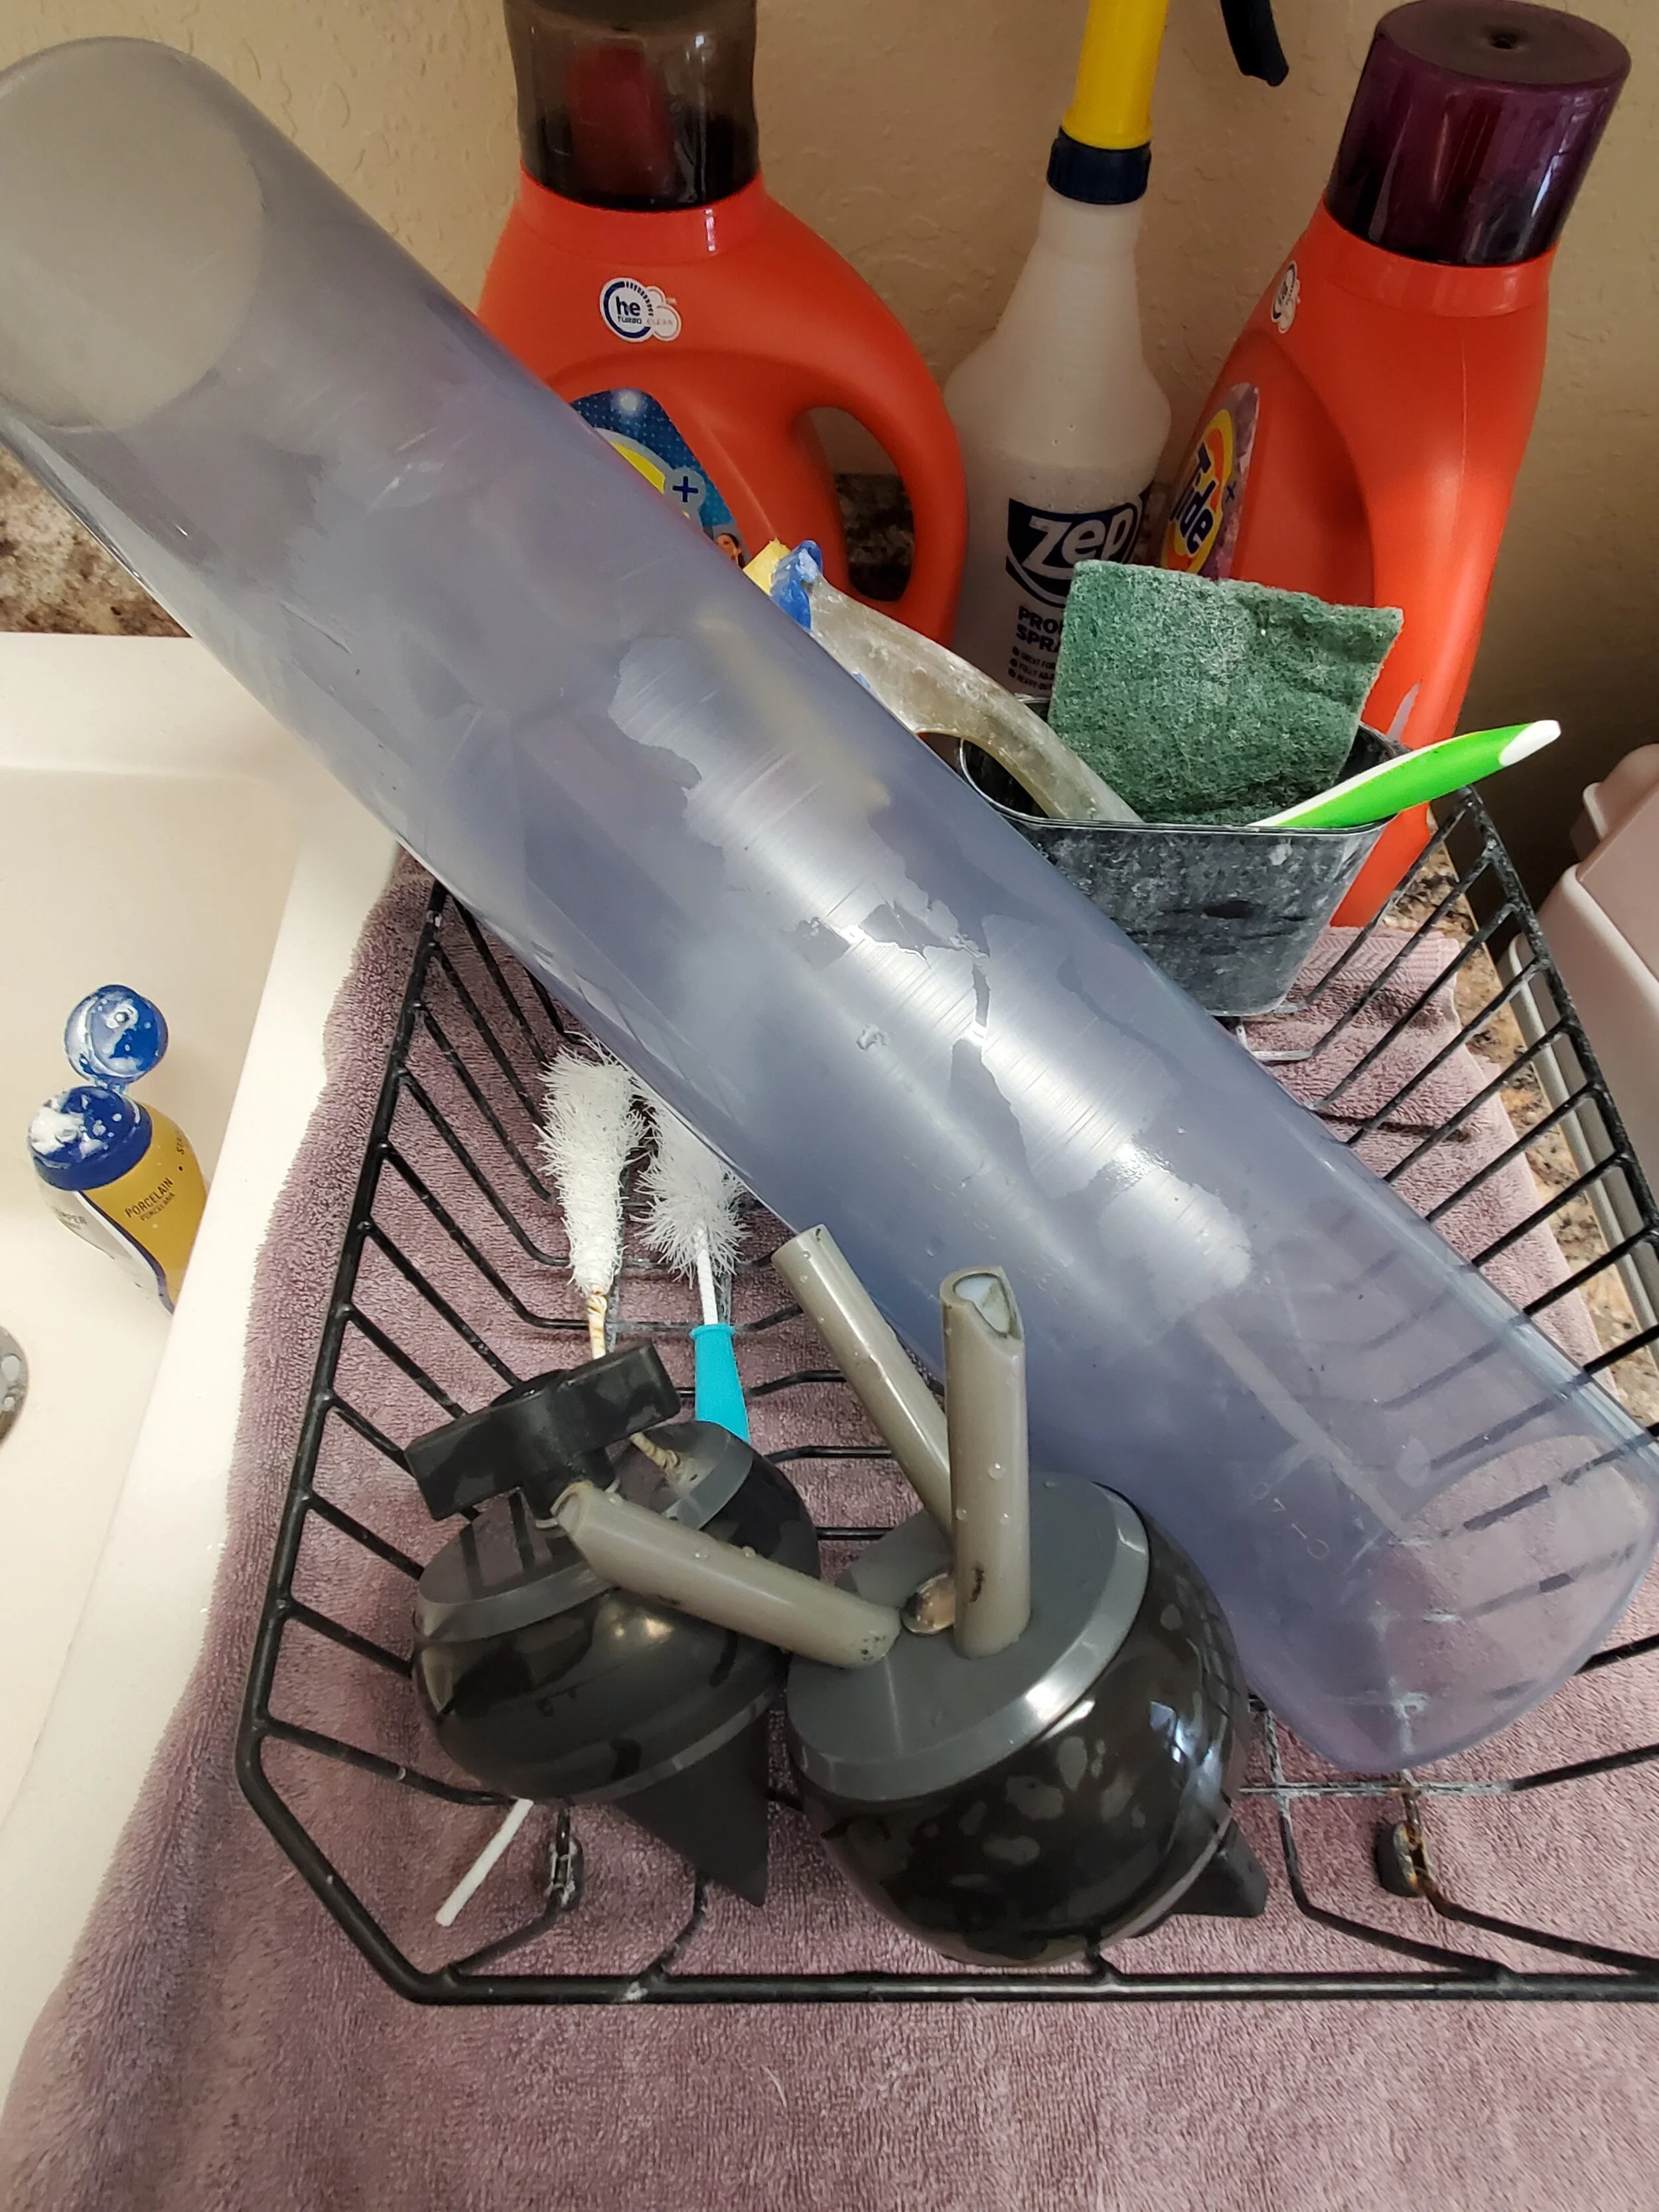
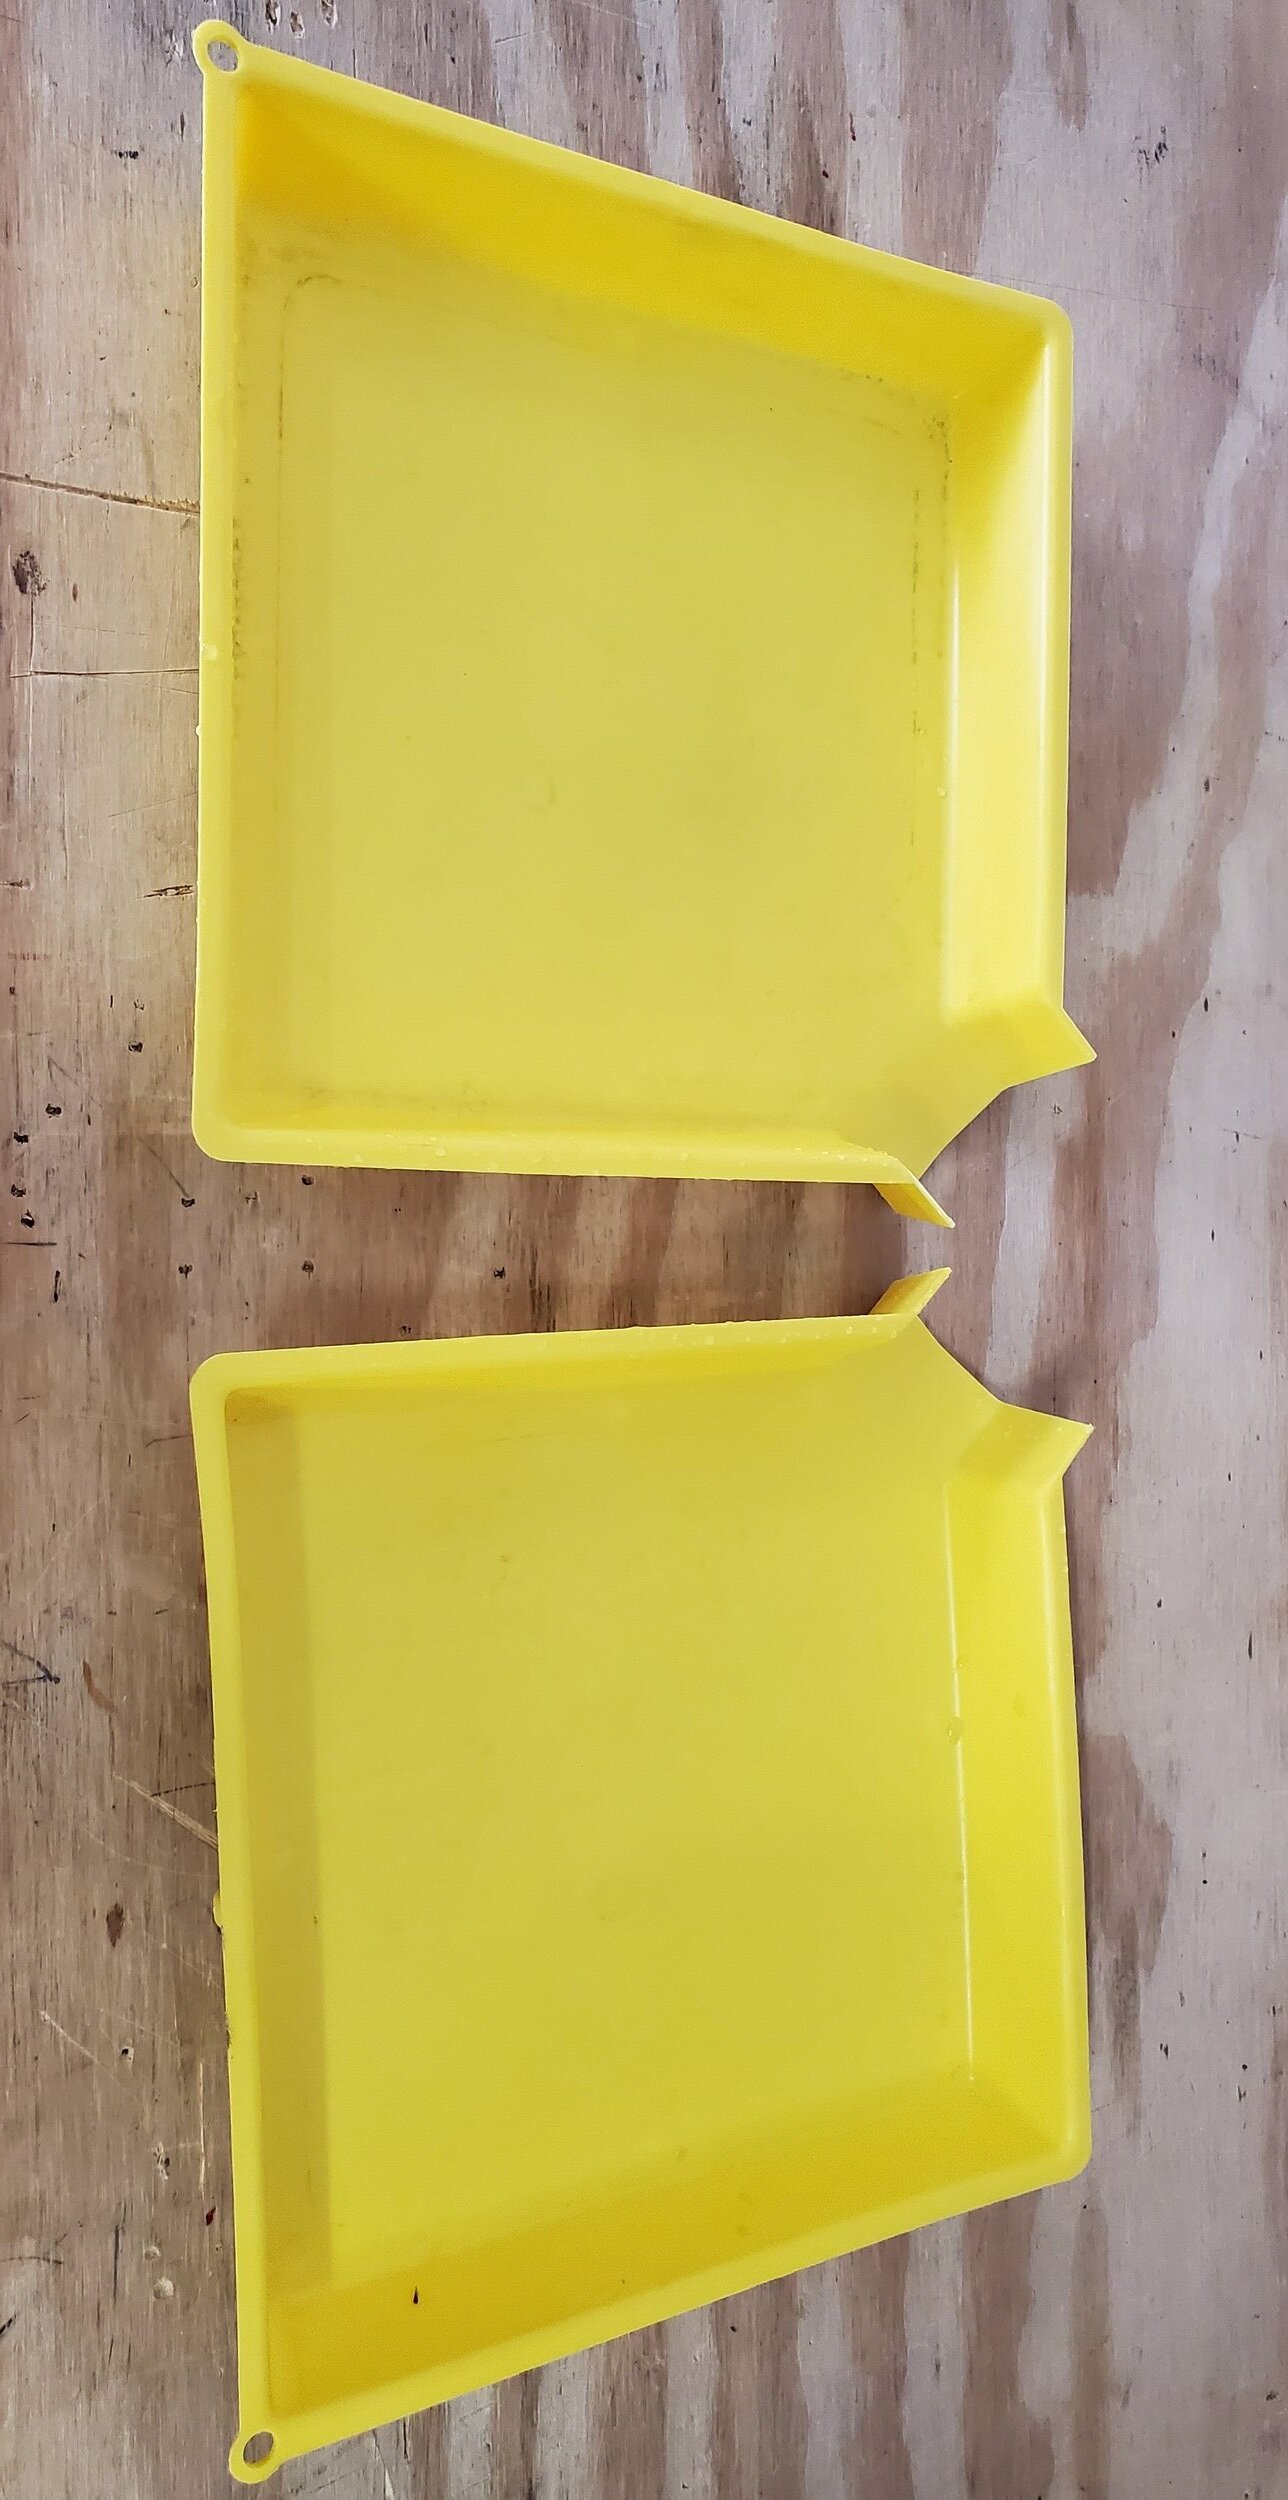
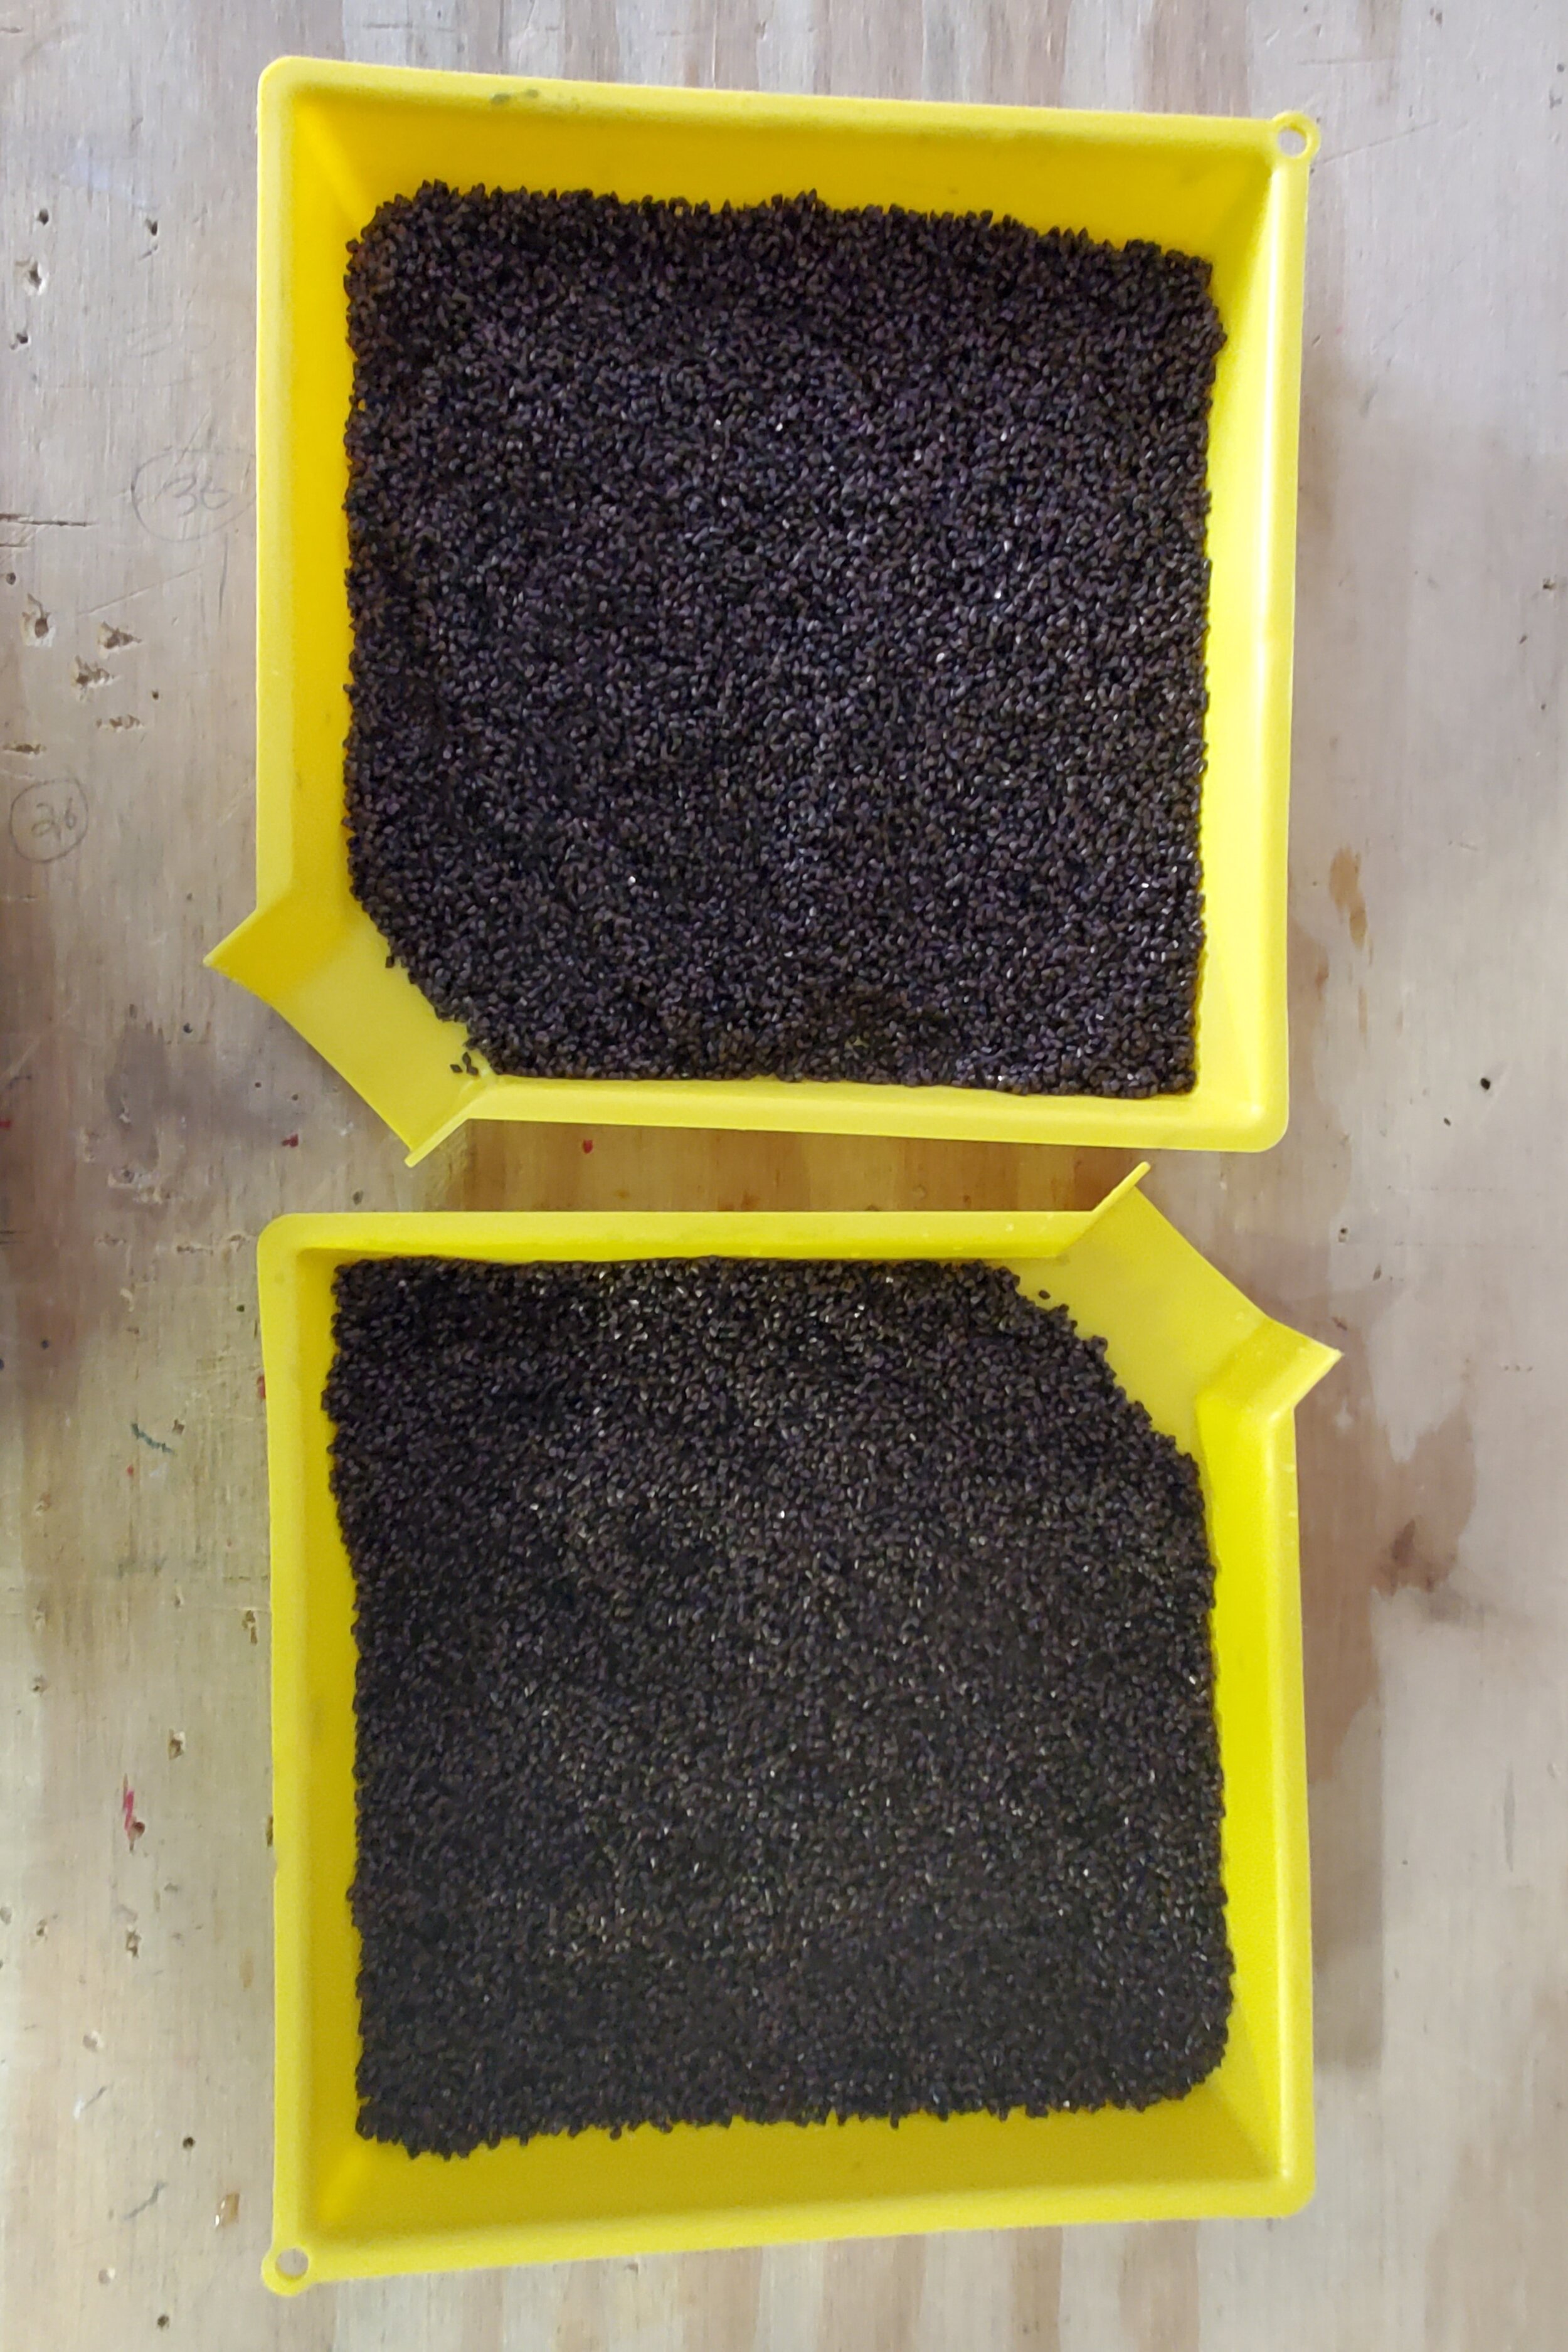
Next, I take all inside and give each piece a nice scrub down with Bar Keepers friend and let to dry. I found some great bolt and screw sorting trays at Harbor Freight for a few bucks that make a great way to dry the copper. One day in the Florida sun, and all good. I put the copper then back in a few glass mason jars until the next tumble. Please see pictures below.


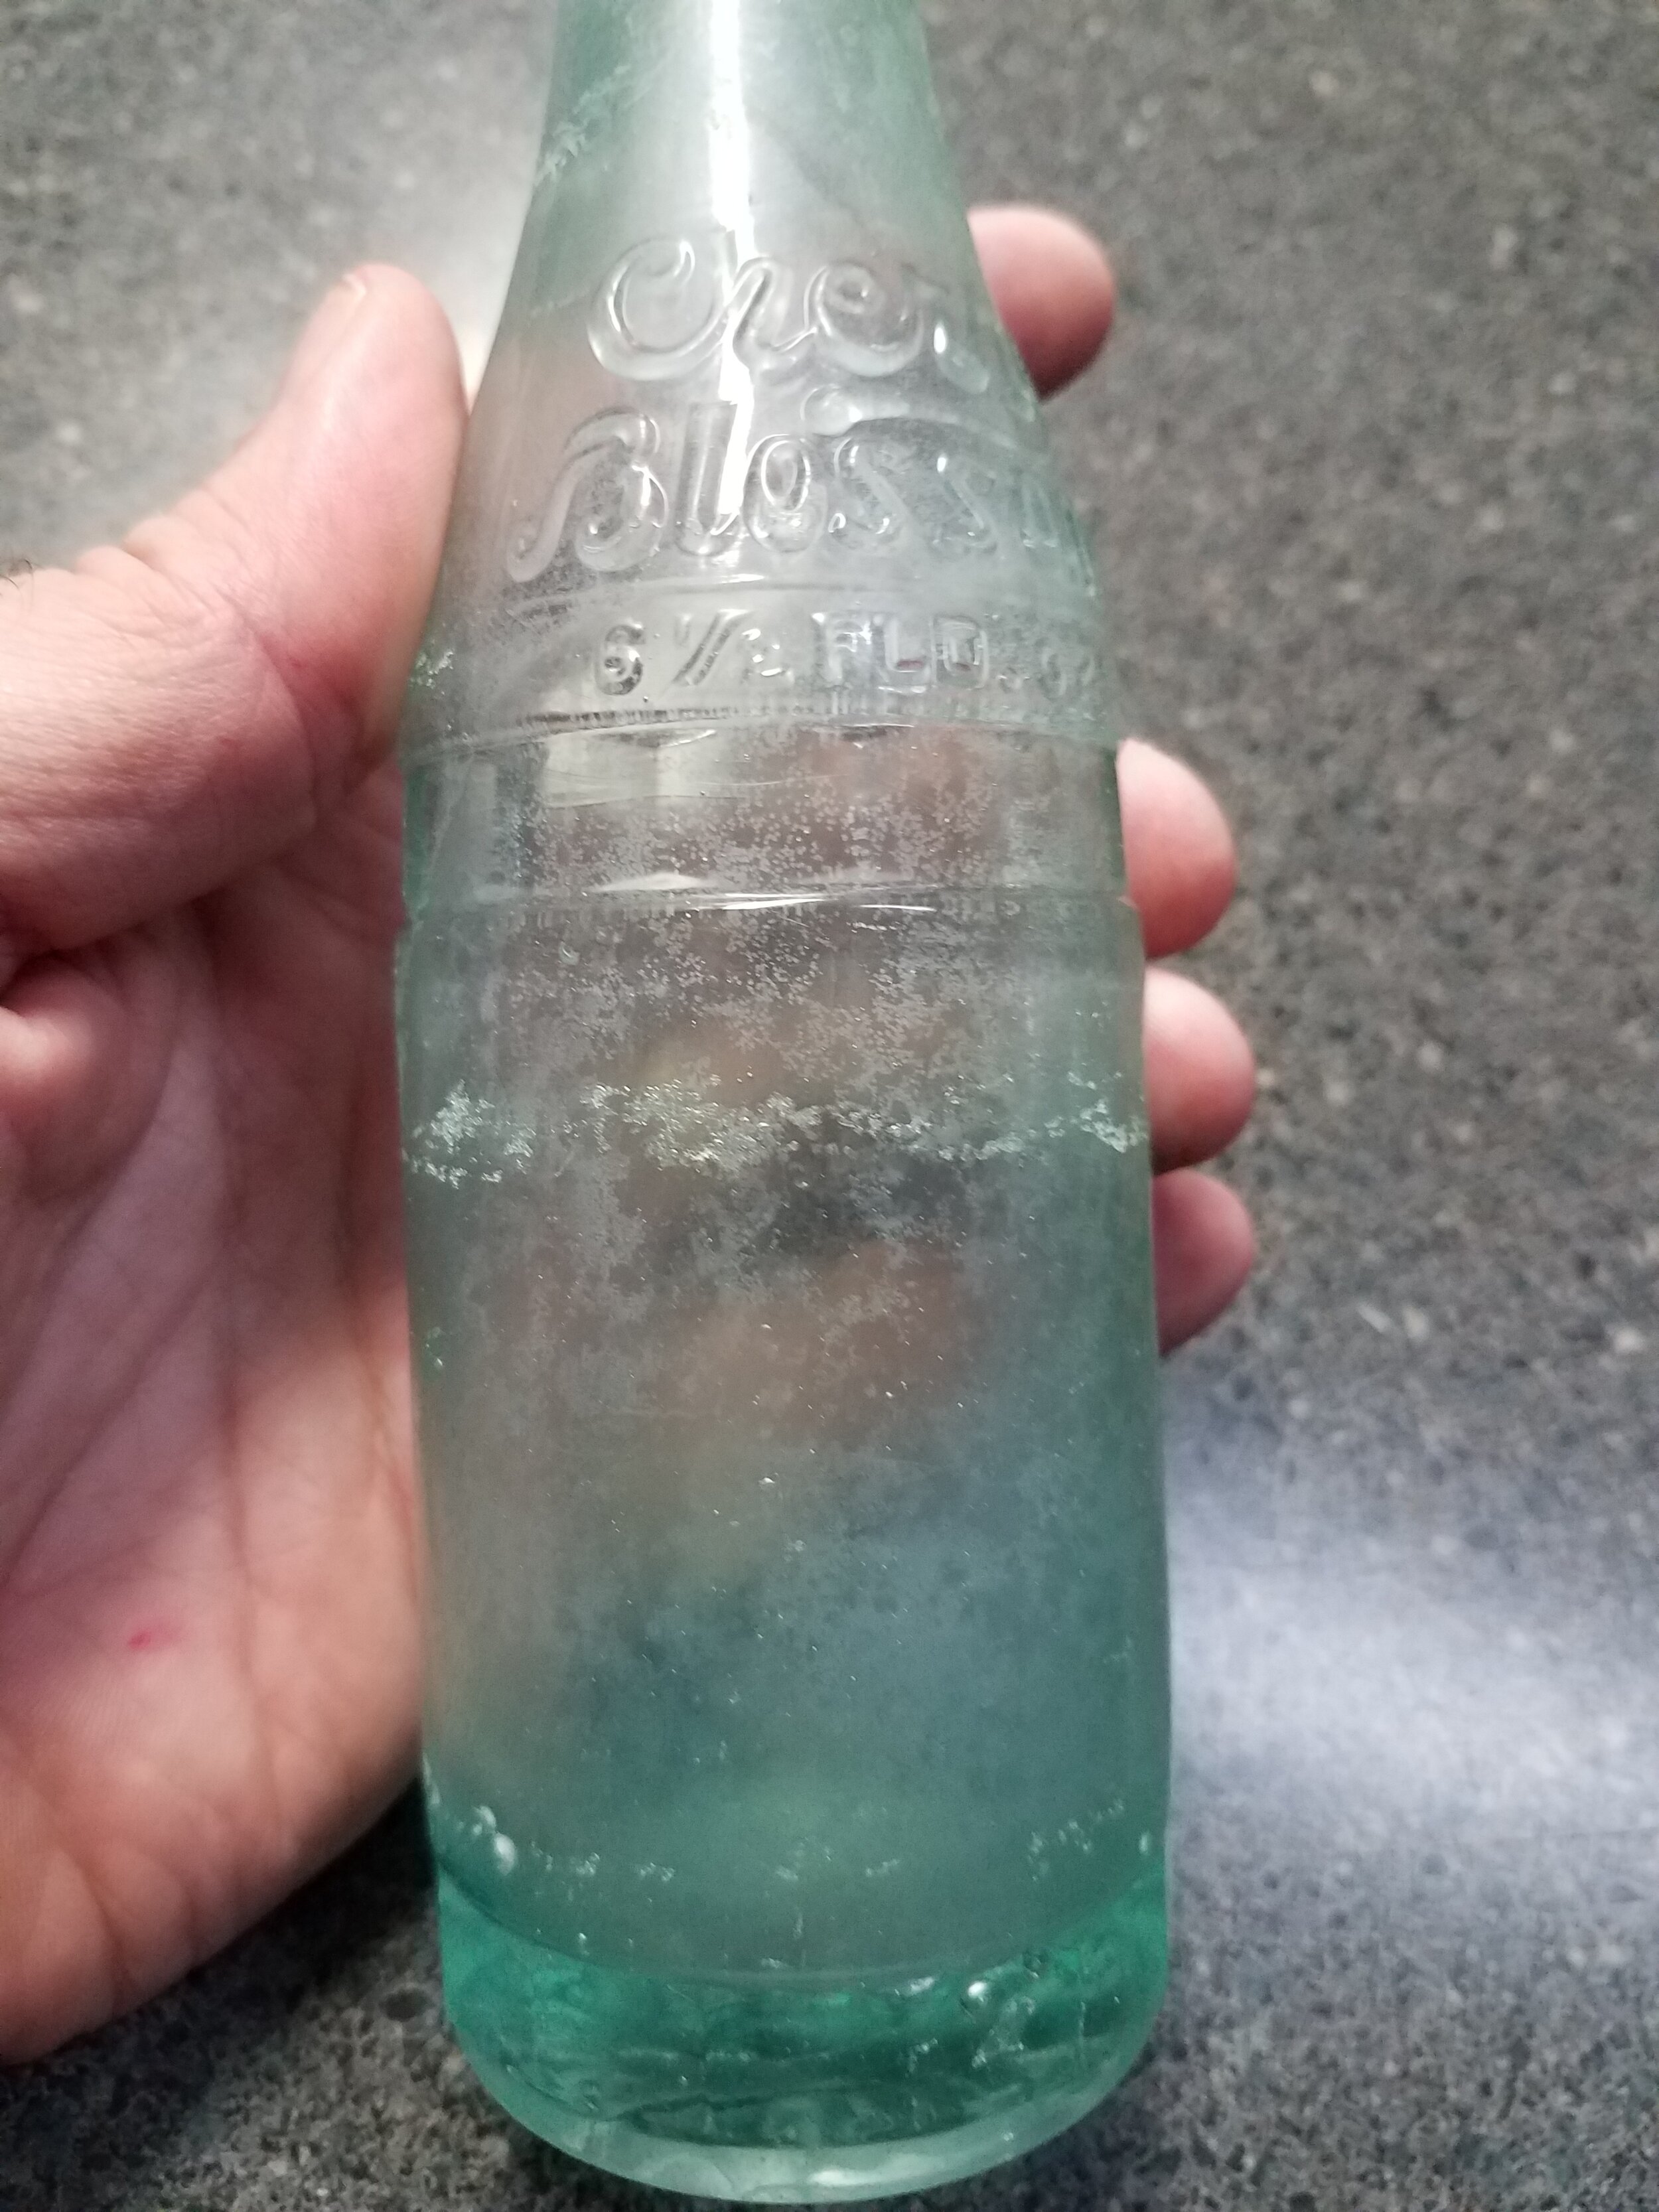
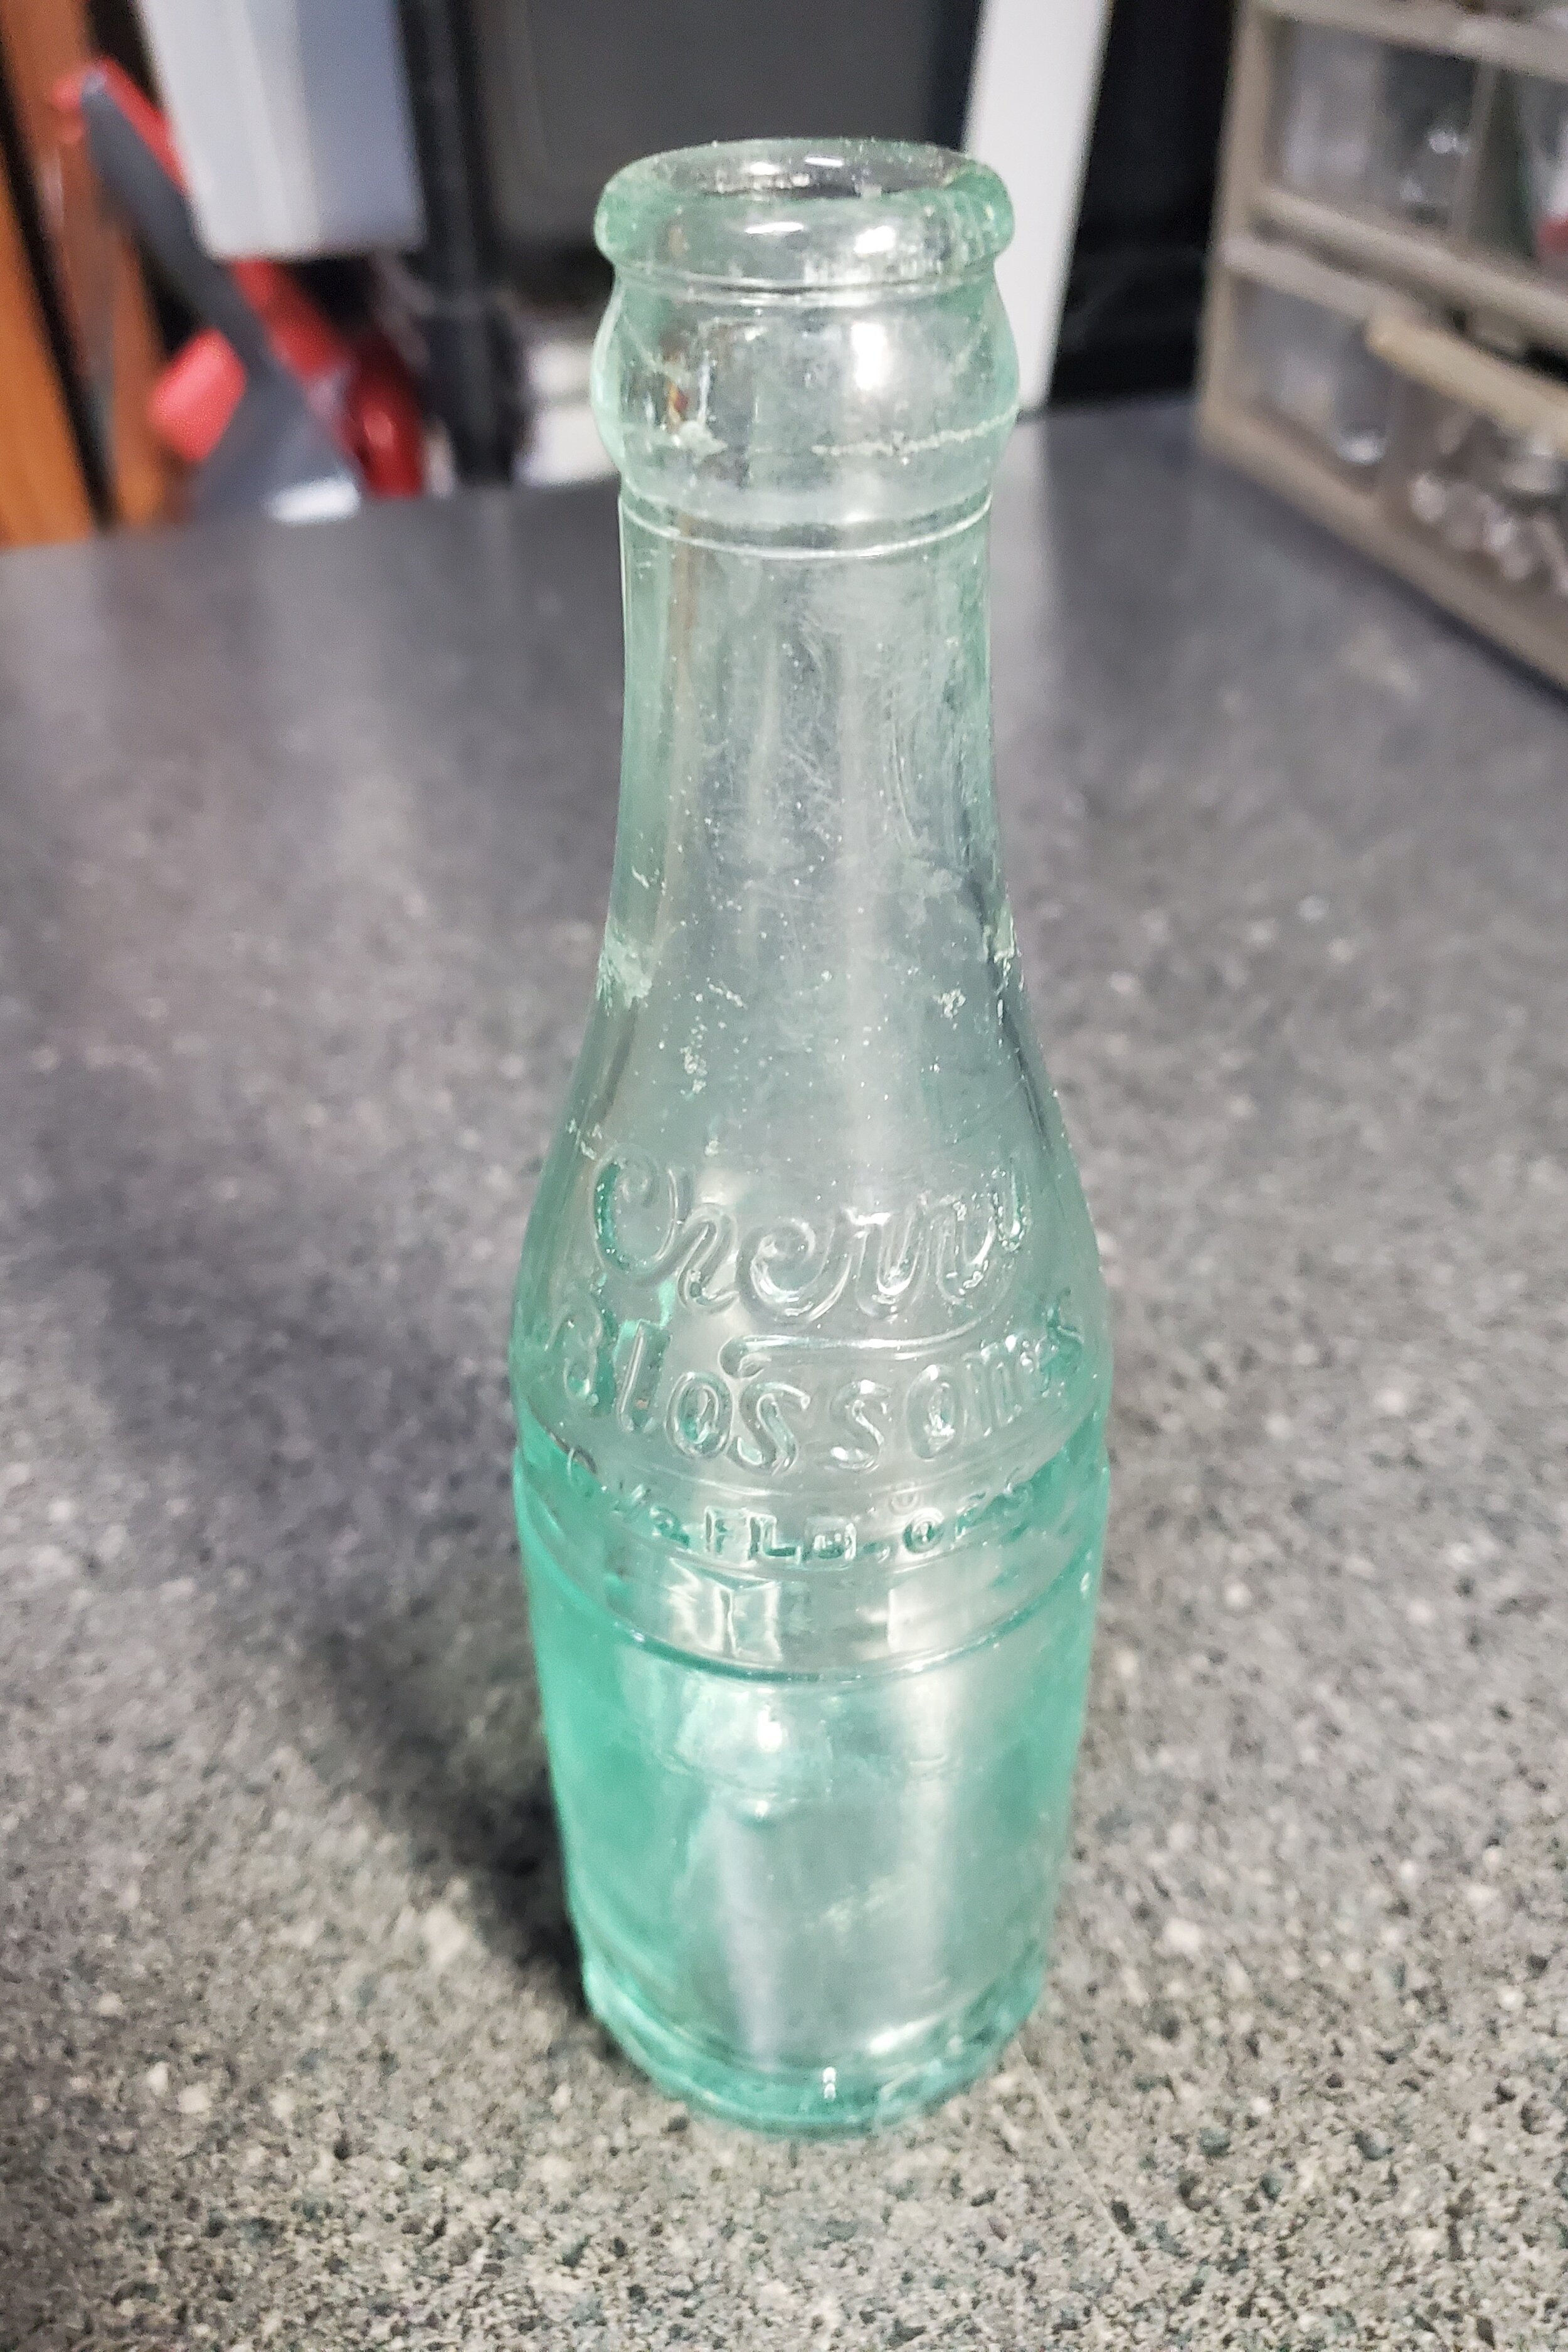
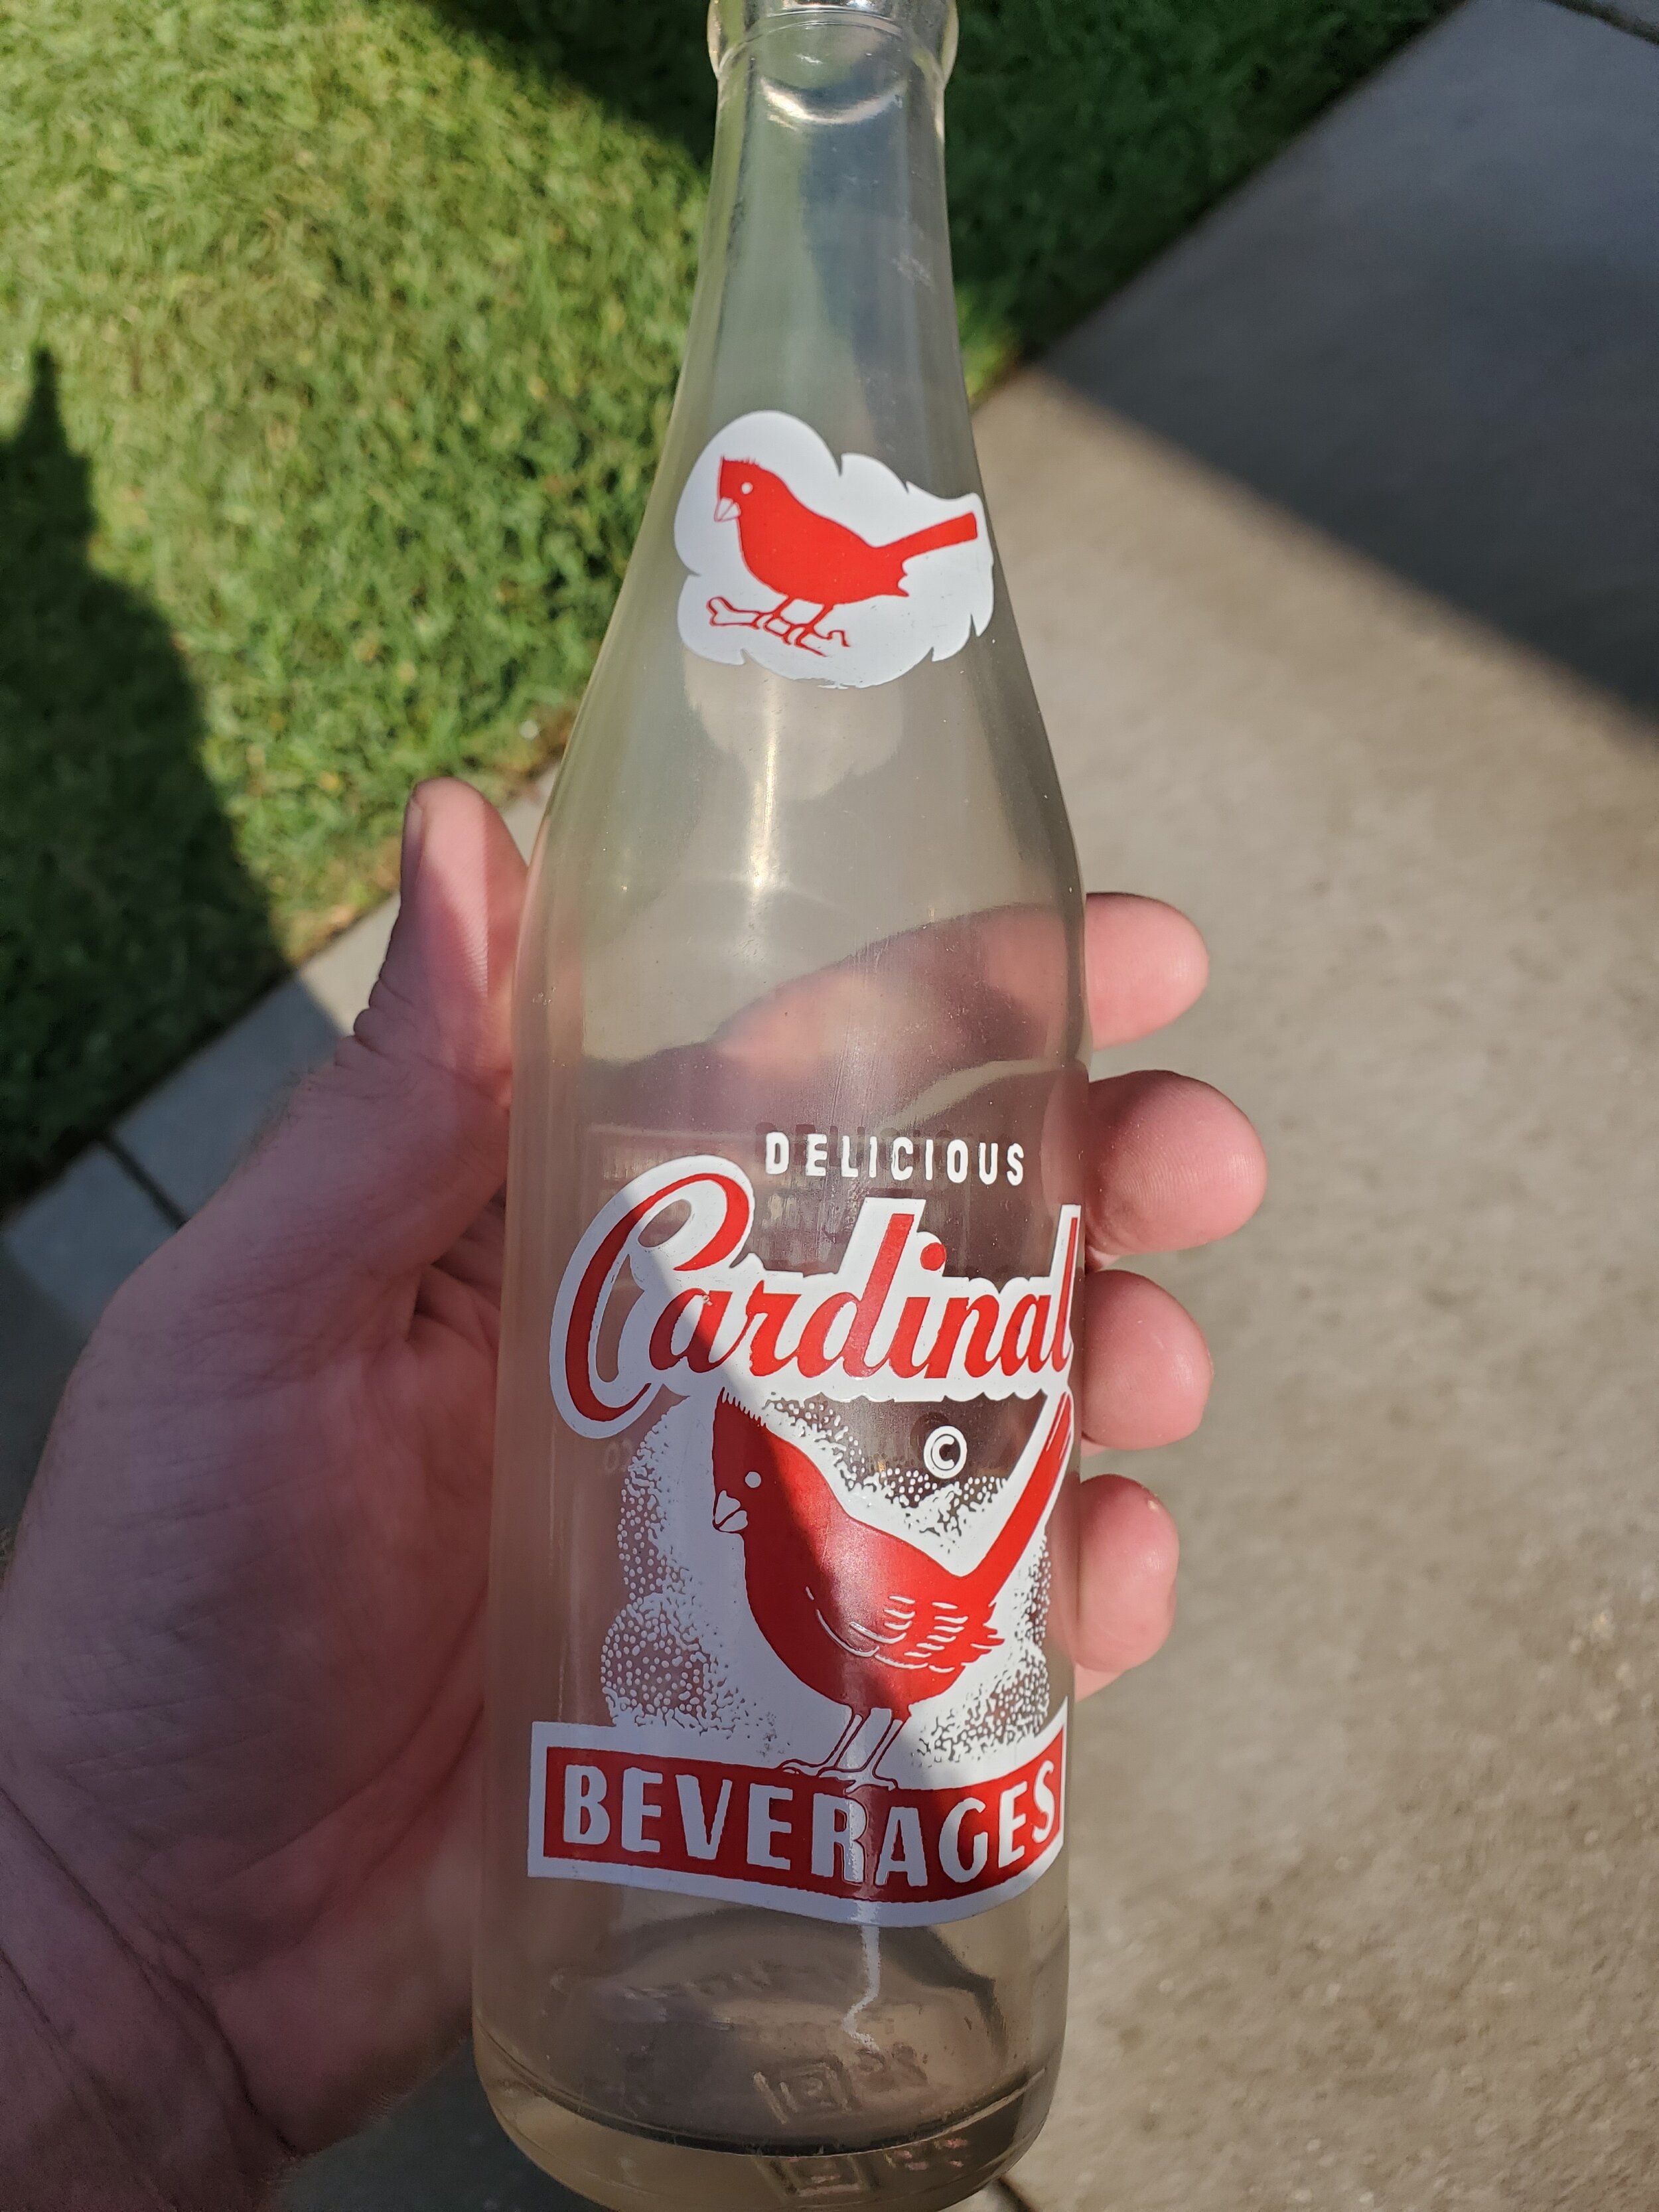
My Tumbles (Before pictures on left, After pictures on right)


Happy 2024 to everyone and hope all is well. Finally was able to make some updates to both the Library and Links section of my site. Check them out for some great ACL knowledge!